Making a front splitter from scratch.

Please post current V8 projects IN BUILD NOW in here, Any non relavent posts will be removed,

Moderator: phpBB2 - Administrators

gelmonkey
Sergeant Monkey Face
Posts: 1307
Joined: Sat Jun 27, 2009 11:58 am
Location: plymouth

Making a front splitter from scratch.

Post by gelmonkey »

Hi All
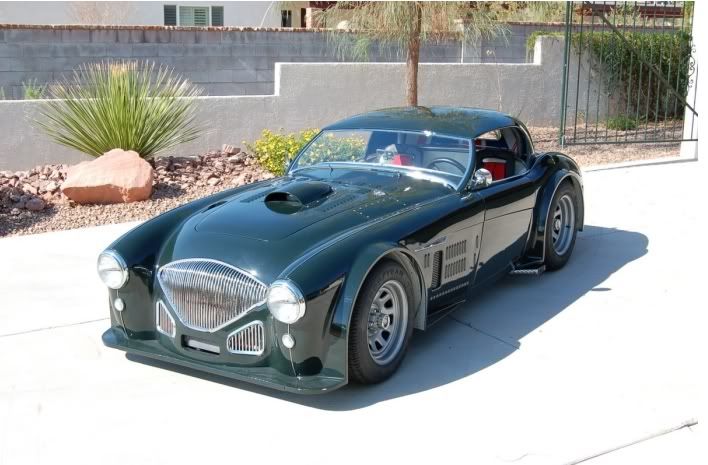
With my car all but done now I thought that it would be a good idea to try and keep the front end from getting light at speed.
The car was on the road in a former guise and even with that motor things got a little hairy at 80 plus.
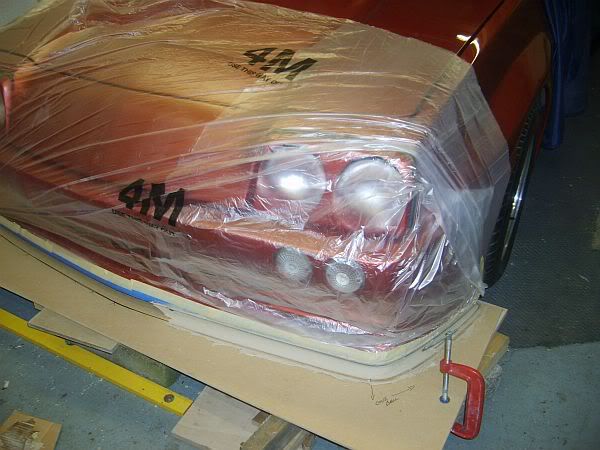
So I thought about making a splitter to help keep it down and fully planted.
Some of you have already helped me with advice on this so am taking the plunge and going for it.
Here is the first installment...
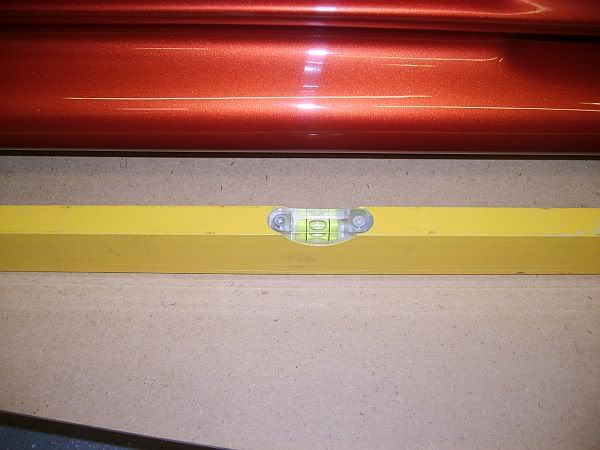
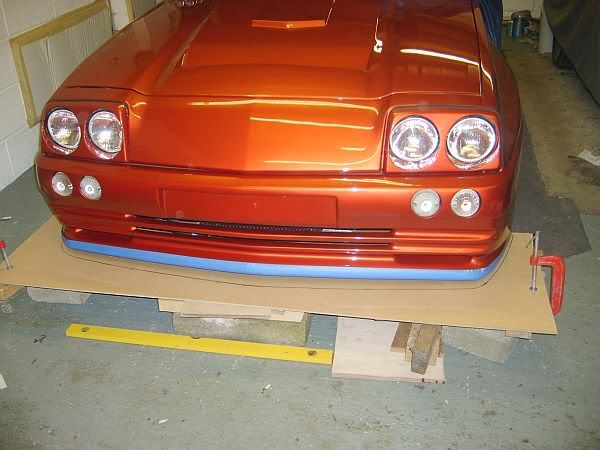
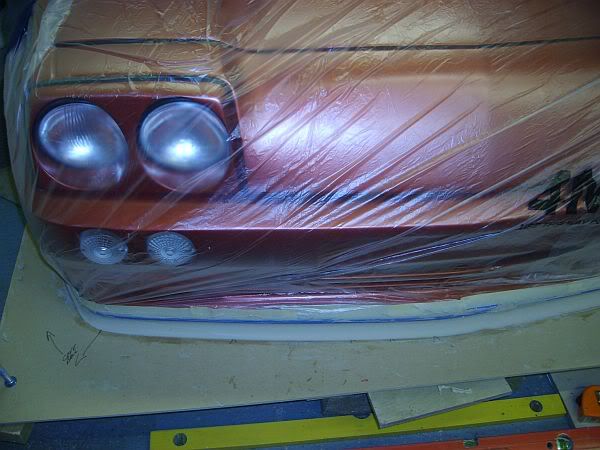
1 Made sure that the car had equal tyre pressures and was level to begin with.

Image

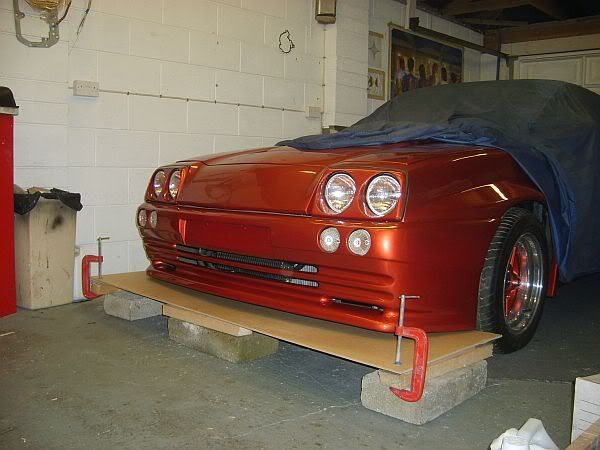
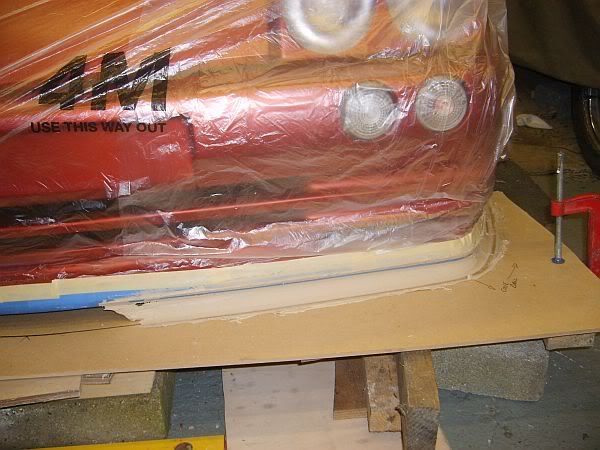
2 Placed my template under the car and levelled that off too.

Image

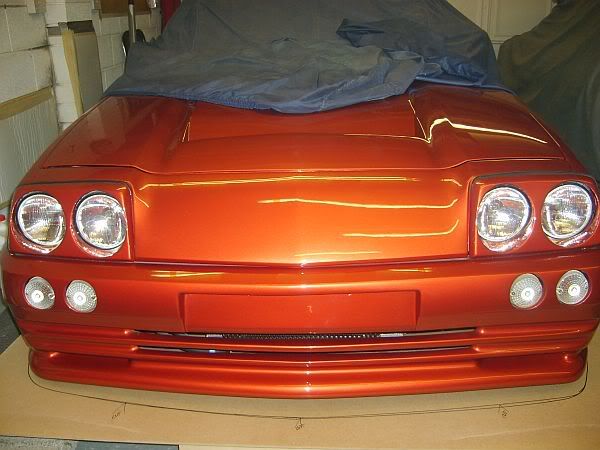
3 Using a thickish marker pen I then scribed around the leading edge to get the shape required

Image

Image

Image

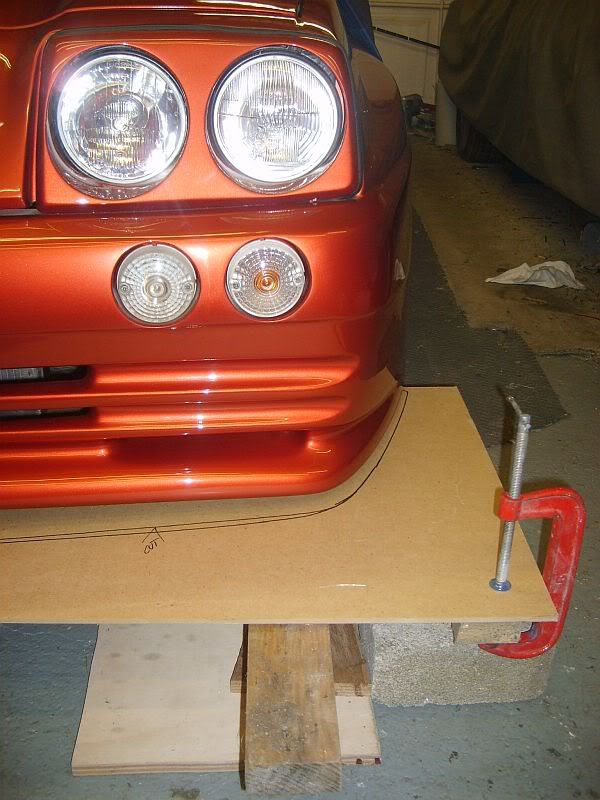
4 I then checked that the gaps were equal from the bottom outer edges of the spoiler to the template and found that the n/s was lower than the other so levelled that off to match the o/s.

Image

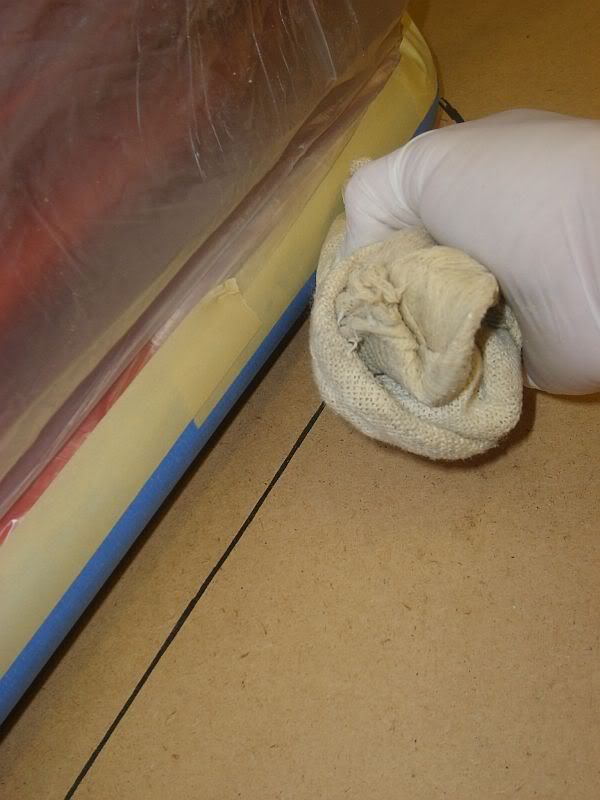
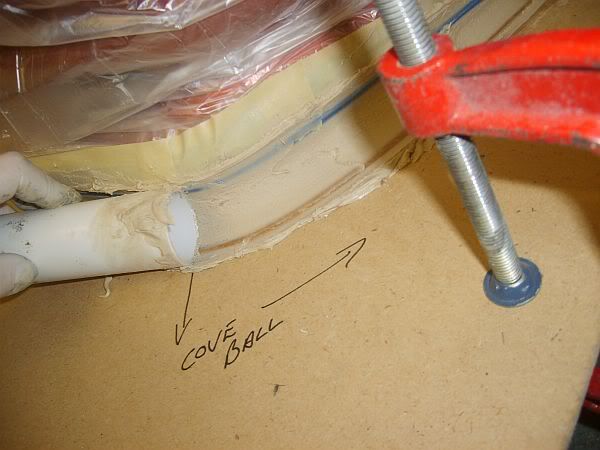
The gap at the front of the spoiler to the template is 40mm exactly and this will need to be filled in using body filler and a coving ball or something similar maybe the end of a silicone tube to get a nice even radius between the splitter and the spoiler itself.
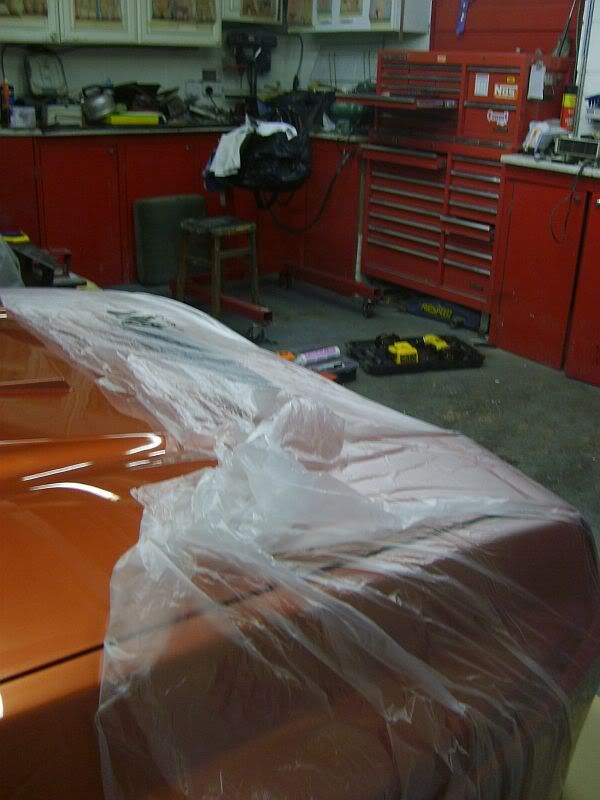
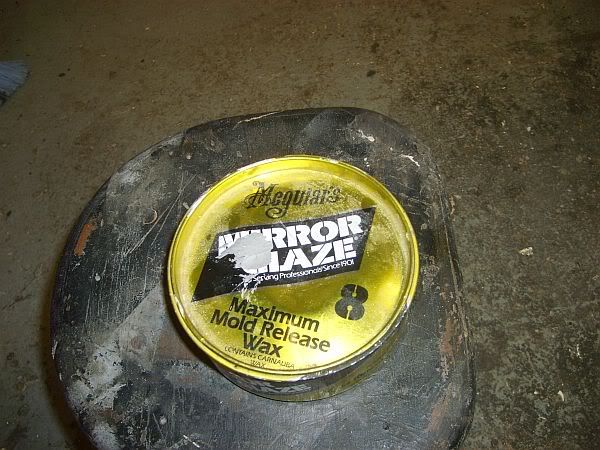
I will need to use low tack tape around the front of the spoiler so that when I use the mould release wax the filler once cured, will come away easily from the paint/tape without any damage and retain it's shape perfectly.
This will then give me my basis for the fibreglass mould I will make.
cheers
Paul


kev_the_mole
Forum Contributor
Forum Contributor
Posts: 1022
Joined: Sat Nov 18, 2006 9:41 pm
Location: Las Islas Purbequias

Post by kev_the_mole »

Will be watching this thread with great interest as the Healey front end goes very light at around 120mph.

Cheers,

Ian
Image


It's an engine Jim.....but not as we know it ;)
gelmonkey
Sergeant Monkey Face
Posts: 1307
Joined: Sat Jun 27, 2009 11:58 am
Location: plymouth

Post by gelmonkey »

Hi Ian
Will try to be as comprehensive as possible with detail with as many pics as possible too.
It is all fairly basic stuff but it does take time.
Will post again tonight.
Cheers
P
ian.stewart
Forum Contributor
Forum Contributor
Posts: 2419
Joined: Sat Nov 18, 2006 1:59 pm
Location: Far Far south, any further south and my feet are wet

Post by ian.stewart »

Ian,
have you enough castor angle?, this can help high speed stability,

Somebody I know sent me a OLD pic of my Zephyr, I think it was 23 years ago, so stop laughing!!!!!! but I made a small bib from 1/8th allumunium, that worked a treat,


Image
THE SMOKING GNU
12.604 with an old boiler of a RV8 and no gas
WHY are there so many IANS on this site???????
gelmonkey
Sergeant Monkey Face
Posts: 1307
Joined: Sat Jun 27, 2009 11:58 am
Location: plymouth

Post by gelmonkey »

Evenin All
After double checking everything before getting down to the mucky stuff I used the low tack tape(blue) and masked off the lower edge of the spoiler.
I then used bodyshop sheeting to cover the front of the car and masked that into place.

Image

Image


Image

I then used a mould release wax and gave the lower section and the underside of the spoiler 6 heavy coats before mixing up a load of plop and started to fill in the void.

Image

Image

Once this was done I used a section of waste pipe to cove a fairly even bead of plop between the spoiler and the template.
I then let it semi cure and then tidied the excess off with a filler spreader to give a starting point for tomorrows efforts.
I have not done the full section yet as I have found it is better to work only a size of area that can be completed comfortably and then you don't end up wasting materials.

Image

Image

Image

Once the template is released I will be able to do a final tidy and skim to blend everything together.
Hopefully time will allow for the other side tomorrow evening and then on Thursday it can be released from the front of the car.
Cheers
P
kev_the_mole
Forum Contributor
Forum Contributor
Posts: 1022
Joined: Sat Nov 18, 2006 9:41 pm
Location: Las Islas Purbequias

Post by kev_the_mole »

Ian,

Castor is OK, it's more the famous Healey front end lift that's the problem. I thought that weighing it down with a stonking big Chevy might help but NO :(

Also I have two very substantial chassis rails with captive nuts just crying out for a cow catcher on the front. It will frighten the other guys and help the idiot in the commentary box at the Pod say once more "it's that little red car I don't recognise again" :D

Nice Zephyr!

Cheers,

Ian
Image


It's an engine Jim.....but not as we know it ;)
User avatar
topcatcustom
Forum Contributor
Forum Contributor
Posts: 2965
Joined: Sat Aug 09, 2008 11:53 am
Location: Essex
Contact:

Post by topcatcustom »

Looking good Paul, why did you chose not to do the whole thing with a rough 1st fill, then maybe a second and finally do the nice skim with the radius? The only reason I'm asking is that filler shrinks a bit when it goes off and was wondering if that would make the next section for you a pain when it comes to trying to the the radius in- though I guess it is minimal shrinkage and you will have to do a lot of sanding anyway!
TC
gelmonkey
Sergeant Monkey Face
Posts: 1307
Joined: Sat Jun 27, 2009 11:58 am
Location: plymouth

Post by gelmonkey »

Hi Tom
I did answer your questions earlier but it seems to have vanished into the ether!
I will try again...I did not do the whole thing in one go as this means making up a whole load of plop and trying to get it all in,coved and looking good in one hit is a task in itself especially as the stuff does go off fairly qickly.
If I had done a couple of rough fills and then a final skim coat this would mean using lots more material than it really needed.
The final sand down will not take very long at all as I will use the same section of waste pipe which has the correct profile with garnet paper stuck to it and this will bring the shape into square very quickly with minimum hassle.
Shrinkage should not really be a problem as a small rubber section will be placed between the upper edge and the bottom of the spoiler.
Hope this answers your questions.
Cheers
Paul
gelmonkey
Sergeant Monkey Face
Posts: 1307
Joined: Sat Jun 27, 2009 11:58 am
Location: plymouth

Post by gelmonkey »

Greetings Fellow Motor Mutilators
Have not done an awful lot this evening as a buddy of mine turned up and we have been talking shat most of the time.
I have however,managed to get the complete filling operation done and is now curing at it's leisure.
Anyway,just a few pics tonight....

Image

Image

Tomorrow night I will drop the template down and then we shall see how well the coving has gone.
Cheers
P
CastleMGBV8
Top Dog
Top Dog
Posts: 2334
Joined: Sat Aug 18, 2007 5:09 pm
Location: Sidcup, Kent, UK

Post by CastleMGBV8 »

Paul,

Good progress, I just love to see the skill that others possess being put to good use and to get an understanding of how it is done. will look forward to seeing the finished article, should look very nice.

Kevin.
User avatar
topcatcustom
Forum Contributor
Forum Contributor
Posts: 2965
Joined: Sat Aug 09, 2008 11:53 am
Location: Essex
Contact:

Post by topcatcustom »

Cool, how far is the splitter going to stick out?! Are you going to fit some nice little stainless tie bars to support it too?!?!!??!
TC
gelmonkey
Sergeant Monkey Face
Posts: 1307
Joined: Sat Jun 27, 2009 11:58 am
Location: plymouth

Post by gelmonkey »

Hi Guys
Progress is good as I am left pretty much alone evenings once the little people are in bed.
I am thinking about bringing the actual splitter out about 10 to 12 mm from the front of the coving as I don't want to make a massive feature of it.
All things being equal I will be able to show you roughly what it is going to look like by the end of play tonight
By doing it in black I am hoping that it will be somewhat over looked andI won't be using those stainless struts Tom as I don't like them,far to Halfords for my liking.
What I plan to do is make some wedges out of foam and then glass them into the structure on the back side.
I will then be able to fix through these and into the original panel thus making it very strong without the need for external supports.
Cheers
P
User avatar
topcatcustom
Forum Contributor
Forum Contributor
Posts: 2965
Joined: Sat Aug 09, 2008 11:53 am
Location: Essex
Contact:

Post by topcatcustom »

You may be right- I scoured google and couldnt find a good example of a car with the struts! Obviously now a show feature! But- hows this for some effort in getting the nose down?!?! http://ll.speedhunters.com/u/f/eagames/ ... 2X0491.jpg
TC
kev_the_mole
Forum Contributor
Forum Contributor
Posts: 1022
Joined: Sat Nov 18, 2006 9:41 pm
Location: Las Islas Purbequias

Post by kev_the_mole »

This is what the Healey endurance car used to get to 153 mph

Image

but it looks a bit boring. This looks a bit better :D

Image
Image


It's an engine Jim.....but not as we know it ;)
User avatar
topcatcustom
Forum Contributor
Forum Contributor
Posts: 2965
Joined: Sat Aug 09, 2008 11:53 am
Location: Essex
Contact:

Post by topcatcustom »

That is S-M-A-R-T !!!
TC
Post Reply

Return to “Your Garage Scene”