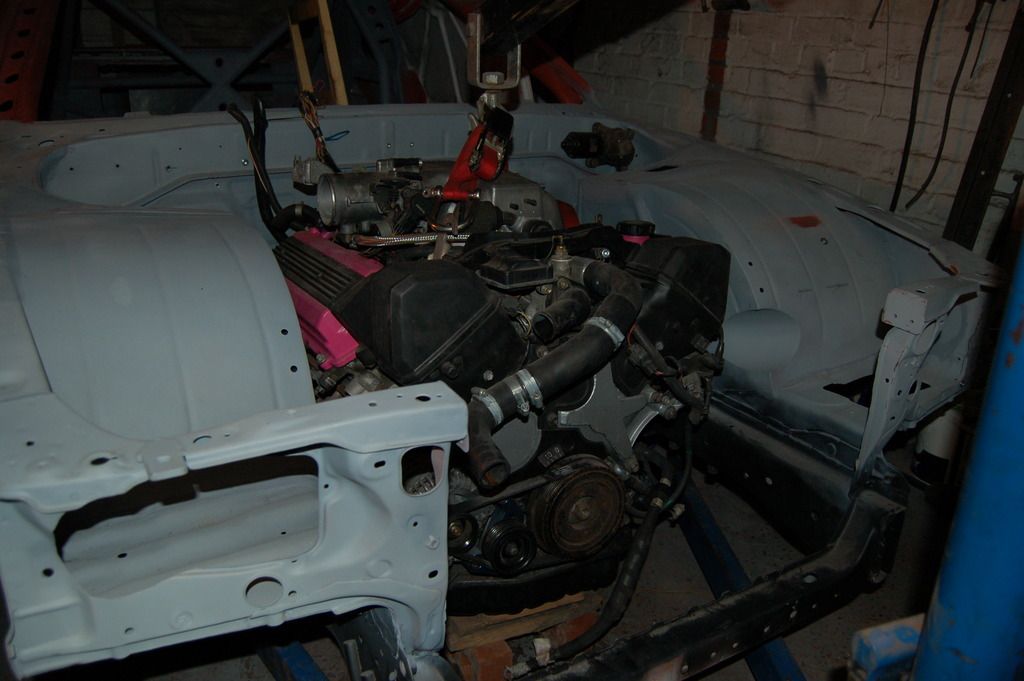
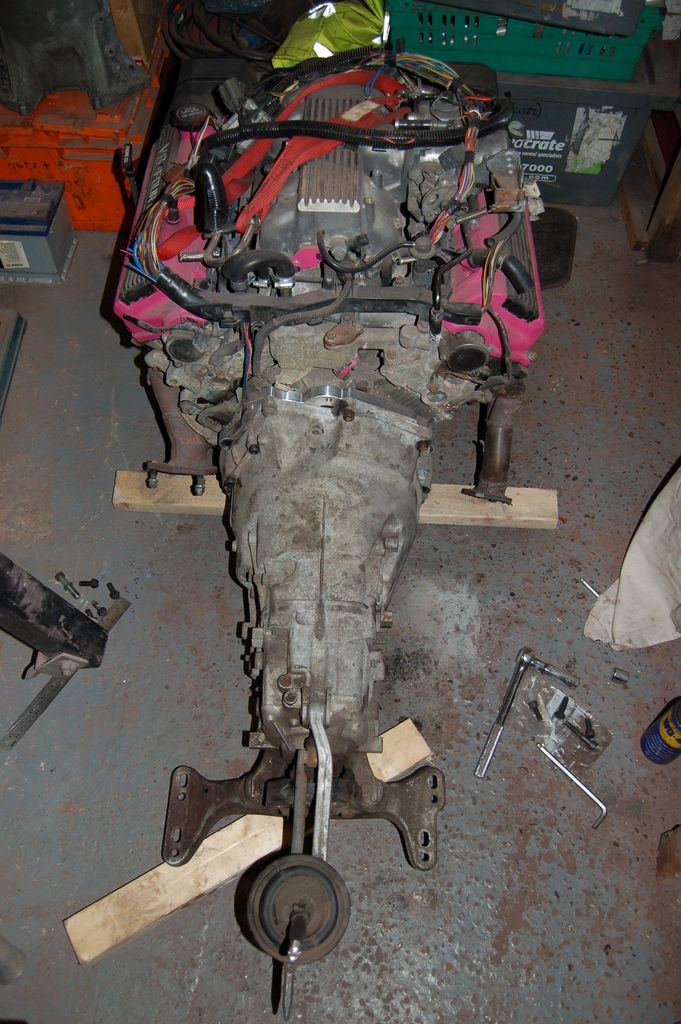
Took some shots of what I've been up to in the last few weeks, mainly first-fit of engine bay and interior.
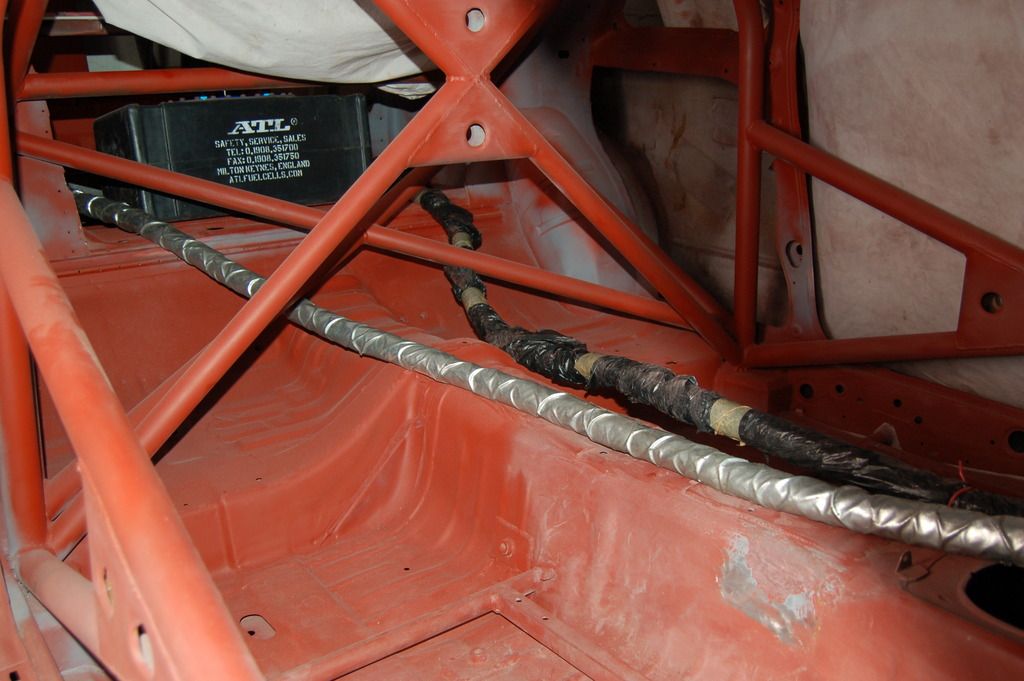
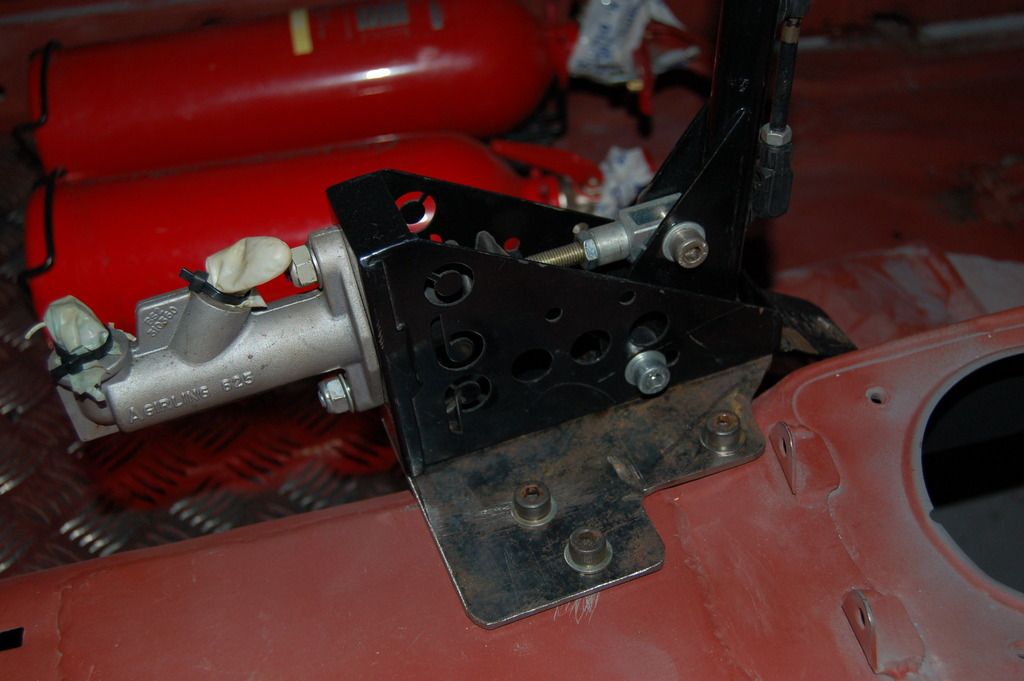
First up is the brake system. Running braided Goodridge AN3 fittings throughout, except hard lines in the engine bay for the front brakes. Mounted the header tank (which came off a Nascar) and made a couple of aluminium bulkhead plates using existing captive nuts on the bulkhead. There is one behind the header tank for the brake link, and the one down by the steering column will be drilled for the gauge feeds (more on that later)
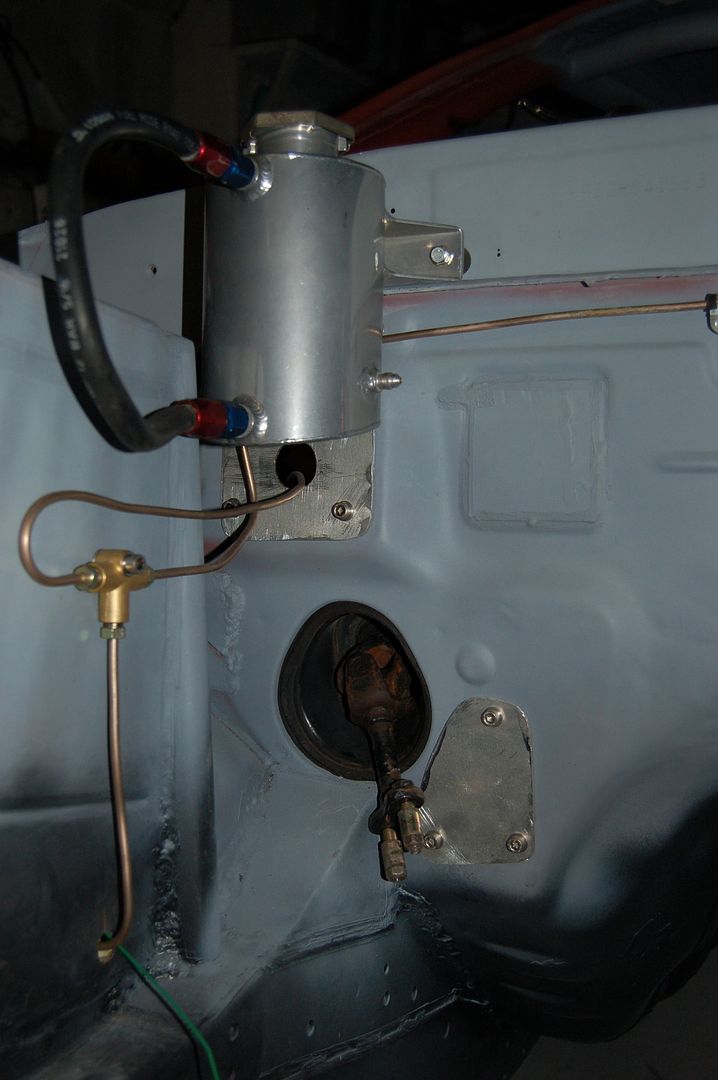
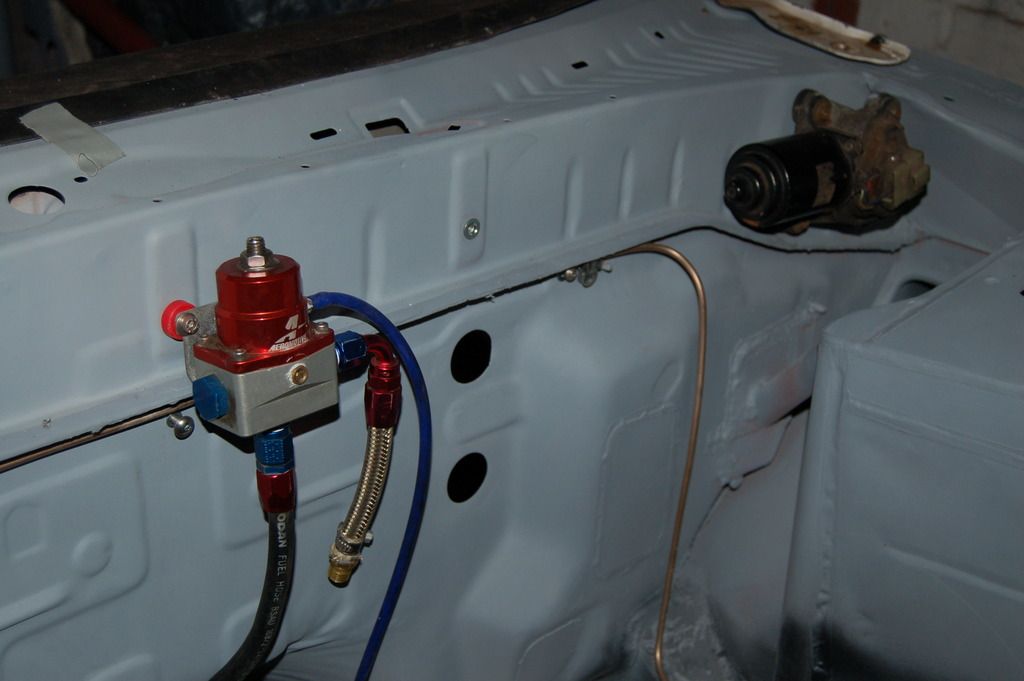
Ran the brake hardline under the lip on the bulkhead. I've discovered the awesomeness of Rivnuts, they're brilliant for fitting pretty much anything! Also mounted the Aeromotive fuel pressure regulator. I have some AN6 bulkhead fittings for the fuel lines but I may run them down the gearbox tunnel. Also fitted the wiper motor and tested the linkage, will be running single wiper conversion by moving drivers wiper to the central mount and turning it 90 degrees.
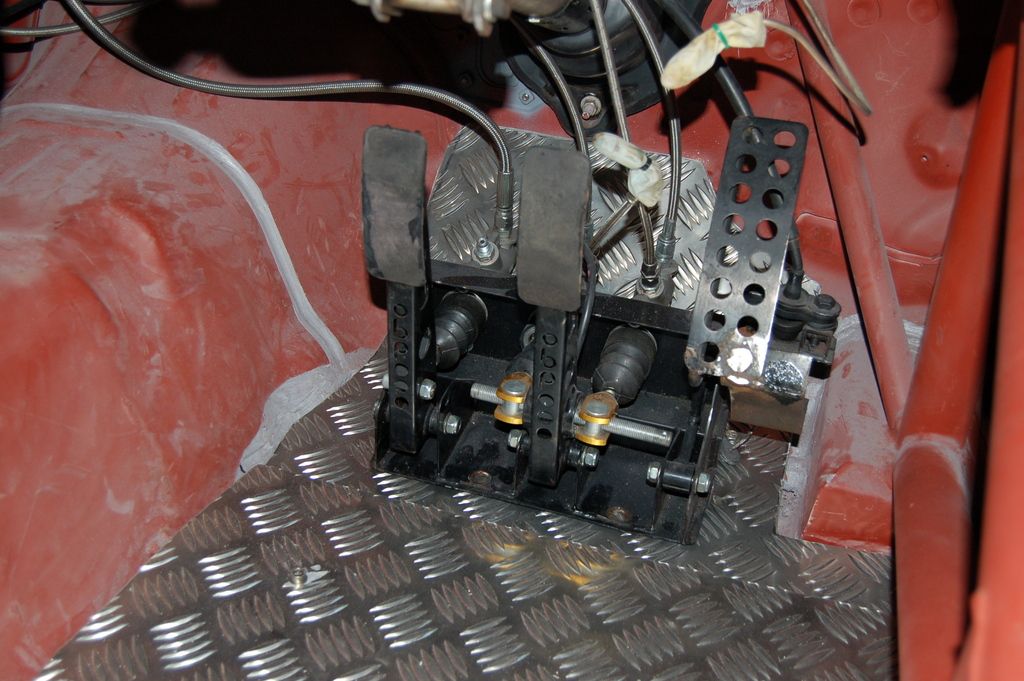
Ordered a 1m x 1m sheet of 3mm chequer plate, which was pre-cut to my specs. Used it for the drivers footwell (raised) and pedal box mount. Pedal box is an OBP bias box with the loud pedal already modified for the 1UZ accelerator cable.
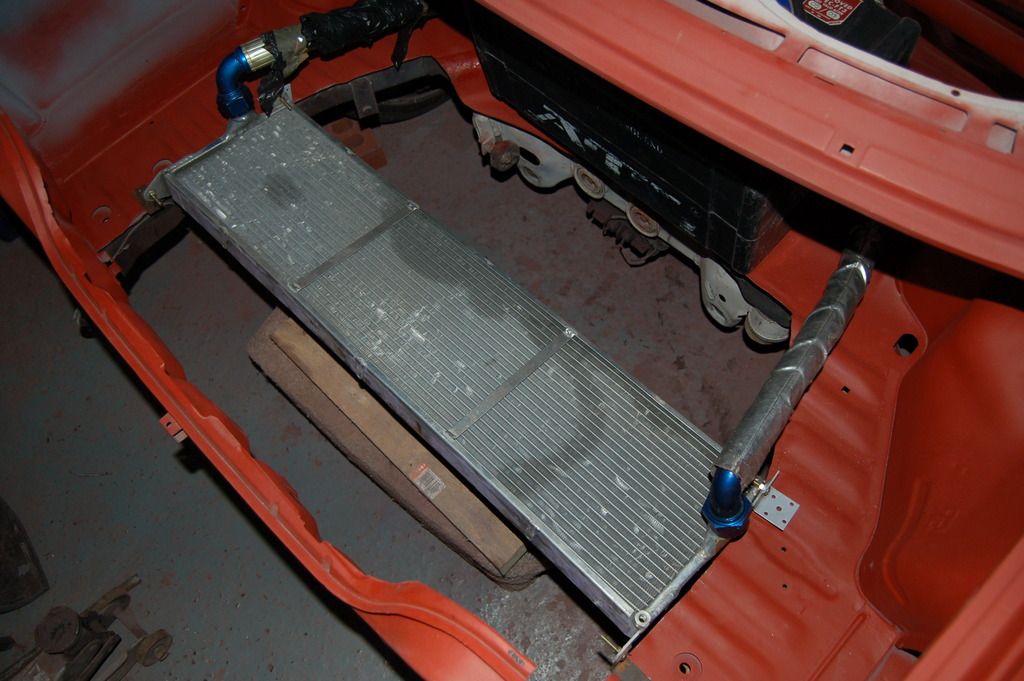
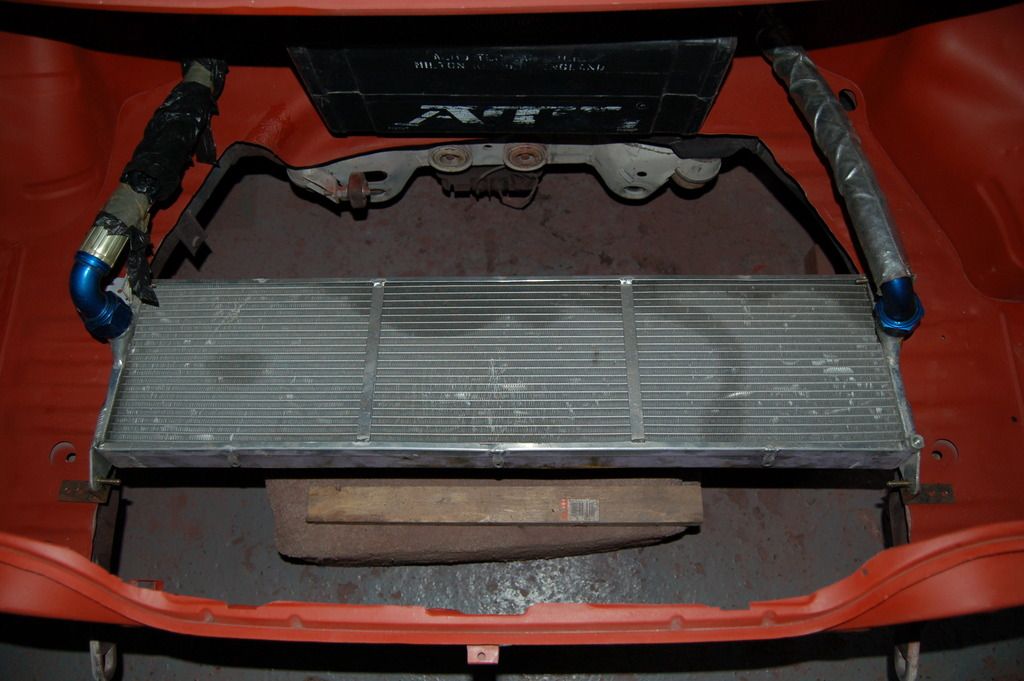
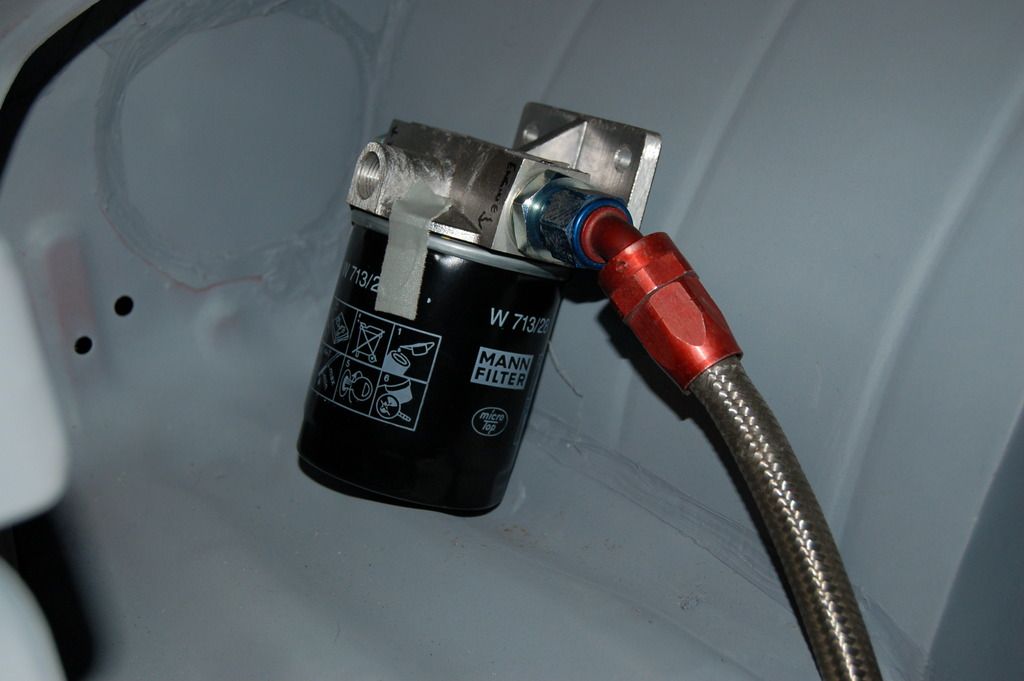
Not quite sure where to mount the Mocal remote filter yet, might be in front of drivers tub as shown. Running AN8 lines for the oil system, and the biggest Laminova oil/water cooler available. The reason I chose this over a standard bar oil cooler are for a number of reasons, firstly it's smaller, lighter, out of the way of any debris, highly efficient and look damn awesome! Plus I got it cheap as one of the fittings was damaged, just got to get larger water fittings for it. The Mocal filter head is tapped at the front - I will have the oil pressure and temp sensors mounted there.
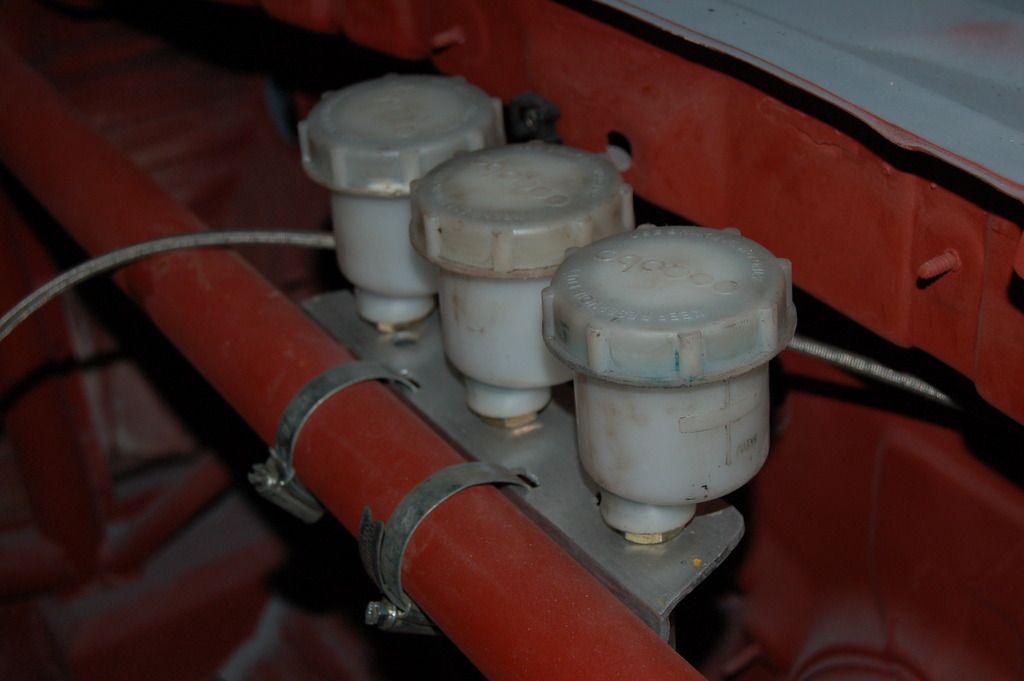
Mounted the three OBP master cylinders off the dash bar on a piece of aluminium angle, held on tightly with two jubilees. Clutch line is braided AN4 with a bleed system.
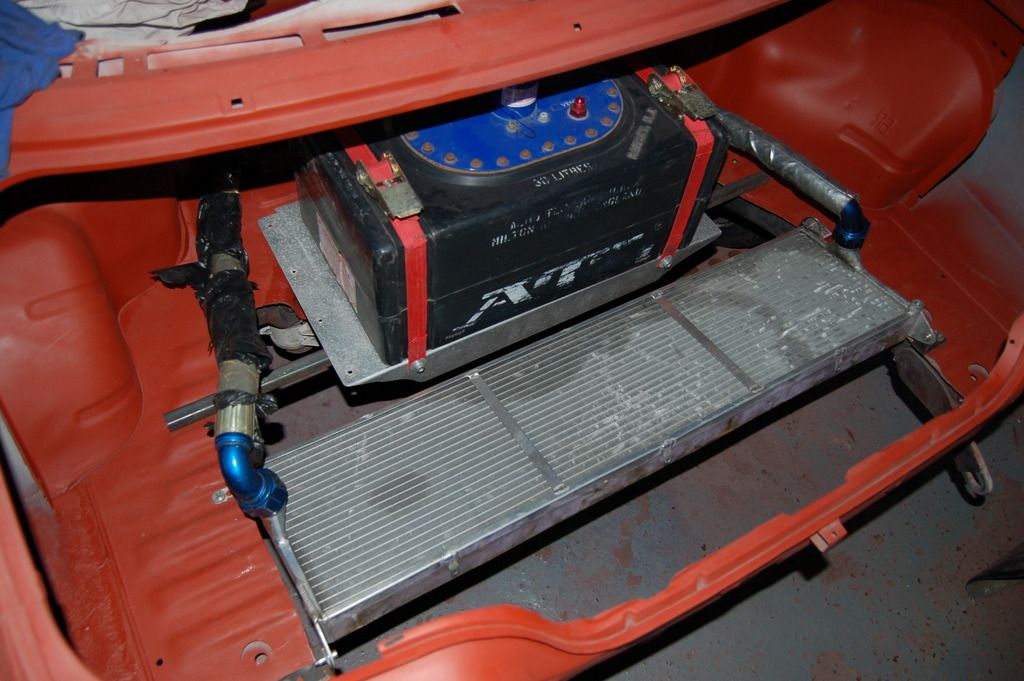
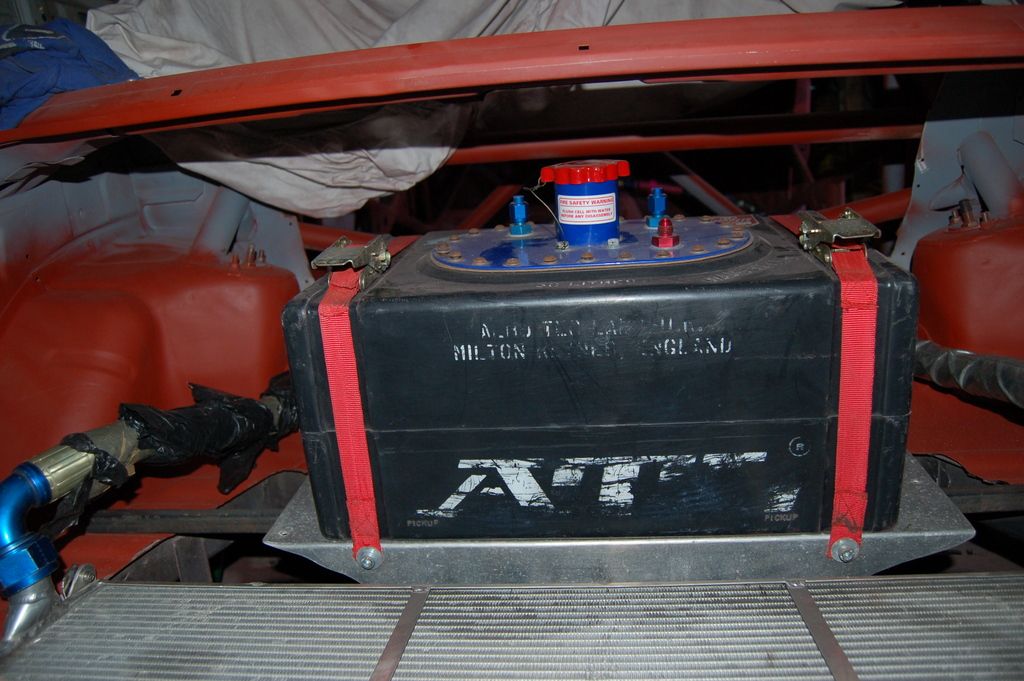
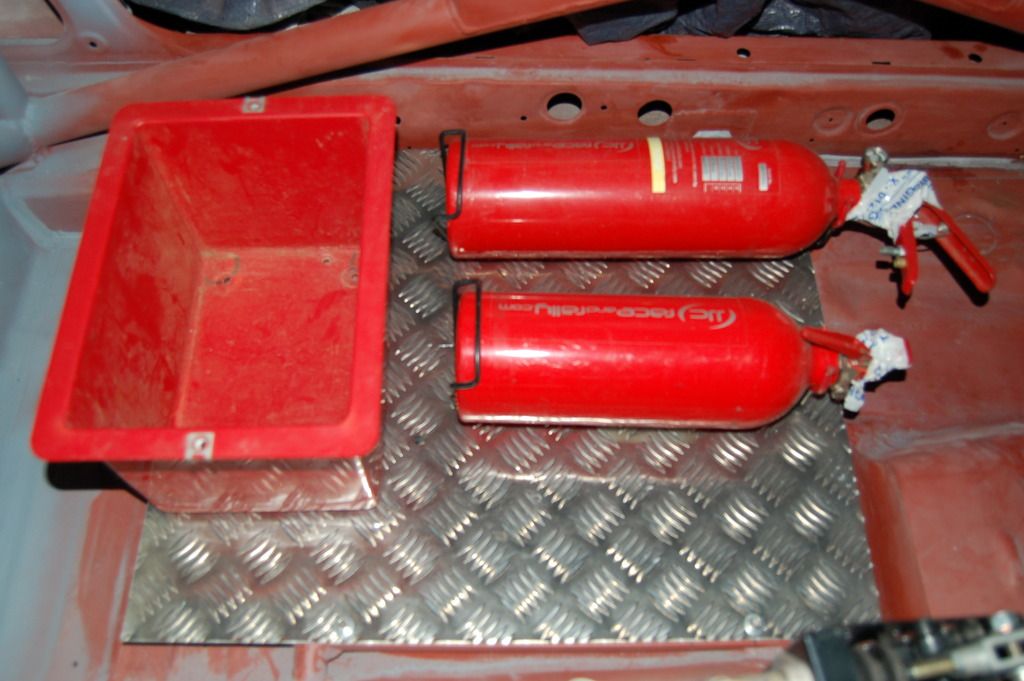
Bolted another piece of chequer to the passenger seat rail for the batter box and twin extinguishers (one manual and one on twin pullcords). Found out today that the battery box is too small for the batter I have, so will have to buy another!
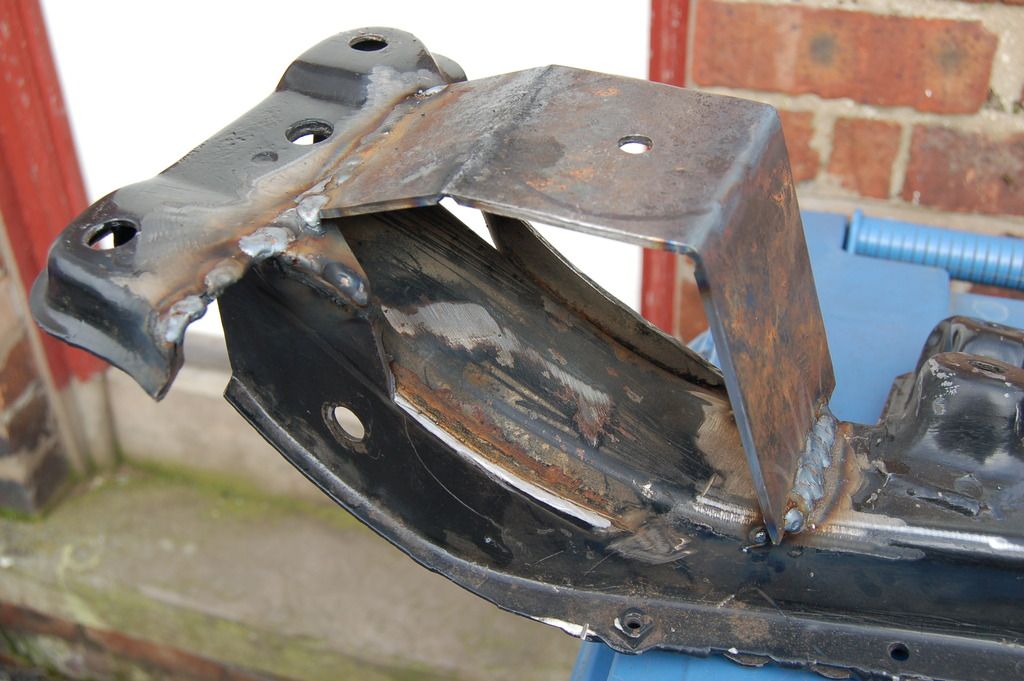
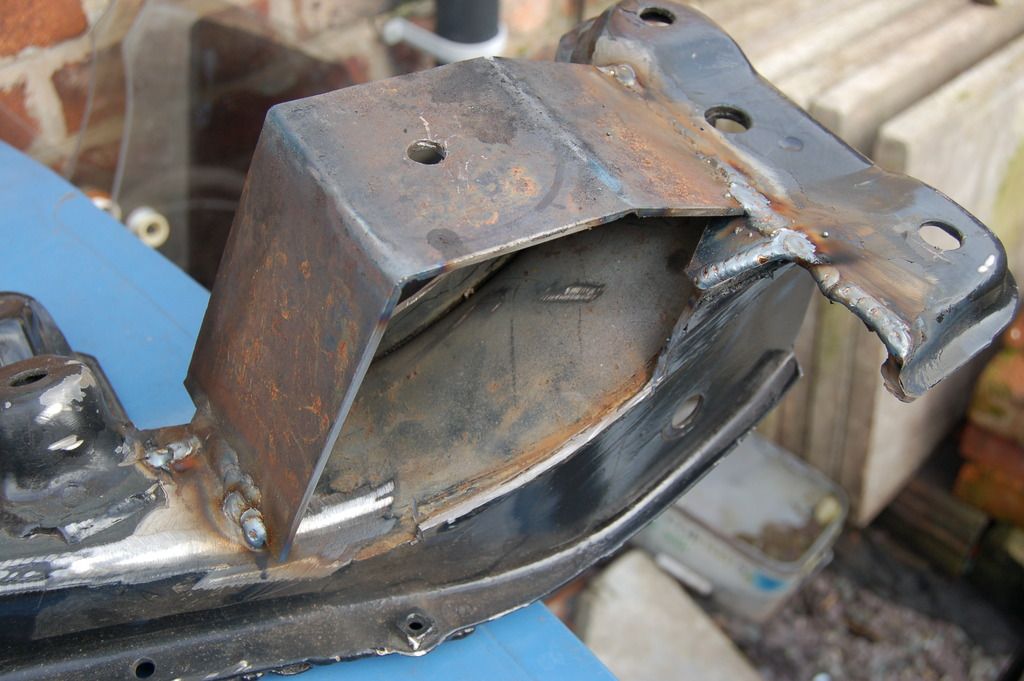
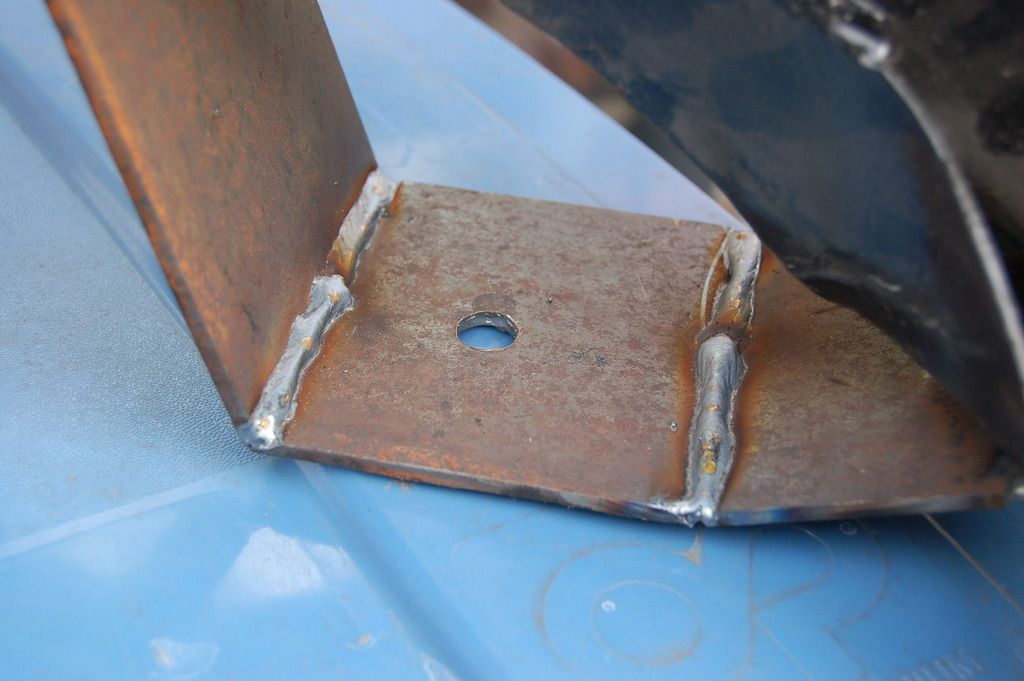
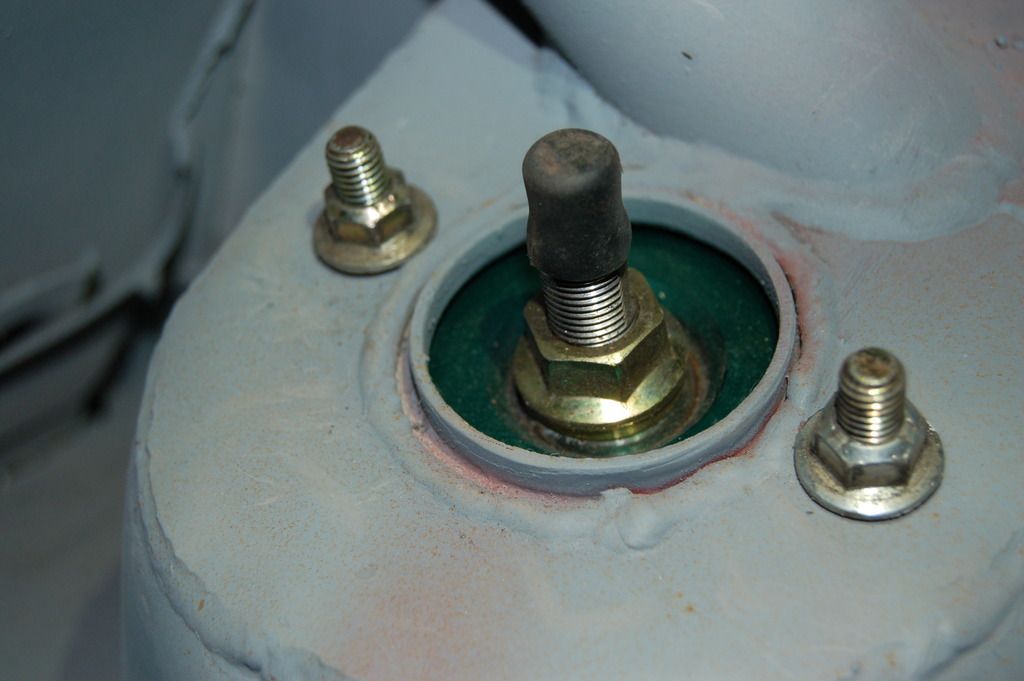
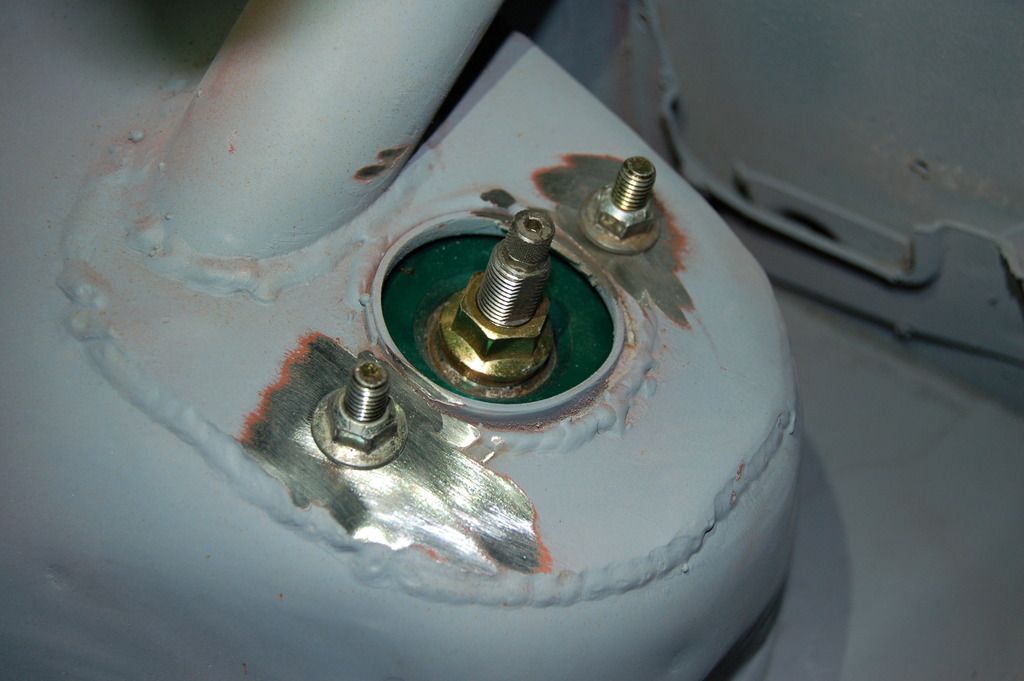
OBP hydraulic handbrake. The previous owner had welded a thick piece of steel onto the top of the tunnel for the hydro, but this put it right in the way of the shifter. I made a plate to move it out about 4", secured with 8mm rivnuts. It's solid. I also have a lever-type AP Racing brake bias for the rear brake line which will get mounted next to this.
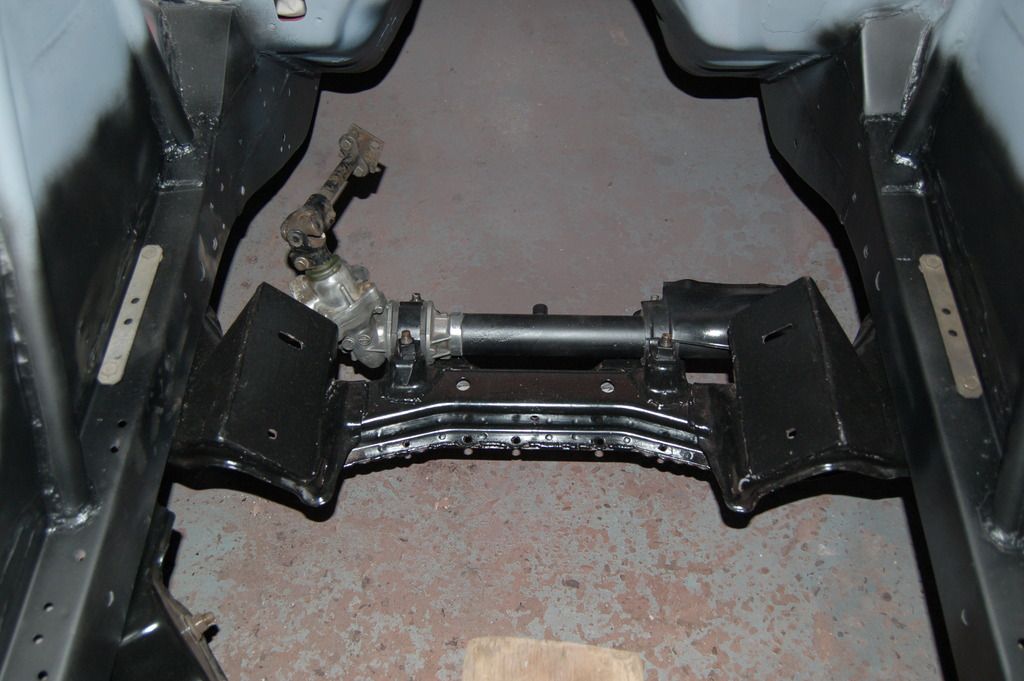
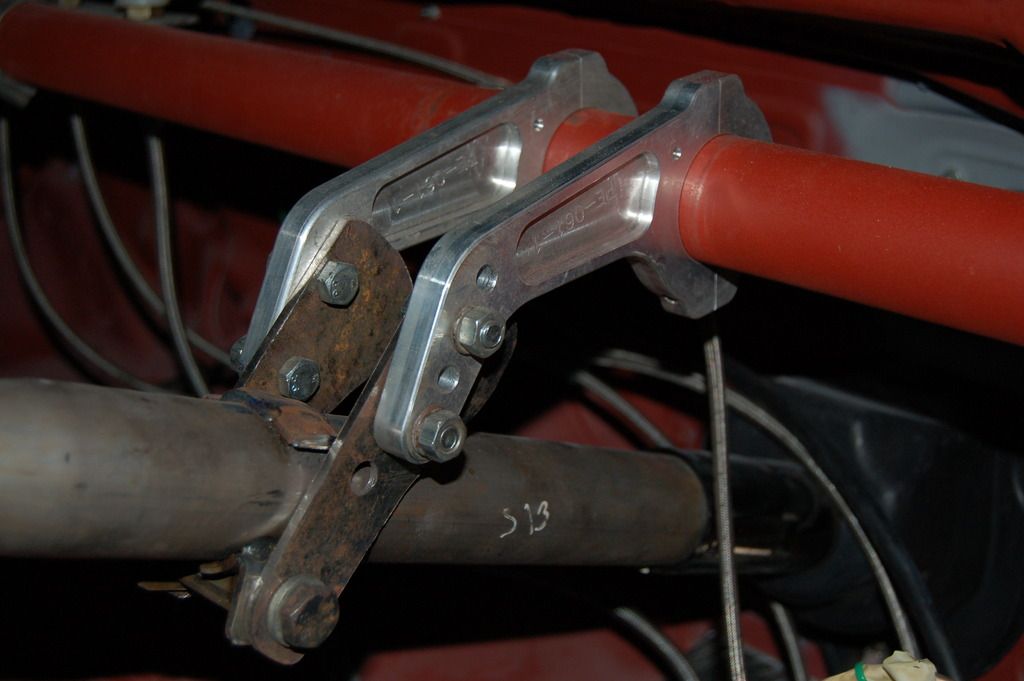
Steering column is mounted using some Nascar billet aluminium clamps which weigh naff all, but had to make a couple of 3mm adapter plates. Left enough meat on them so I can change the steering column position if required. Love the look of these shame they will be hidden by the dash! Steering column has been completely stripped.
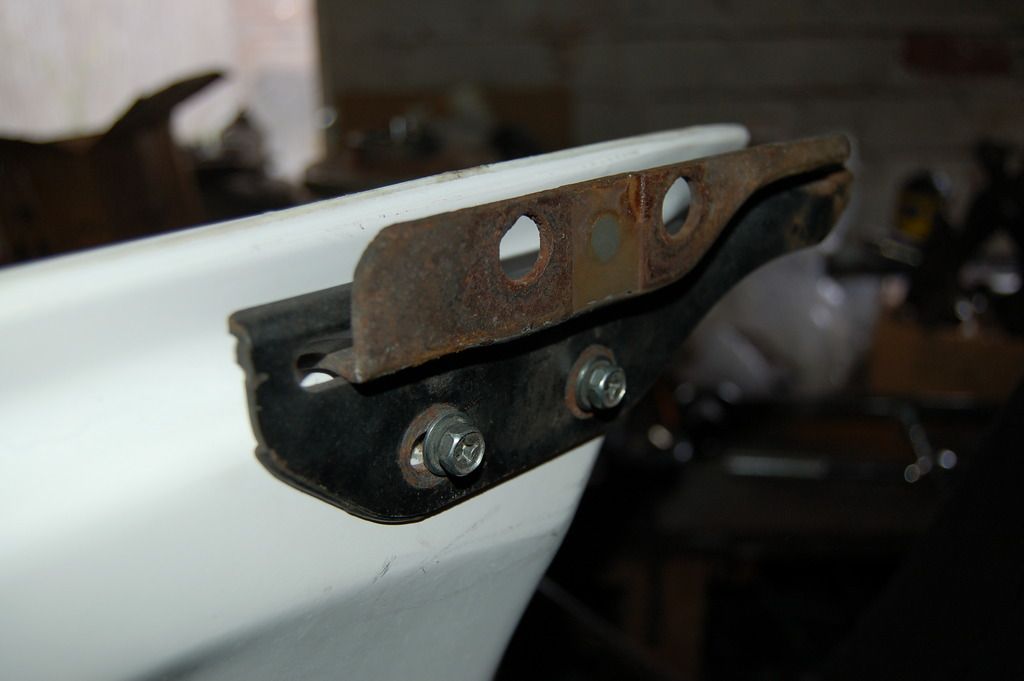
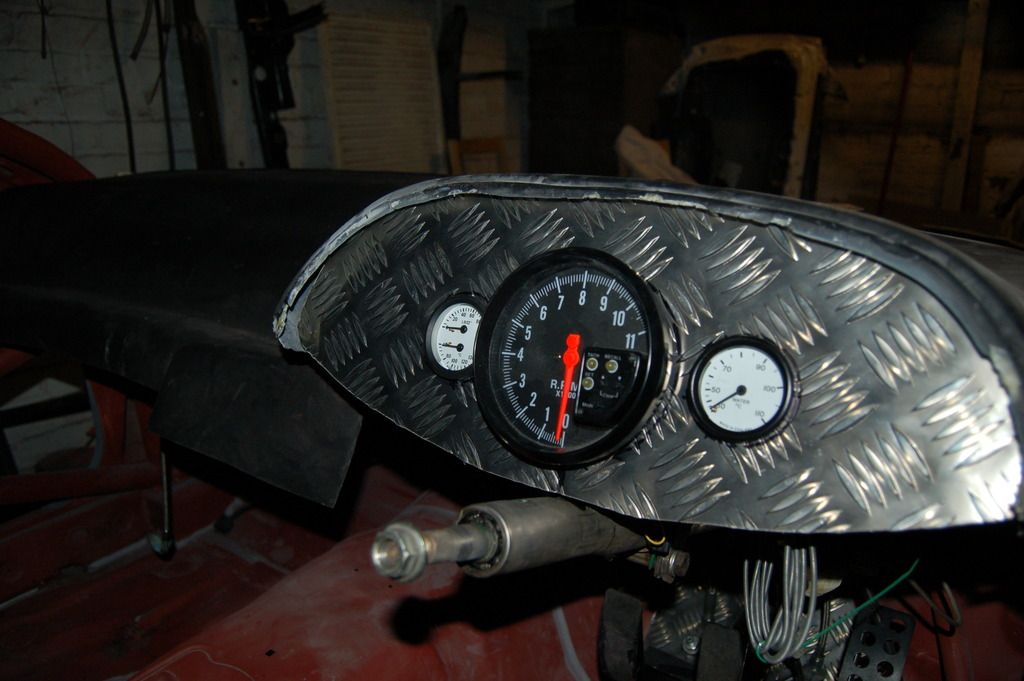
Lastly is the instrument cluster. The dash is a fibreglass copy of the RK Tuning dash and weighs absolutely nothing, plus it was a bargain. Chopped it about a bit and used some left over chequer for the binnacle (bit rough at the moment). I am only running a tacho and two Mocal gauges, one for water temp and a very trick oil pressure/temp combination gauge. These are both mechanical/analogue gauges using capillaries etc. Tacho is unbranded and came on a car I broke, but does the job. It has a useful mount on the back which is curved and fits the steering column perfectly, saving me having to make any more mounts, bonus! The last bit of chequer I have will be used on the centre of the dash for the ignition controls. All other switches/pullcords will be on the top of the tunnel next to driver.
Cheers
RIP MGB V8 .... served me well as a learning curve.
R32 Skyline V8 .... this one is gonna be a monster!