Page 1 of 2
v8 manta coupe
Posted: Tue Apr 26, 2011 9:37 pm
by steel
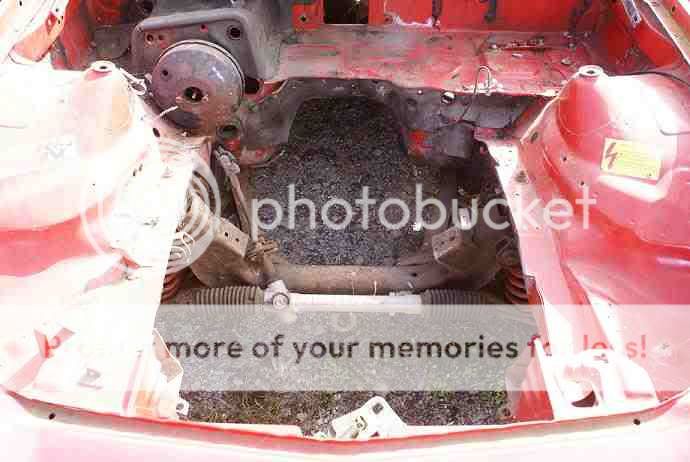
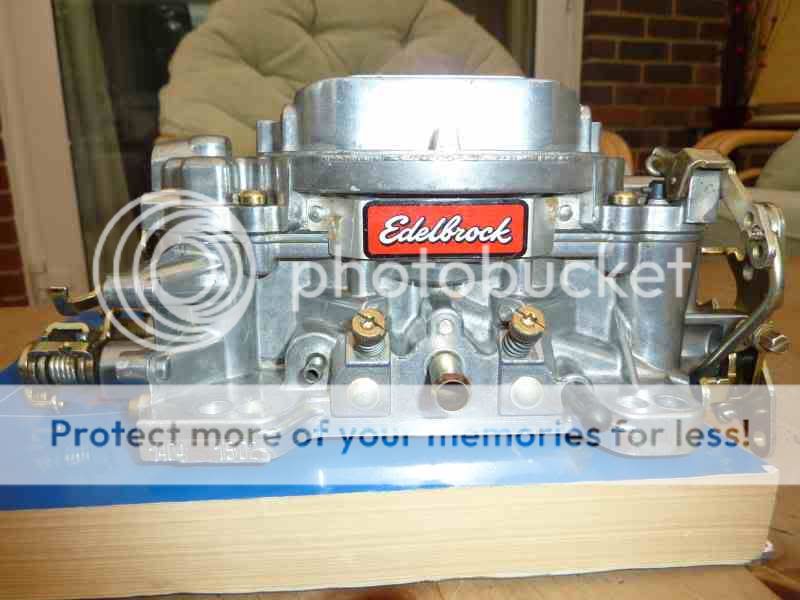
ime a biker and car nut used to enjoy restoring old classics but not owned a car project for nearly 10 years been building bikes instead take up less room until a young lad at my gym asked me to weld his mk1 golf gti turned into a full rebuild in order to fit a mk4 golf turbo lump this reminded me how much i loved playing with 4 wheeled toys so after owning 1 years ago i bought this
non sunroof manta b coupe
Posted: Tue Apr 26, 2011 9:44 pm
by steel
Posted: Wed Apr 27, 2011 6:52 am
by ChrisJC
Looks like a challenge!
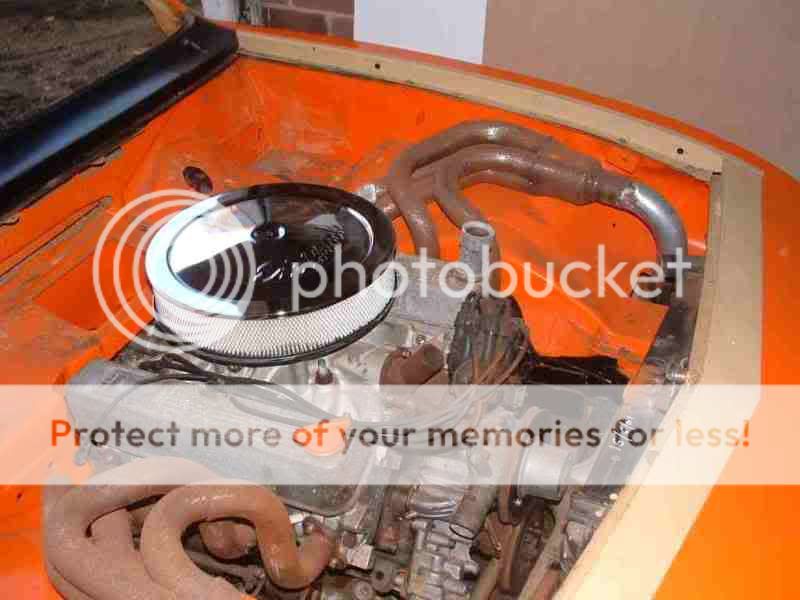
Interesting exhaust manifolds too, I wonder what they are from?
Chris.
Posted: Wed Apr 27, 2011 7:58 am
by steel
the fab and welding side of things is not an issue tbh ,,, the exhausts were custom made by the guy with the manta a series as the exhust manifolds are 1 of the big issues fitting a v8 rover into a manta a and b series theres very little room between the engine bay chassis rail and the engine
Posted: Thu Apr 28, 2011 10:31 am
by JJMclure
mmm, looks like you could fit a T4 on each of those exhausts and have the inducer wheels poking out of the headlight holes! Perfect!
Posted: Thu Apr 28, 2011 4:21 pm
by gelmonkey
Hi Steel
Cut the flange off on the chassis rsils and seam weld along length.
This will give you an extra 1 1/2" in the engine bay which will help you along the way.
You can also shave the tops of the engine mounts turret which will also give you some extra room for the headers.
Have been down this route with the manta many times with friends cars and my own.
You will also need to find a post 94 Polo servo to make it all fit and a Lucas 9m90 short body starter motor or gear reduction unit as the steering shaft will hit the top of the starter otherwise.
Cheers
Paul
PS If you want to have a look in the Your Cars section and look for MY Baby you might find some of those pictures a help.
Posted: Fri Apr 29, 2011 10:11 pm
by steel
cheers m8 will take a look

Posted: Mon May 30, 2011 3:39 pm
by steel
chassis rails are horrible mot patch on top of mot patch not much left of either rail from behind front seat to the frontpanel thinking my only opton is a full box section chassis rail replacement
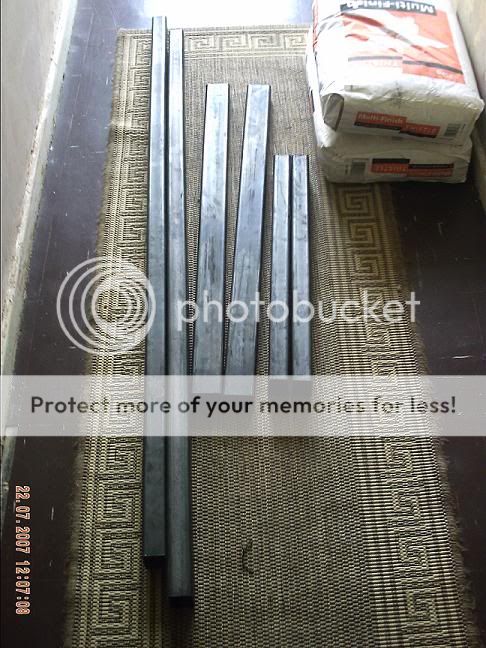
Posted: Tue May 31, 2011 11:53 am
by steel
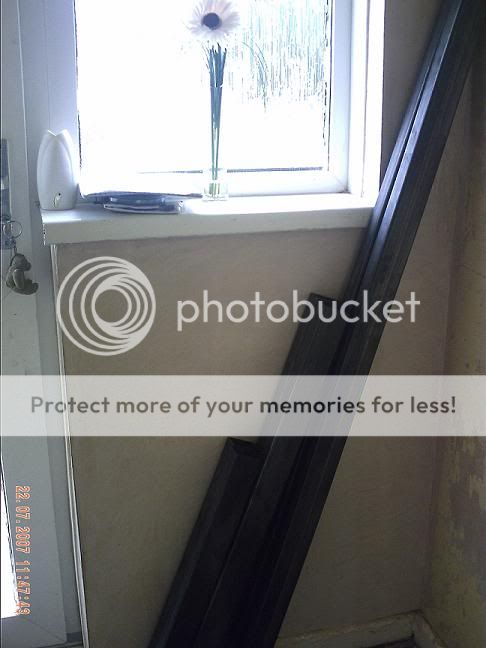
what will hopefully be my new rails 60x40 box section
Posted: Tue May 31, 2011 6:52 pm
by scotb
hope thats finishing plaster your using

Posted: Tue May 31, 2011 9:33 pm
by gelmonkey
Hi Steel
The Manta rails are prone to rot but not usually back behind the front seats.
I personally would not cut out anymore than you have to.
The very forward section running to the front panel is narrower than the rest of the rails and is in essence a crumple zone.
Make sure that you take accurate measurements for the chassis outrigger bolt holes as nothing will line up at the front if you cock this bit up!
The section that runs up from under the car into the engine bay is 3 layers thick and this is the main place for tin worm.
If you don't have access to a mandrel bender then I think you are going to have a challenge on your hands with the box section you show in the pics.
If I can be of anymore help then give me a shout.
Cheers
P
Posted: Tue Jun 07, 2011 10:25 pm
by steel
hi m8 what your saying does make sense but ime thinking of modifying the floor and bulkhead as well so would actually be easier as the floor/bulkhead could be bent at the exact angle to suit the rails
anyway made a start
all the tube was mitre cut to length andangle so its spot on
i just need to weld them up now before starting to cut out the old i am going to weld braces/jig in the car to hold the crossmember in place while i remove and replace each rail to keep alignment drilled the holes for the crossmember to bolt to and fitted 22mm o/d steel tubes to stop the box pinching/crushing when the bolts are tightened
http://img685.imageshack.us/img685/7770/picture093k.jpg
Posted: Sat Jun 18, 2011 9:35 am
by steel
Posted: Tue Jun 21, 2011 10:53 pm
by steel
did a bit today happy with what i managed in a shift
cut out the outer cill section just below rear quarter panel itb was rusty and by removing it i gained access to the rotten inner section which was cut out completely

then i turned attention to the inner cill i cut just inboard of the door seal lip

i then offered up the box section inner cill and butted it up against the remains of the inner cill
Posted: Tue Jun 21, 2011 10:55 pm
by steel


