
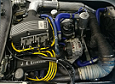
I'm back! With lots of shiny reconditioned and new parts and an empty wallet!
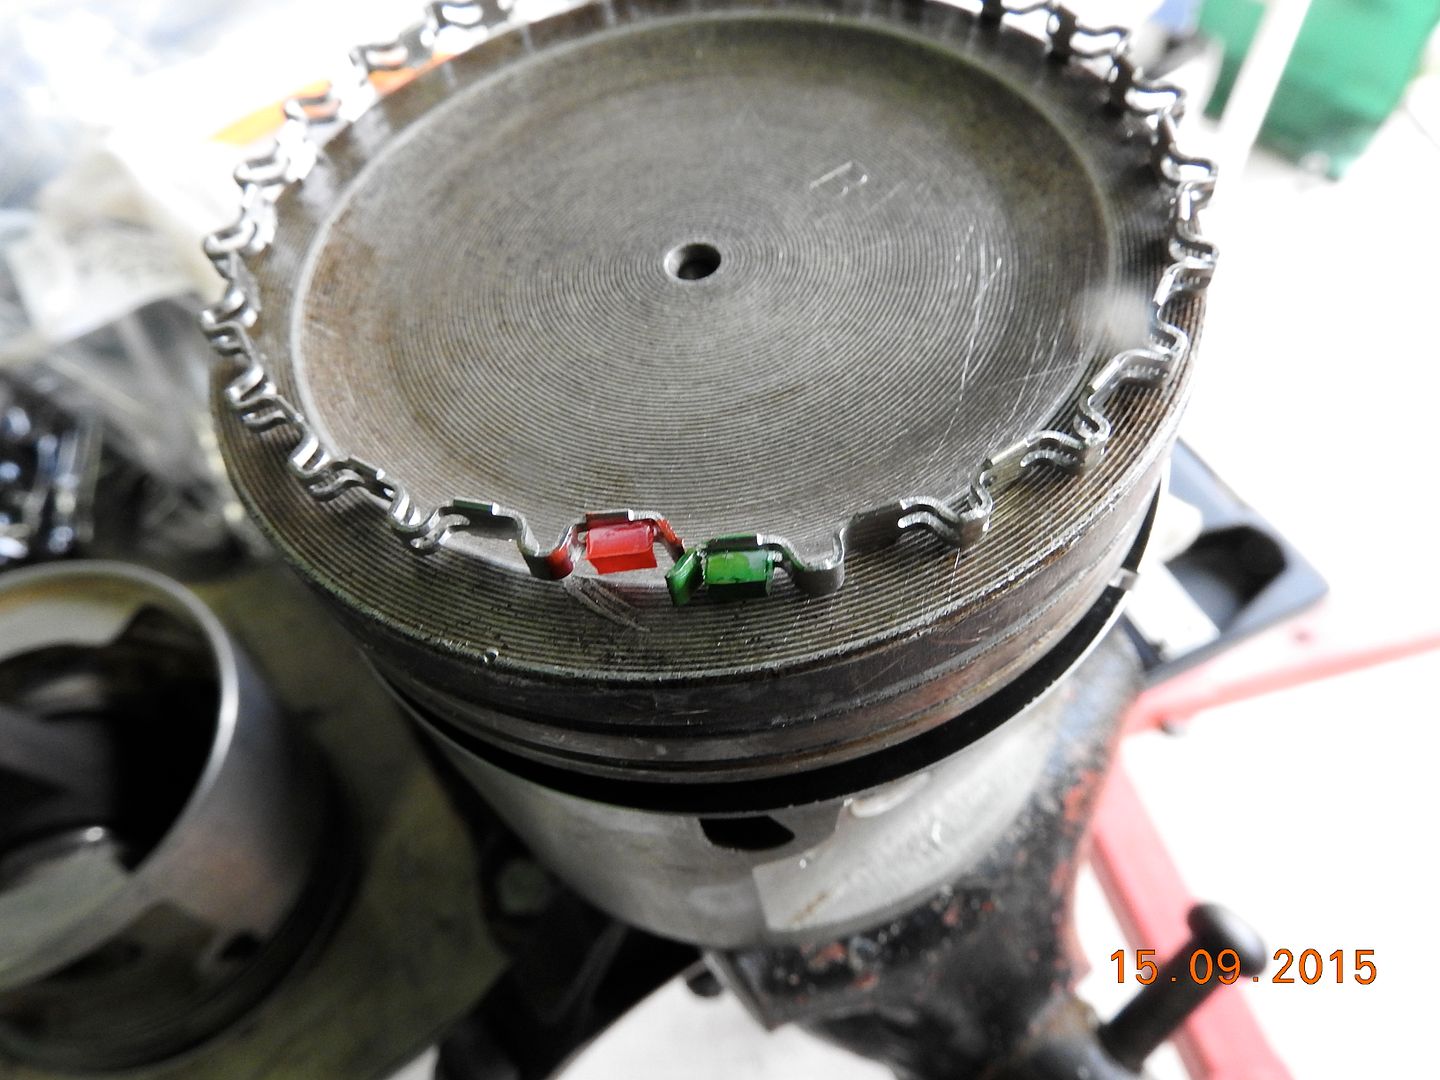
First job is to replace the piston rings with new ones. I haven't made a start yet because I have only just googled how to check the piston ring gap.
I am rather dreading this as I would not feel to comfortable filing the end of a ring to get the correct gap. Any hints anyone can give?
First time rebuild - big picture heavy.
Moderator: phpBB2 - Administrators
-
SimpleSimon
- Knows His Stuff

- Posts: 620
- Joined: Mon Apr 25, 2011 10:36 pm
- Location: East Sussex
I doubt you will be needing to file fit standard size piston rings on used boresAntC wrote:I'm back! With lots of shiny reconditioned and new parts and an empty wallet!
First job is to replace the piston rings with new ones. I haven't made a start yet because I have only just googled how to check the piston ring gap.
I am rather dreading this as I would not feel to comfortable filing the end of a ring to get the correct gap. Any hints anyone can give?
TVR Chimaera RV8 Mods & Megasquirt
-
SimpleSimon
- Knows His Stuff
- Posts: 620
- Joined: Mon Apr 25, 2011 10:36 pm
- Location: East Sussex
If you mean the thin oil control ring (2 on each piston) that secures the serrated insert they are easy just wind them down the piston they are not brittle so no fear or breaking them just dont bend em, also make sure that the serrated ring does not get over lapped at its ends while your in the processAntC wrote:You are right. It was just something in the manual that scared me a bit, as you say, quite needlessly.
However, getting the lower rings in place is a bit tricky. By that I mean the thin rings.
TVR Chimaera RV8 Mods & Megasquirt
Thanks Dave - I thought that might be the answer, but just wanted to check. I used to have a thread measurer, but can I find it?DaveEFI wrote:Pretty well all the threads into ally on the RV8 are UNC. If you measure the thread diameter and Google thread dimensions for UNC, you'll get the size.
Cheers
Ant
1958 Land Rover Series1 V8
Ant
1958 Land Rover Series1 V8
Other way if you have a bolt or nut is to measure the head across the flats (AF) in inches. Ie, 5/16ths or whatever, or take it from an AF spanner. You'll find tables which give you the thread size from that. Although there is the odd bolt with the 'wrong' sized head for special use. But not in this case, IIRC.AntC wrote:Thanks Dave - I thought that might be the answer, but just wanted to check. I used to have a thread measurer, but can I find it?DaveEFI wrote:Pretty well all the threads into ally on the RV8 are UNC. If you measure the thread diameter and Google thread dimensions for UNC, you'll get the size.
Dave
London SW
Rover SD1 VDP EFI
MegaSquirt2 V3
EDIS8
Tech Edge 2Y
London SW
Rover SD1 VDP EFI
MegaSquirt2 V3
EDIS8
Tech Edge 2Y
Hi,
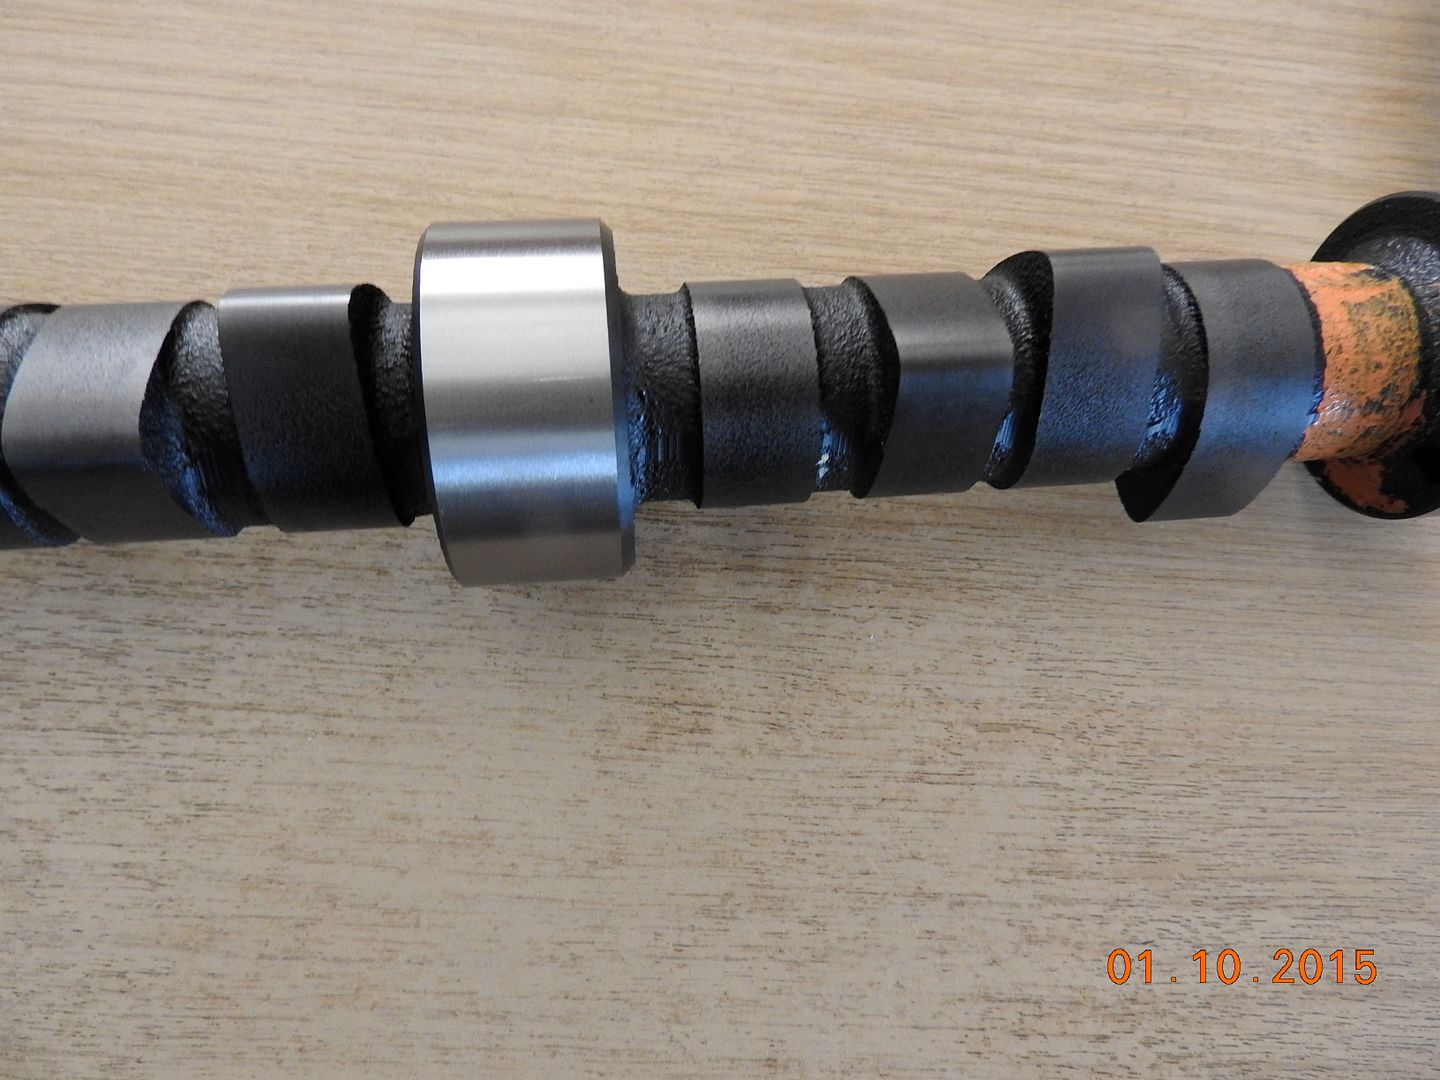
The camshaft coating helps with break in and should not be removed, just clean the bearing surfaces if there is any residue on there, sometimes they use a greasy preservative, a pit of petrol as a solvent usually gets rid of it. Use plenty of clean oil on the journals when installing in the block. The orange paint will just be for the manufacturer and stockists to identify the cam quickly. There is no need to remove it. Make sure you use a good assembly lube on the can and followers, Crane is very good, if you can get it the old assembly paste that came in a black pot is excellent, the current red liquid that comes in a bottle works just as well though, I also use this on the mains and big ends together with piston pins if they are fully floating. It clings well and as we often have the engine sat for a month or two before running it gives good peace of mind. Whatever you do, do NOT use assembly lube on the bores or piston rings. ATF is best but clean engine oil is ok.
Alan
Thanks Alan - very informative. I haven't used assembly lube on the mains and big ends, just lots of oil. I plan to rebuild the engine and fill the sump to the correct level and occasionally pump the oil round using a tool on the oil pump drive off an electric drill. It will be some time before I start the engine and although I have heard that priming the oil pump can be done with vasalene I would like to see some oil pressure on the gauge before starting it up and I need to run in the camshaft. However, using it on the cam and followers sounds good advice.bigaldart wrote:Hi,
The camshaft coating helps with break in and should not be removed, just clean the bearing surfaces if there is any residue on there, sometimes they use a greasy preservative, a pit of petrol as a solvent usually gets rid of it. Use plenty of clean oil on the journals when installing in the block. The orange paint will just be for the manufacturer and stockists to identify the cam quickly. There is no need to remove it. Make sure you use a good assembly lube on the can and followers, Crane is very good, if you can get it the old assembly paste that came in a black pot is excellent, the current red liquid that comes in a bottle works just as well though, I also use this on the mains and big ends together with piston pins if they are fully floating. It clings well and as we often have the engine sat for a month or two before running it gives good peace of mind. Whatever you do, do NOT use assembly lube on the bores or piston rings. ATF is best but clean engine oil is ok.
Alan
Cheers
Ant
1958 Land Rover Series1 V8
Ant
1958 Land Rover Series1 V8
You should still prime the pump with vaseline, the Rover pump really is poor at self priming, any time the sump is off so the pick up is exposed it will need priming again. Believe me when I say we have tried every possible method to avoid taking the pump cover off as we drop the sump and check bearings after every meeting on the race car. Most methods work sometimes but not reliably and we then ended up losing track time, now we just pack the pump every time.
Alan
Alan
