Hi Guys
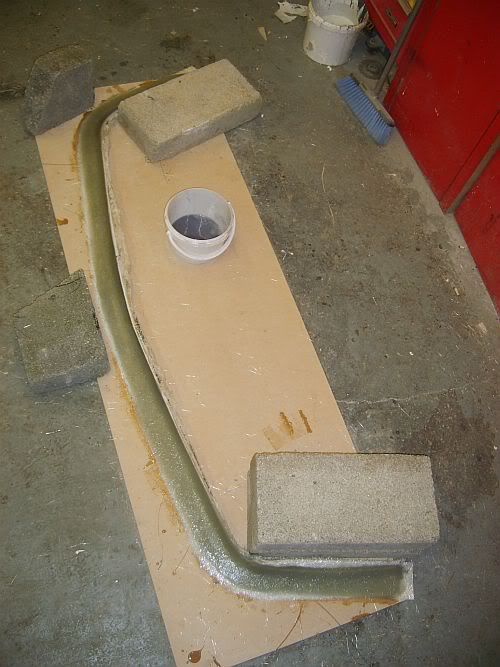
Well Mk2 is at the stage for moulding now.
The temperatures are back up to a reasonable level and I can carry on with this project.
Everything has been done as per MK1 so I now find myself at the fun part.
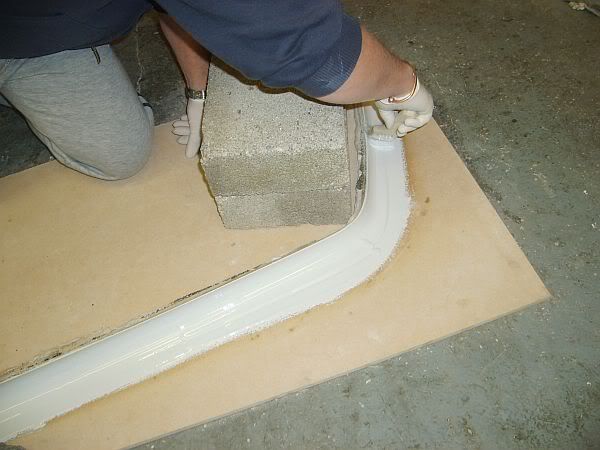
The timber that was left from the sheet was kept and this has been used as a fence for the moulding stage.
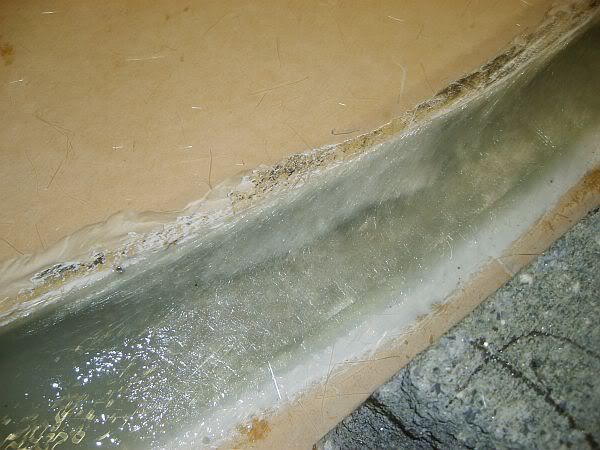
As you can see the joints have been filled with plasticine and trimmed flat to the splitters leading edge.Plasticine is used as gel coat will not stick to it,will not shrink whilst the gel is curing and is very easy to shape.
I have coated the front face of the splitter with 7 coats of mould release wax so that when its time for the mould to be released it will come away easily without damage.
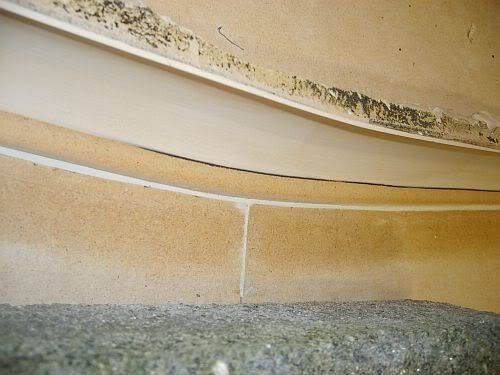
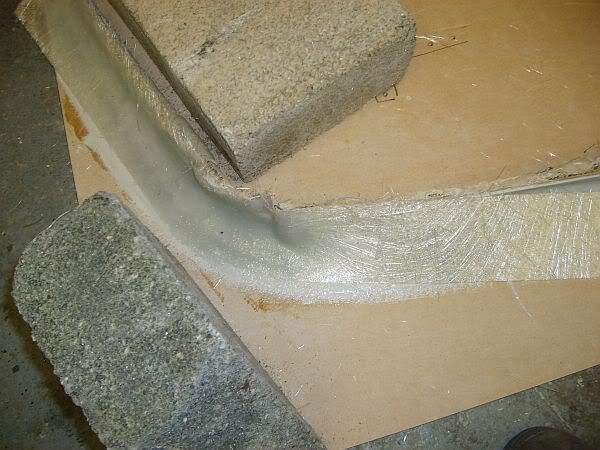
Because the front edge of the splitter has a tight 10mm radius I have chosen to make this a 3 part mould so that it will be simple to laminate and final finish.

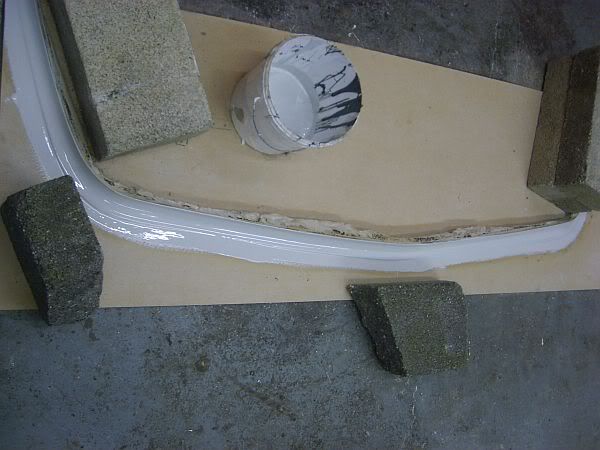
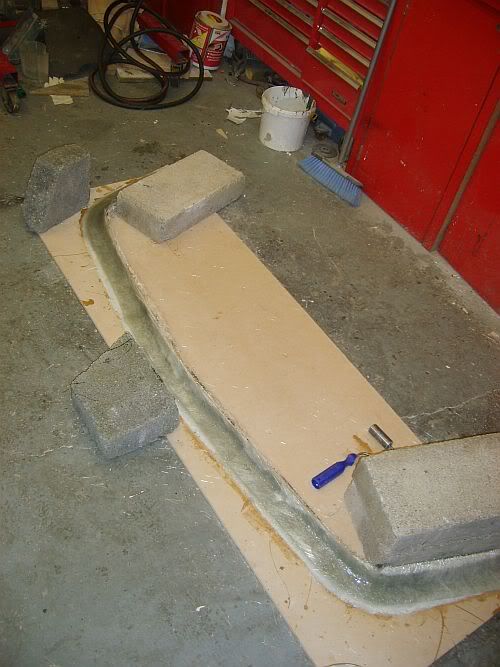
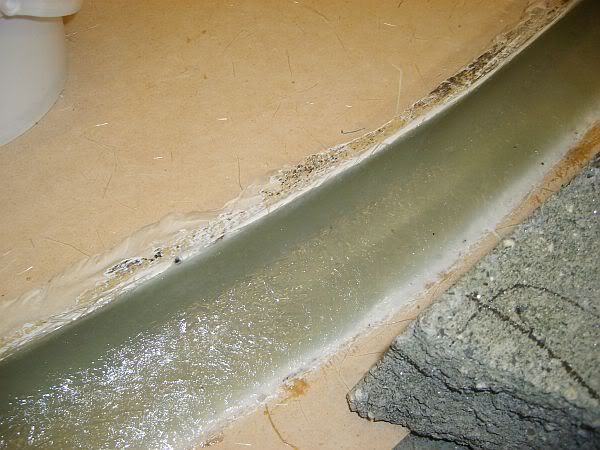
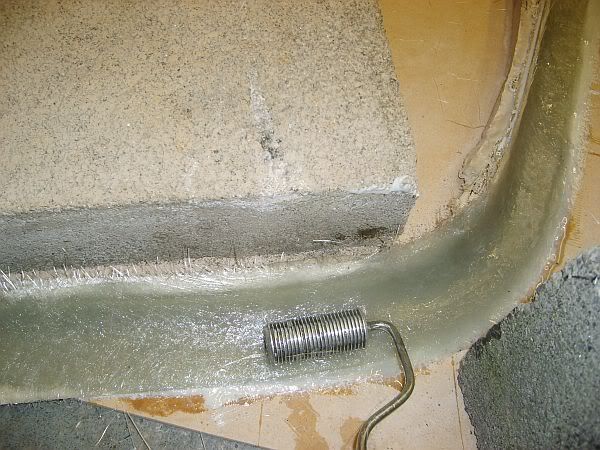
I have used breeze blocks to hold everything flat whilst the mould is being made.
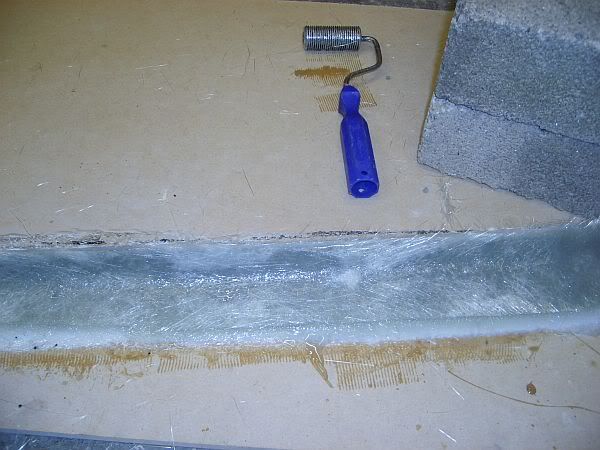
I have then gelcoated the entire front face a total of three times and allowed for curing and shrinkage between each coat (approx 12 hrs)
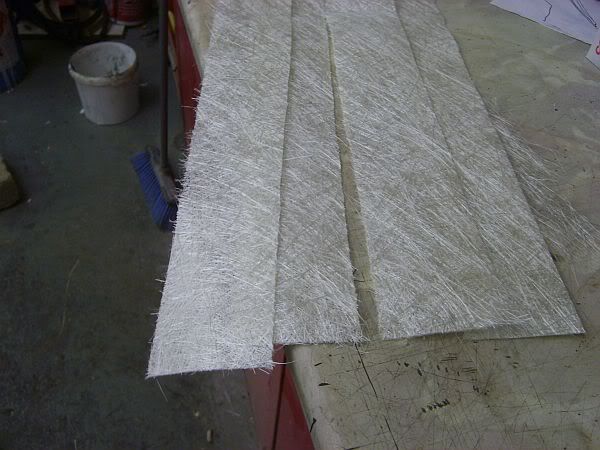
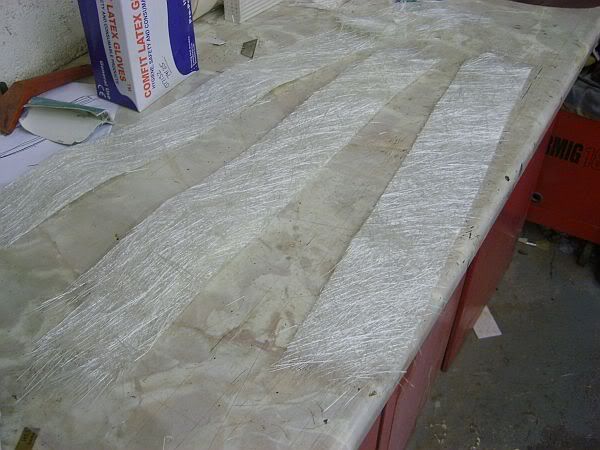
The next stage is to do the actual laminating and I will use chopped strand matting for this.
It is cheap,easy to use and absorbs the polyester resin well and is perfect for a mould of this type.
I have used a light grey gel for the mould as I will be using black gel for the final item and this will show a good deliniation line between the mould and the splitter itself.
If it was all the same colour it would be difficult to see the joint between the mould and the panel and there would be no clear place to start the separation process.
Fibreglassing photos and more of my drivel next then....
Cheers
Paul


