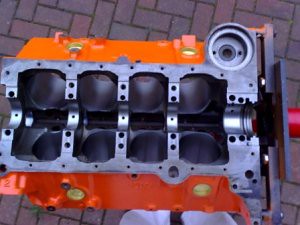
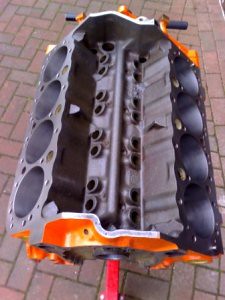
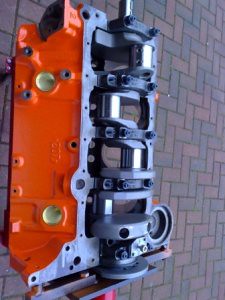
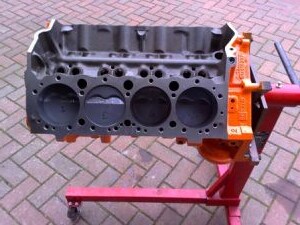
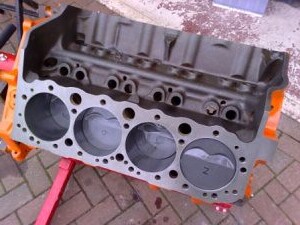
First pictures are of the bare block.
To get to this stage the block was stripped, cleaned with fairy power spray and a jet washer, all plugs removed, the oil ways were cleaned out with a bottle brush ready for the crank to be placed in on the old bearings and checked for clearance, 60 thou minimum clearance was then ground into the block for the crank. All threads cleaned out. Next two standard pistons were used with the new 6 inch rods to check block clearance and again the block was ground to give 60 thou for the rods.
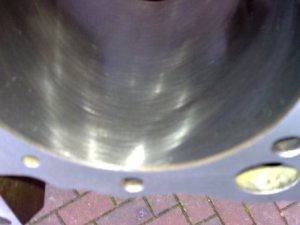
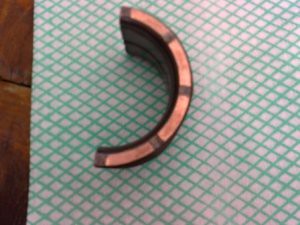
The block was jet washed again and sent off to Knight engine services for a full decking to 0 deck height, a 30 overbore, line boring of the mains and new cam bearings. Cylinder 2 needed a sleeve because of a crack halfway down; the photo gives some idea of the quality of the hone on the bores.
When I got the block back it was cleaned again then.
Crank back in this time on the new bearings (size checked first) and the thrust bearings ground on a flat surface to give 8 thou clearance.
Piston rings were next, gapes to 18 thou top ring, 22 thou second and 22 thou on the oil control rings then fitted to pistons. Cam drive was trial fitted next and clearance ground onto the block.
I cleaned the block again, painted it the taste full shade of orange and fitted new plugs all round.
The start of assembly with first half of the rear oil seal, a good film of assembly lube and in go the top halves of the main bearings, again with assembly lube not forgetting the thrust faces!
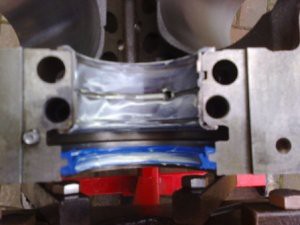
Next the main cap stud are put in, with a very small amount of ARP thread lube on the threads this is molly slip used very sparingly and any extra cleaned away, this engine is going to have a roller cam I don't want it in the bearings
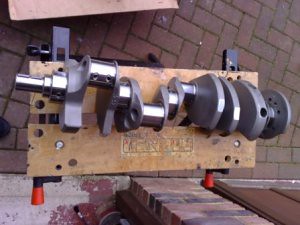
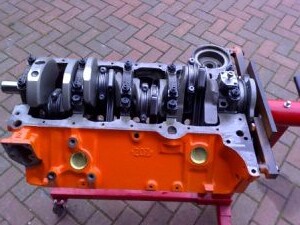
One long throw crank
Placed in block having put a film of assembly lube on all journals
The end float was again checked with a feeler gauge.
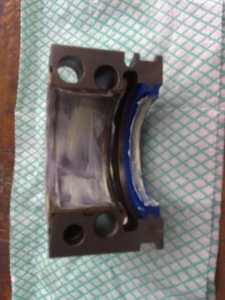
Main caps had the bearings put in and the second half of the oil seal
Main caps added and done up finger tight
Top half of the fifth main cap put on and set in place and nipped up and the end float on the upper cap checked again.
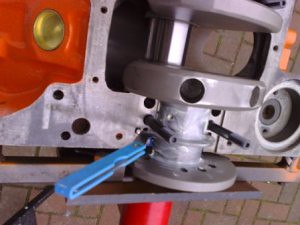
Main caps torqued to 70 ft lbs and I checked the crank turned freely (about 7 ft lbs)

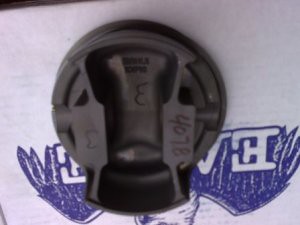
One piston
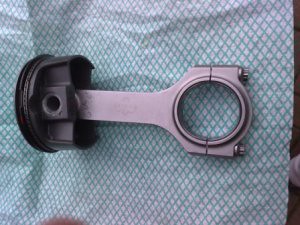
Connecting rods now assembled onto rods (matched for weight)
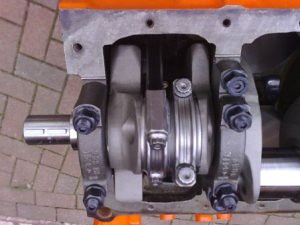
First two pistons and rods added and main caps tightened to 25 ft lbs and checked again that the whole lot turned without hitting anything!
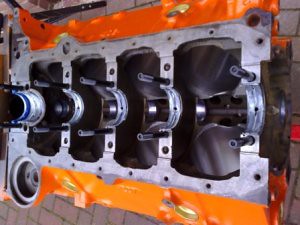
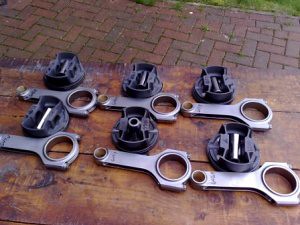
Remaining 6 pistons and rods ready for assembly.
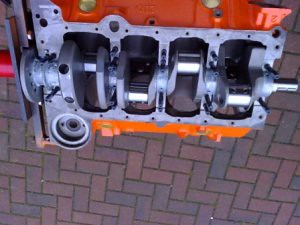
The rest of the pistons and rods assembled and main caps torqued to 70 ft lbs in stages.
From the top.
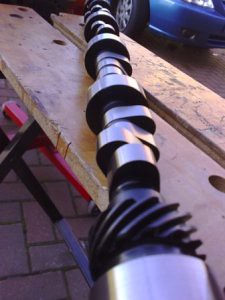
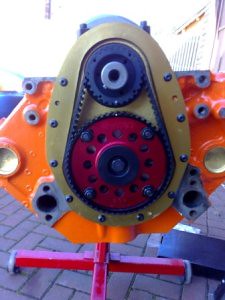
Now for the cam assembly
One cam mechanical roller, with 253 degrees of inlet timing at .05 and .665 of lift with 1.6 rockers on the inlet and 262 degrees of timing on the exhaust, lift is .610 with 1.5 ratio rockers on the exhaust. 112 degrees of lobe separation. Firing order swapped over on cylinders 4 and 7
Cam going into the block with lots of assembly lube (not the moly slip one!)
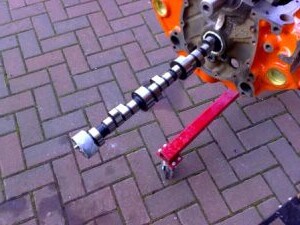
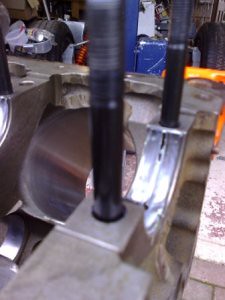
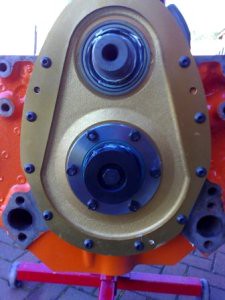
Cam in place. Here I am pointing out the bit of the block I had to grind off as this is going to have a belt drive kit fitted to it
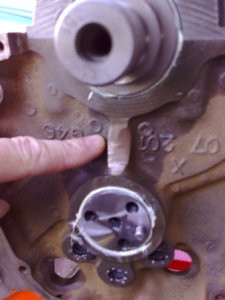
Here is the back-plate in place loosely placed in for a final check then tightened
Thrust washer put in cam.
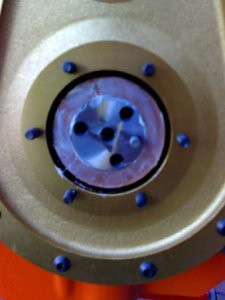
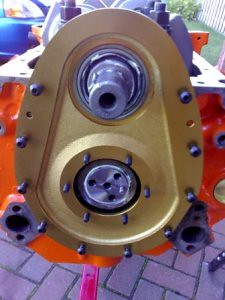
The rest of the thrust assembly in place, cam end float set and ready for the pulleys
Pulleys and belt on
Job done!!