
Monkey business
Moderator: phpBB2 - Administrators

-
stevieturbo
- Forum Contributor

- Posts: 3979
- Joined: Sat Nov 18, 2006 6:22 pm
- Location: Northern Ireland
I folded it over, so non-sticky side.....mmmmm now you mention release agent !! lolDarkspeed wrote:The gel and glass will release from the non sticky side of masking tape as that is coated with release agent if you gelled to the sticky side it will stick.
I thought he meant it would release on its own !
This is the tape I used elsewhere, it releases great ( although to be fair....I think I did wax it too when I used it )
http://www.easycomposites.co.uk/#!/vacu ... -tape.html
But I think they said it will release regardless, same as the polypropylene seems to do.
I just use cheap crepe masking tape and thinking about it I have never had anything stick to it either side, sticky side when doing the gel repairs shown previously or release side when doing any moulding  so ignore my previous comment. I try to avoid getting PVA on it as it soaks into the take and makes it lift - I have wiped some wax over it but more by accident than design.
This I would have approached the filling of the vent holes but chopping the entire vent and returns out with the air saw and then repairing like a hole with flat layers after screwing a backing to the front.
This I would have approached the filling of the vent holes but chopping the entire vent and returns out with the air saw and then repairing like a hole with flat layers after screwing a backing to the front.
4.5L V8 Ginetta G27
-
unstable load
- Top Dog

- Posts: 1278
- Joined: Mon May 04, 2009 6:53 am
Hi All
Finally got a bit more time to work on my little project again tonight but I do have a really really good excuse this time (apart from bloody boats )
I had a cutting disc jam shatter and the kick the disc grinder out of my hand which proceeded in a graceful arc right down the side of my right knee which ended up with a bunch of stitches and no garage time in the evenings for a little while and yes I was working on a bloody boat when it happened
Anyhow the stitches come out tomorrow and life should return to normal he said hopefully
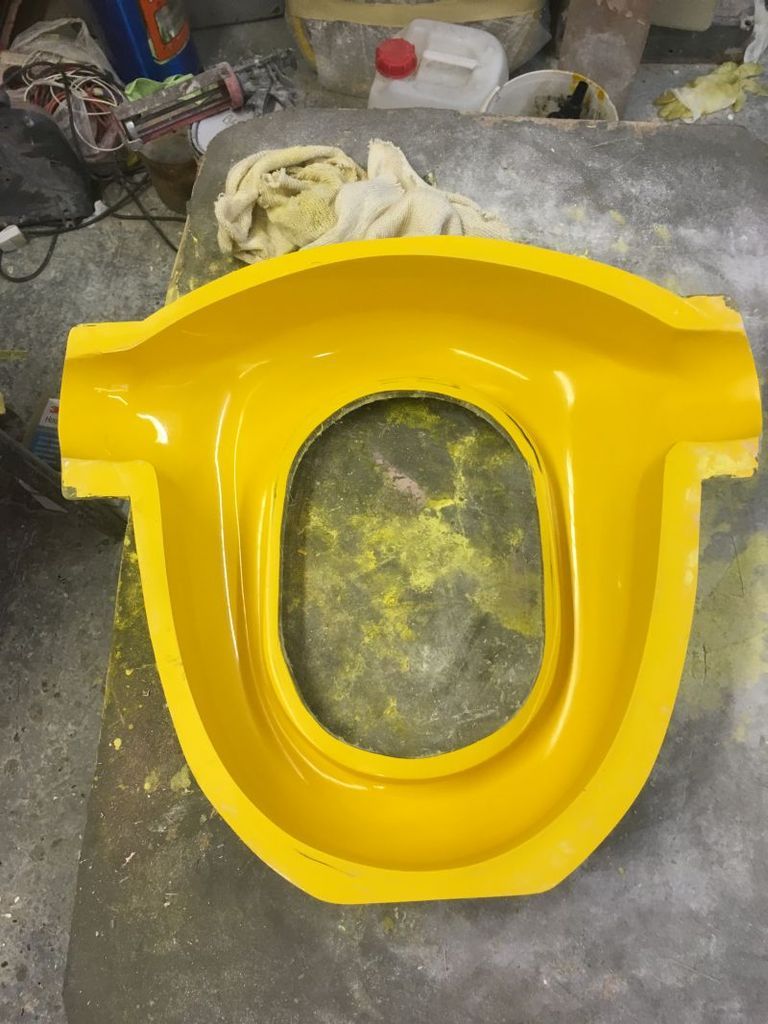
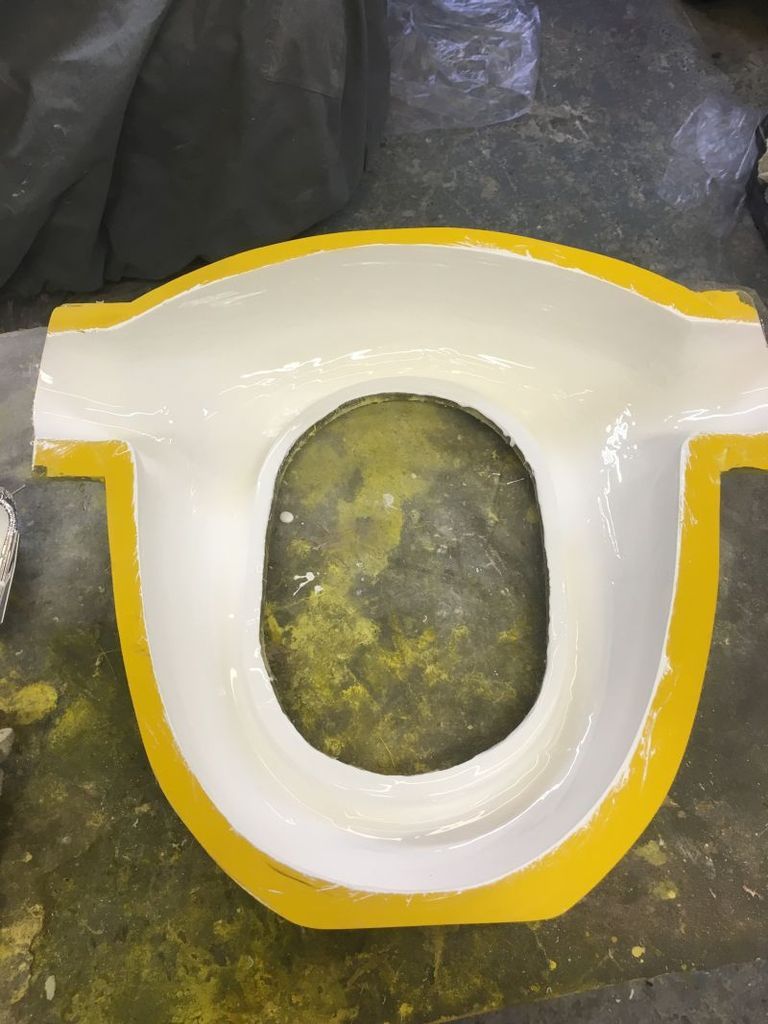
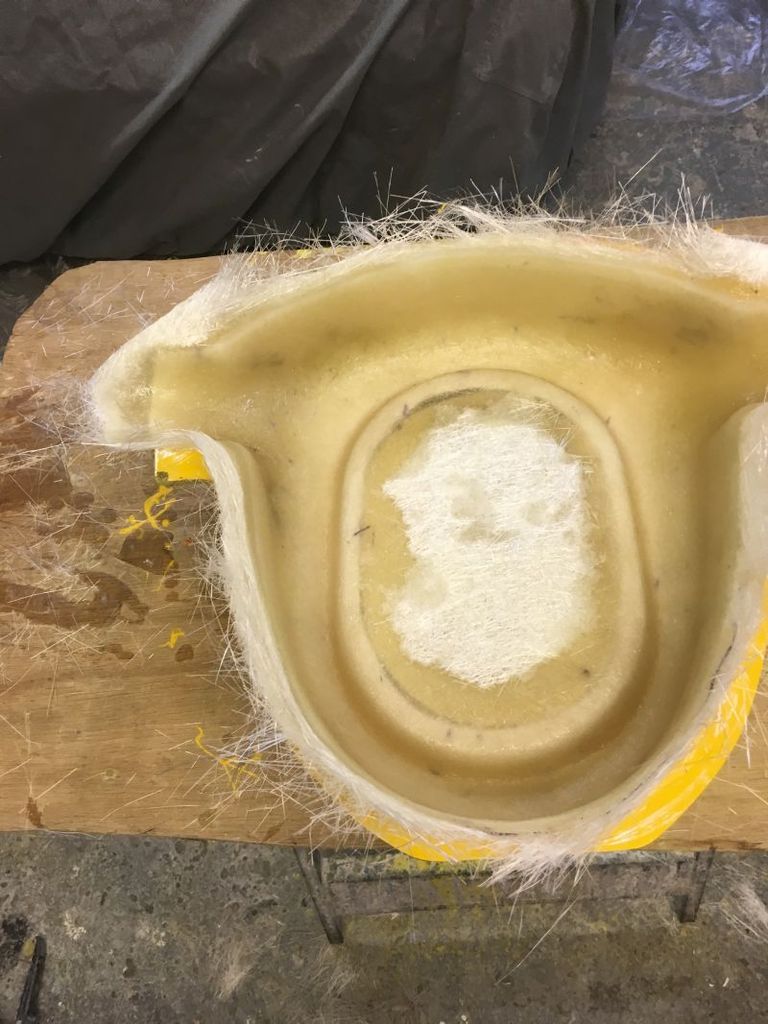
From the pictures hereabouts you can see that the final repairs where done to the top section of the mould and then the usual 8 coats of wax applied.
Before applying the wax I managed to get my machine polisher into the mould and get a really good shine on the gel which will help with the release no end.
With that all done the first of 3 coats of gel was applied.
With it being quite warm now the gel will cure nicely with an even temperature so thats good.
With regard to post curing the bottom section (which is still attached to the mould) that will now not happen as it is far to late to do that so fingers crossed it will be okay once attached to the top section and ultimately the carb.
More again soon.
cheers
Hop Along
Finally got a bit more time to work on my little project again tonight but I do have a really really good excuse this time (apart from bloody boats )
I had a cutting disc jam shatter and the kick the disc grinder out of my hand which proceeded in a graceful arc right down the side of my right knee which ended up with a bunch of stitches and no garage time in the evenings for a little while and yes I was working on a bloody boat when it happened
Anyhow the stitches come out tomorrow and life should return to normal he said hopefully
From the pictures hereabouts you can see that the final repairs where done to the top section of the mould and then the usual 8 coats of wax applied.
Before applying the wax I managed to get my machine polisher into the mould and get a really good shine on the gel which will help with the release no end.
With that all done the first of 3 coats of gel was applied.
With it being quite warm now the gel will cure nicely with an even temperature so thats good.
With regard to post curing the bottom section (which is still attached to the mould) that will now not happen as it is far to late to do that so fingers crossed it will be okay once attached to the top section and ultimately the carb.
More again soon.
cheers
Hop Along


-
stevieturbo
- Forum Contributor
- Posts: 3979
- Joined: Sat Nov 18, 2006 6:22 pm
- Location: Northern Ireland
The nurse at Torbay hospital said to me that I was lucky too
The cut was really deep but a fraction more and it would have been through tendons and all other kinds of stuff in that area
What is really weird is that I have had no pain at all just a bit of stinging although as always when you do yourself a mischief you end up banging it which is no fun I must say
Still it could have been a lot worse
Will be back at it tonight and maybe I will get some glass on as the weather is not good here today so might get the last two coats of gel on during the day
Cheers
P
What are you like Mr Monkey???
I had a similar incident today in the office. I was filling the printer and I got one hell of a paper cut on my finger
I can already hear you lot laughing and taking the pee, but have you ever tried eating Salt and Vinegar Crisps with a paper cut?
See you at Retro Dude !!
Px
I had a similar incident today in the office. I was filling the printer and I got one hell of a paper cut on my finger
I can already hear you lot laughing and taking the pee, but have you ever tried eating Salt and Vinegar Crisps with a paper cut?
See you at Retro Dude !!
Px
Perry Stephenson
MGB GT + Rover V8
9.62 @ 137.37mph
Now looking for 8 seconds with a SBC engine
Evening All
Well I managed to get the gelling done and shock horror have got the glassing done as well.
Here's tonight's efforts
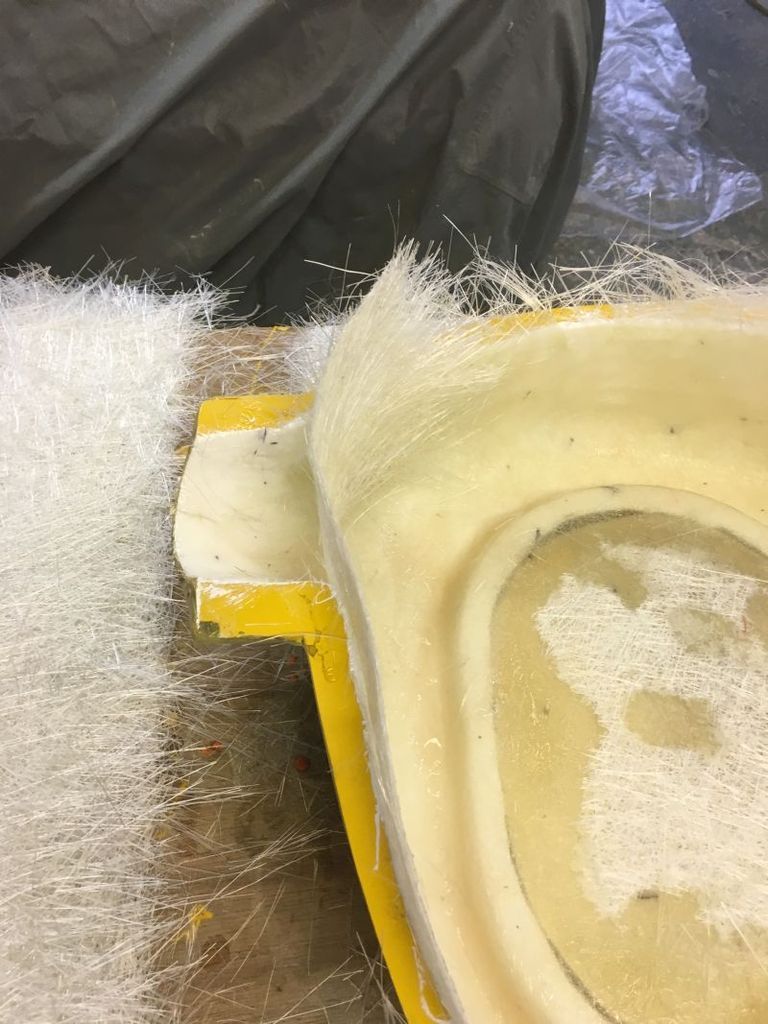
It was always going to be tricky getting the glass to flow down the sharp edge of the filter rebate.
So I cut a section of the original foam that was used and squished that into the hole so that the glass had something to cling to when laminated and to help ease the edges over.
I also cut and trimmed all of the glass that I needed prior to getting the sticky stuff out.
The walls of the housing are easy to sort out shape wise but if you are doing something like this you MUST allow for the drop of the glass at the base and cut your laminates bigger than you think because you don't want to end up stretching the glass as this gives thin spots on the moulding which is not ideal.
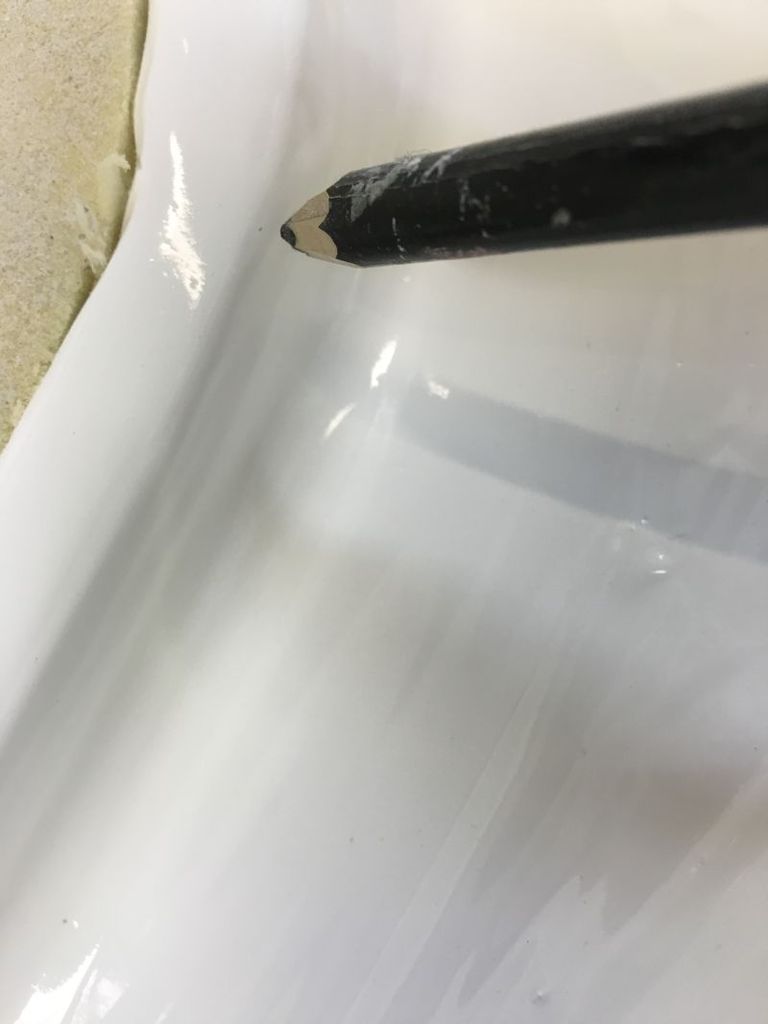
So lay your glass over whatever shape you are laminating and then draw around with a Sharpie pen or similar.
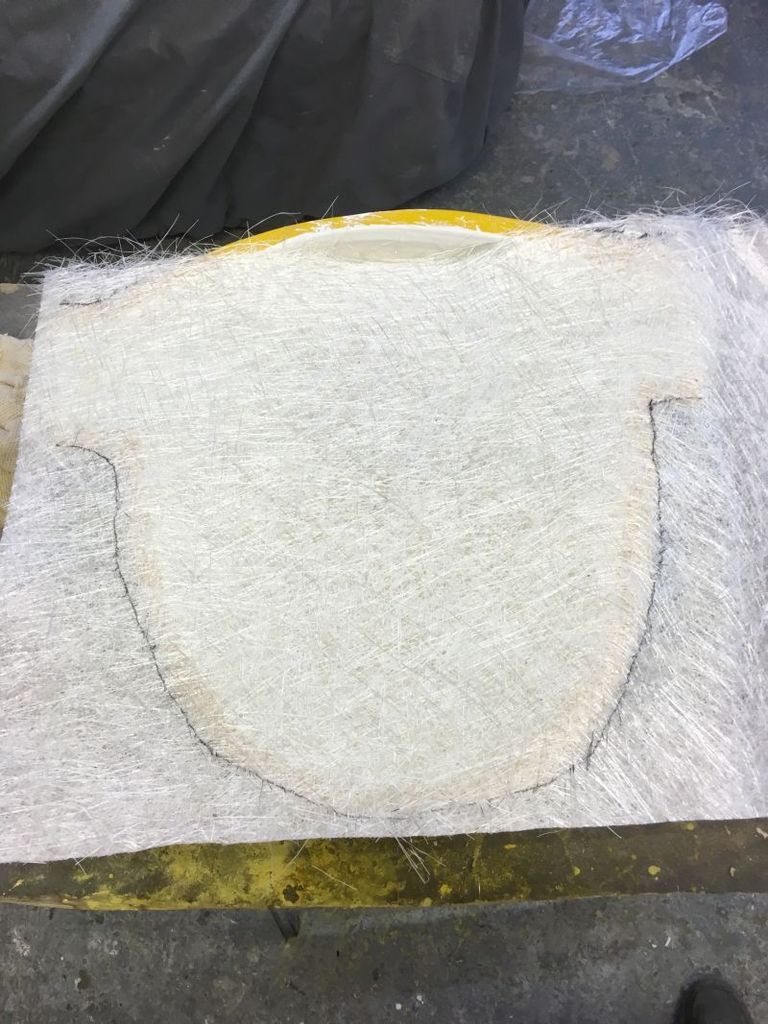
Then once that is done cut and then tear your edges like this
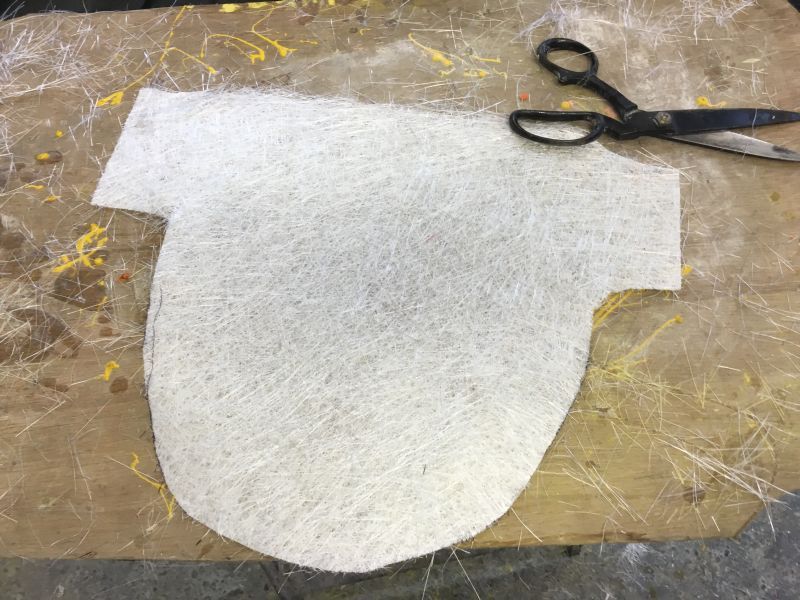
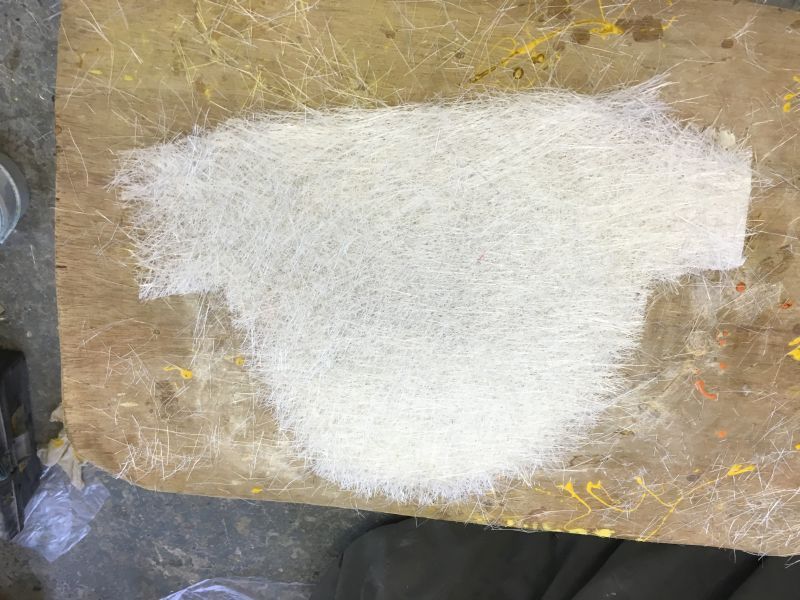
Then place it into the moulding and see if it is the right size and tear down more if needed.
Once you are happy with the glass then its out with the sticky stuff and bung it on.
I did one layer on the bottom and then set to with th wall sections.
By cutting the wall sections longer than needed it was possible to flap the excess into the intake tube areas without having to cut really small sections.
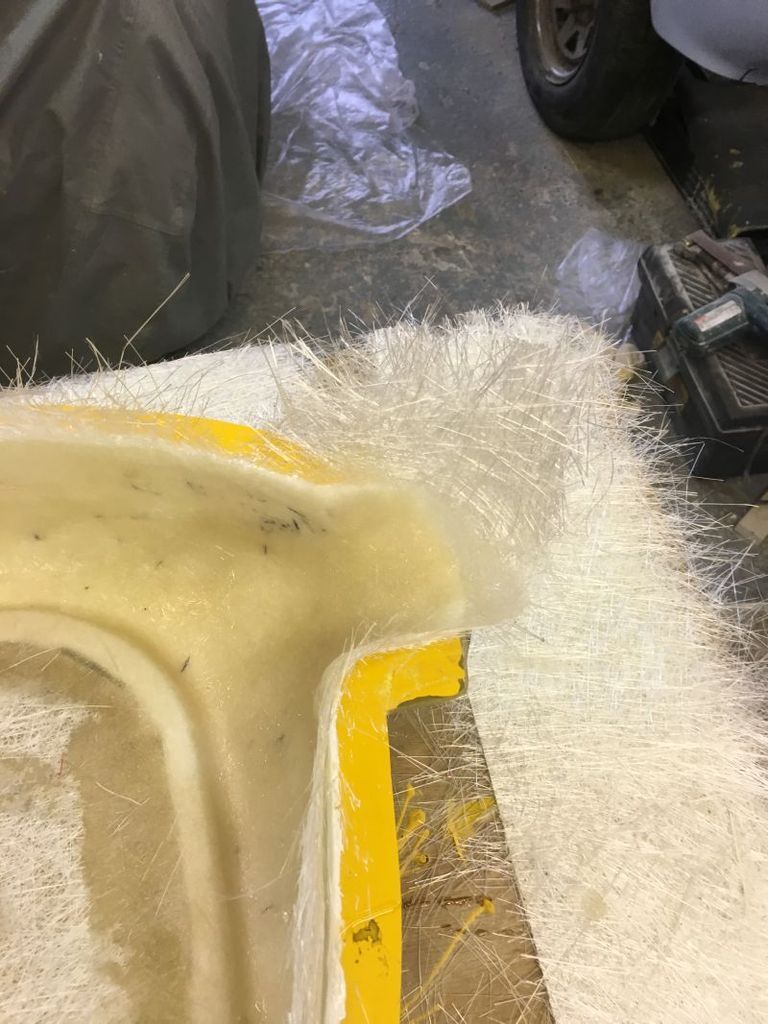
Its simple to do and with a bit of forward planning you can get the most usage out of the glass with minimum wastage.
By doing the first layer on the base and then continuing with the walls you effectivley lock the laminates together as you go.
The second lot was applied by walls first then base then in reverse for the last application.
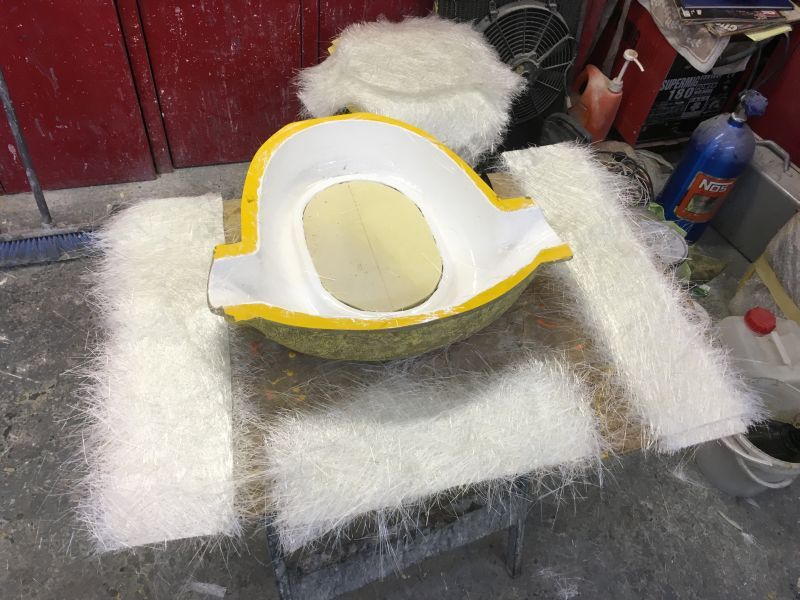
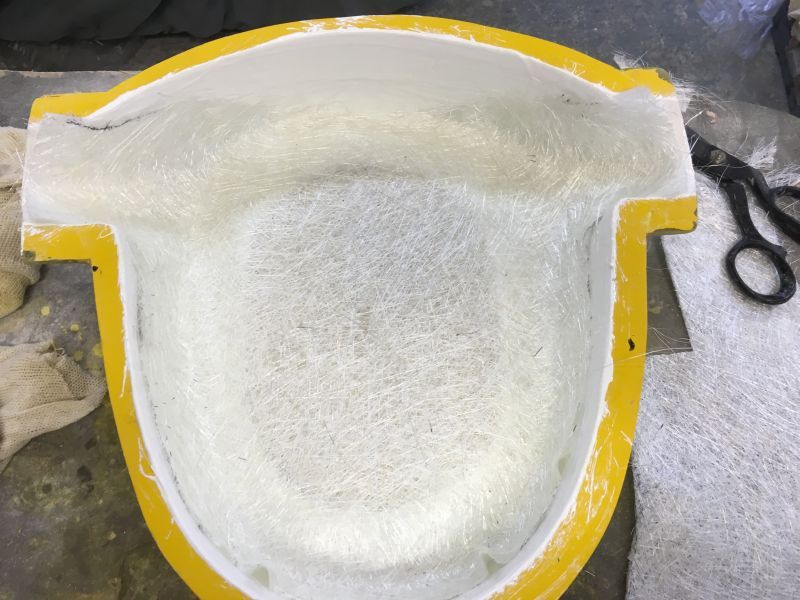
After a little bit of time working away and then rollering out I ended up with this.
In this picture you can clearly see how the middle section supports the glass as it flows down over the sides yet does not need to be fully laminated.
After a good stipple around with the resin brush to lift the excess resin and a trim with the shears we are all done now with the main part of the project.
This will need to be post cured now once it has flashed of and i should be able to knock a clave together quickly and get the infra red lamp on it.
Then its a case of leave it alone for a fortnight.
Still a way to go for sure but can see the finishing line now.
cheers
P
Well I managed to get the gelling done and shock horror have got the glassing done as well.
Here's tonight's efforts
It was always going to be tricky getting the glass to flow down the sharp edge of the filter rebate.

So I cut a section of the original foam that was used and squished that into the hole so that the glass had something to cling to when laminated and to help ease the edges over.
I also cut and trimmed all of the glass that I needed prior to getting the sticky stuff out.

The walls of the housing are easy to sort out shape wise but if you are doing something like this you MUST allow for the drop of the glass at the base and cut your laminates bigger than you think because you don't want to end up stretching the glass as this gives thin spots on the moulding which is not ideal.
So lay your glass over whatever shape you are laminating and then draw around with a Sharpie pen or similar.

Then once that is done cut and then tear your edges like this


Then place it into the moulding and see if it is the right size and tear down more if needed.

Once you are happy with the glass then its out with the sticky stuff and bung it on.
I did one layer on the bottom and then set to with th wall sections.
By cutting the wall sections longer than needed it was possible to flap the excess into the intake tube areas without having to cut really small sections.


Its simple to do and with a bit of forward planning you can get the most usage out of the glass with minimum wastage.
By doing the first layer on the base and then continuing with the walls you effectivley lock the laminates together as you go.
The second lot was applied by walls first then base then in reverse for the last application.
After a little bit of time working away and then rollering out I ended up with this.

In this picture you can clearly see how the middle section supports the glass as it flows down over the sides yet does not need to be fully laminated.
After a good stipple around with the resin brush to lift the excess resin and a trim with the shears we are all done now with the main part of the project.
This will need to be post cured now once it has flashed of and i should be able to knock a clave together quickly and get the infra red lamp on it.
Then its a case of leave it alone for a fortnight.
Still a way to go for sure but can see the finishing line now.
cheers
P
-
stevieturbo
- Forum Contributor
- Posts: 3979
- Joined: Sat Nov 18, 2006 6:22 pm
- Location: Northern Ireland
It's a bog seat for Warick Davies Perry and I was so sorry to hear of your trauma with regard to the fried potato chips as that must have given you a very slight and extremely unremarkable discomfort in the digitalis
To a much more sensible person ie Steve the shape lends itself quite well for glassing so no dramas really
Cheers
P
To a much more sensible person ie Steve the shape lends itself quite well for glassing so no dramas really
Cheers
P
