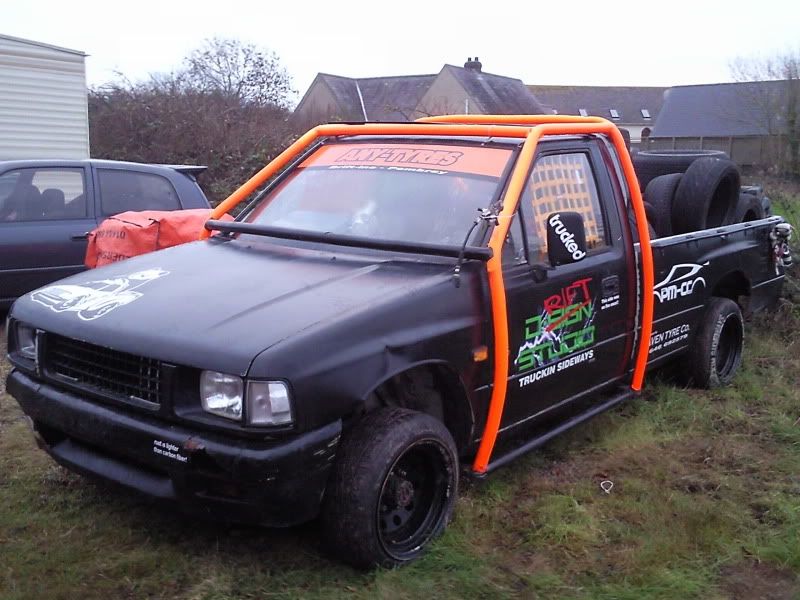
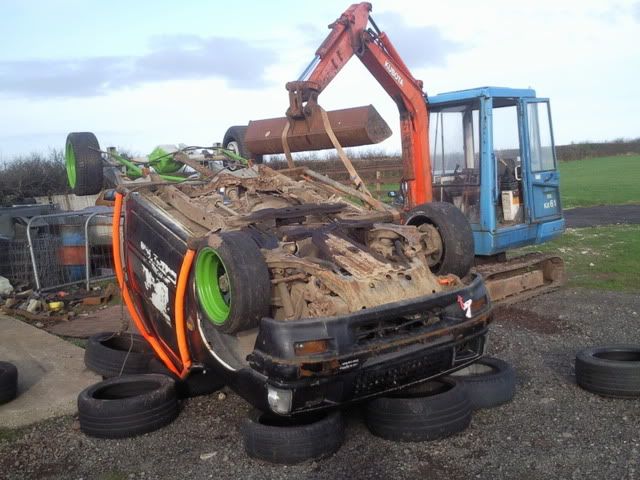
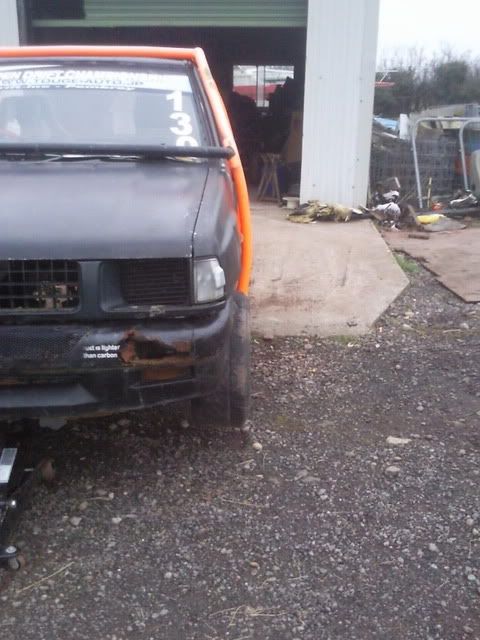
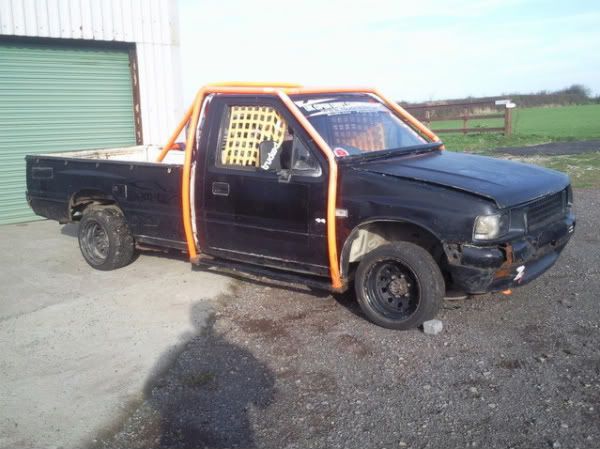
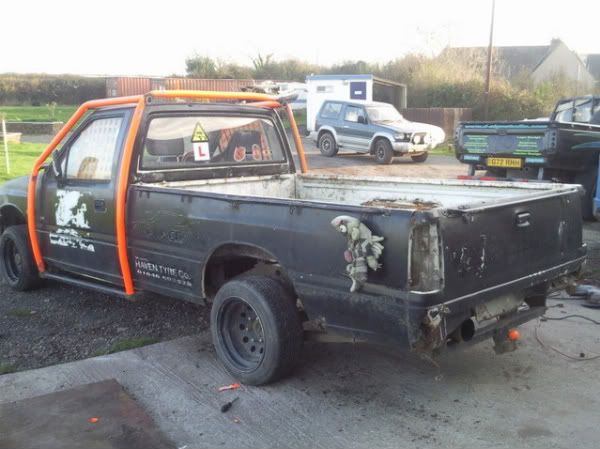
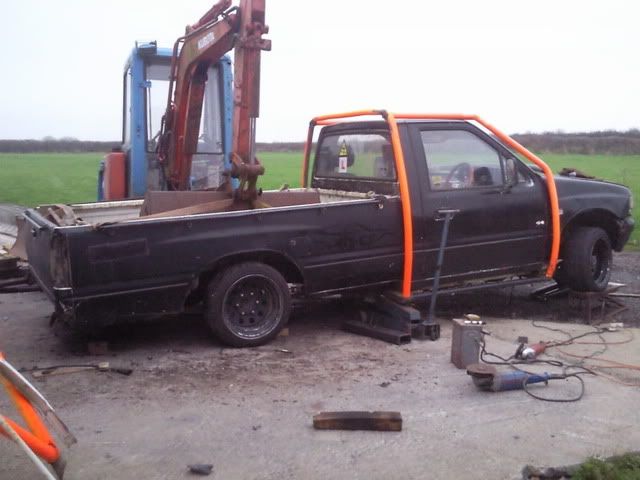
Decided the other day, I'd get the truck all sorted and then sort the motor out!! Weather was good and ment I could work outside on the shell, so got cracking!!
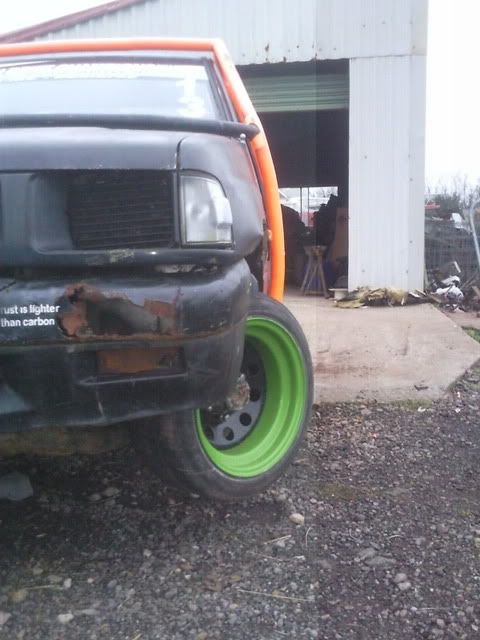
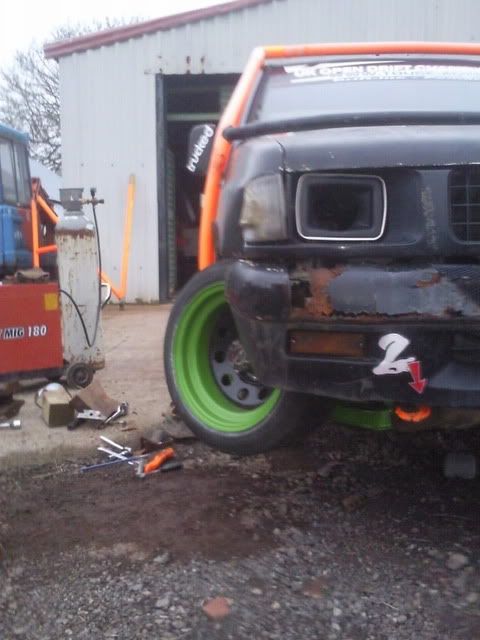
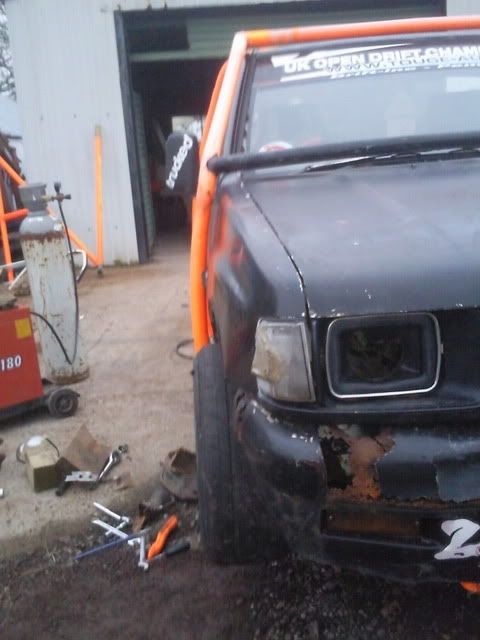
When I started... doesn't look too bad does it??
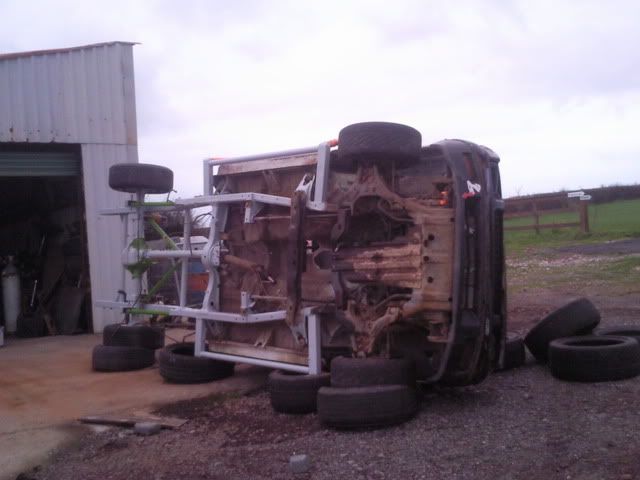
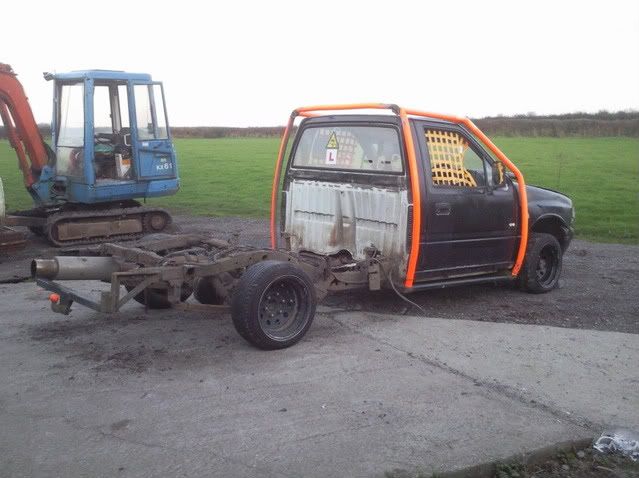
Cage off.... what a ball ache to get that off!! propper stuck on!
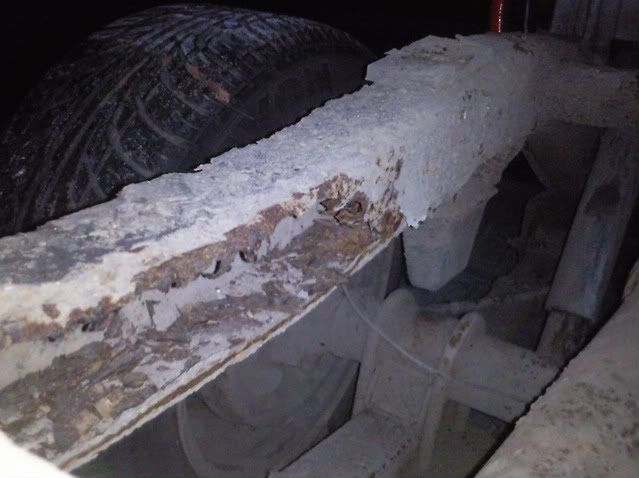
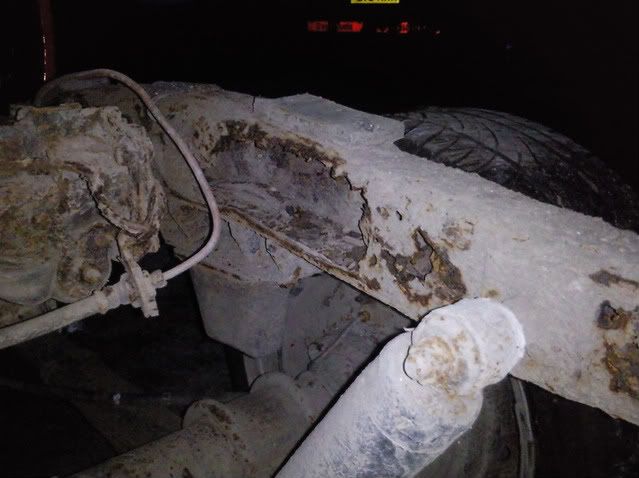
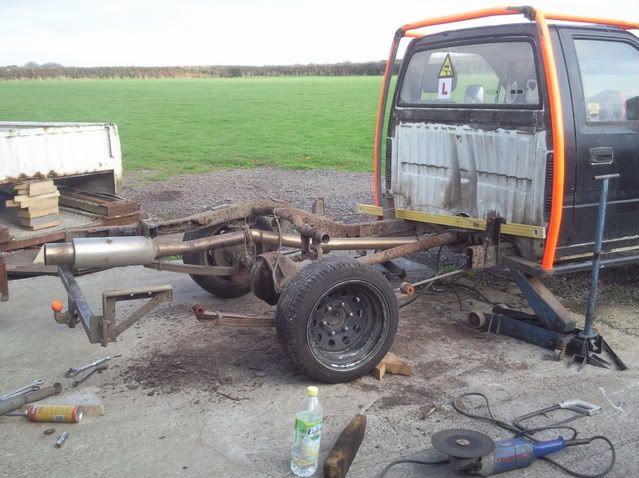
Then the bed came off and revieled lots of crap!!
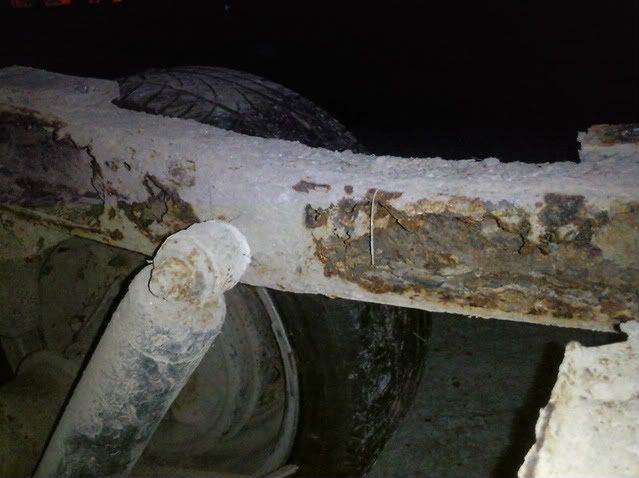
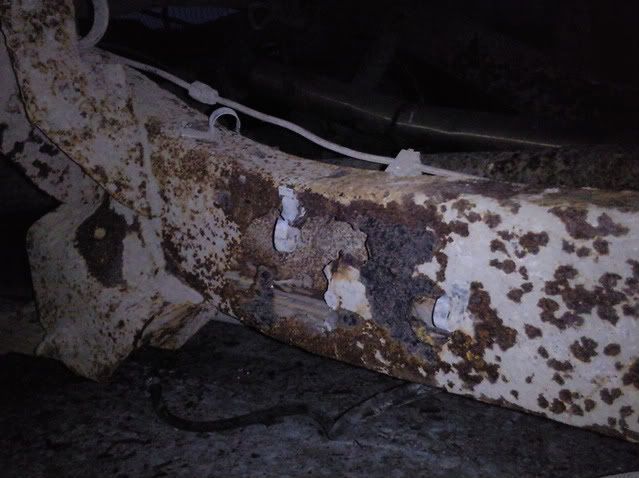
couple of holes:
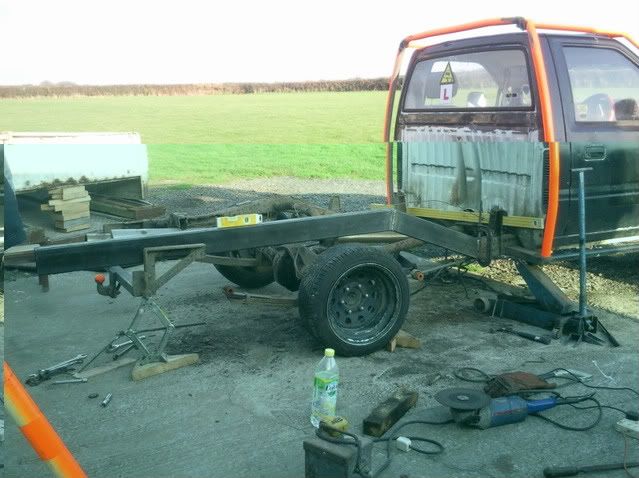
Then the fun started..... getting everything level
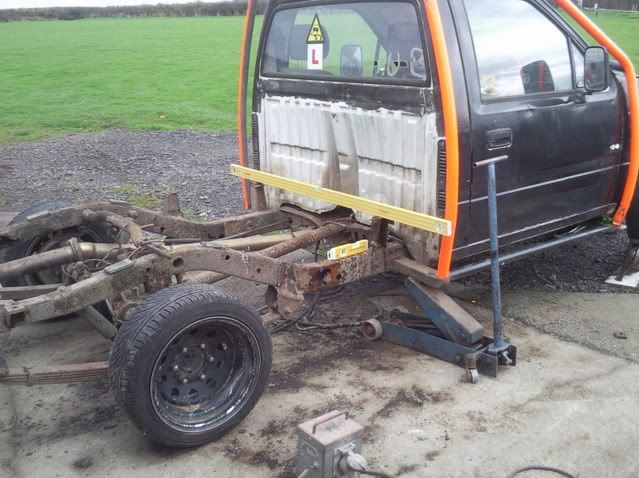
shapeing the fresh steel:
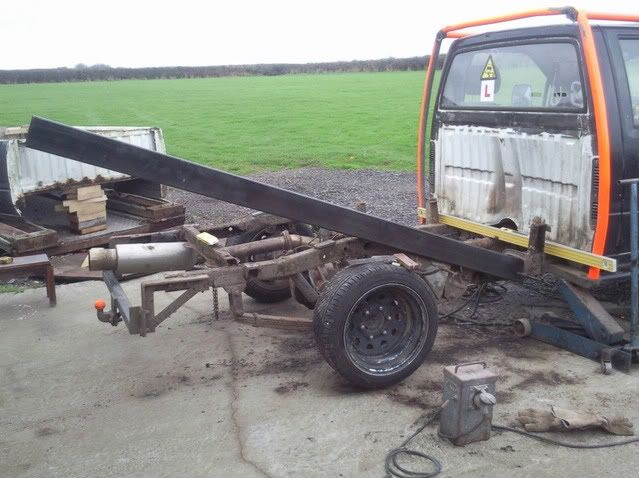
then the big chop! lol
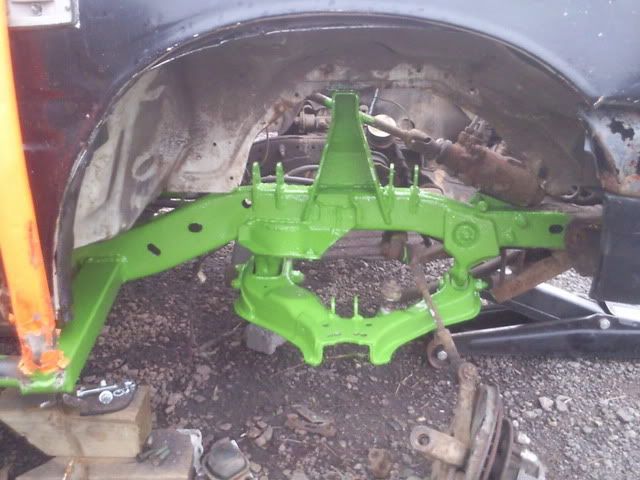
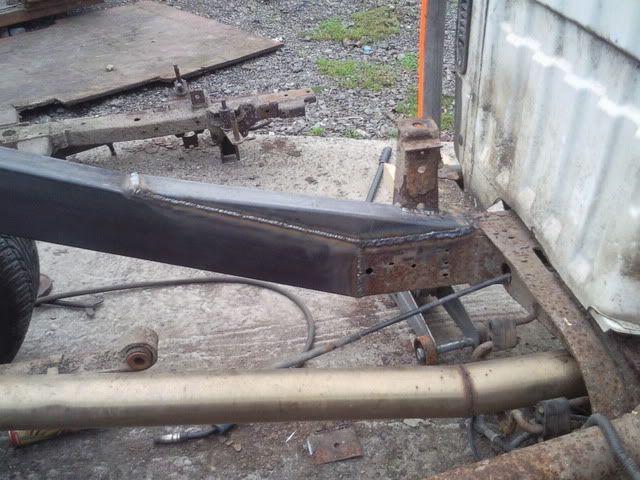
chassis leg ready to weld
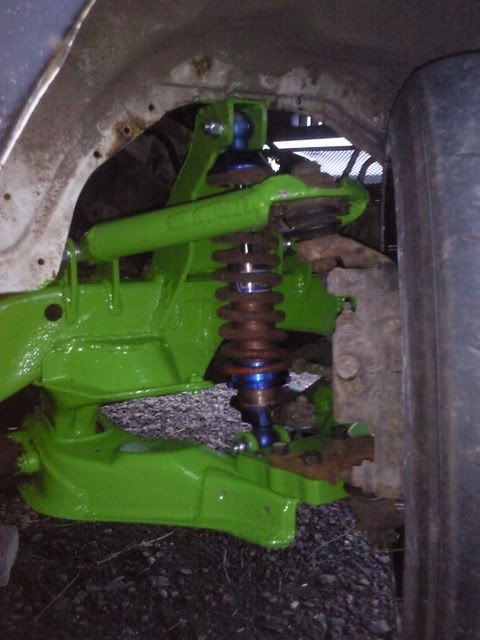
welded and cross brace fitted
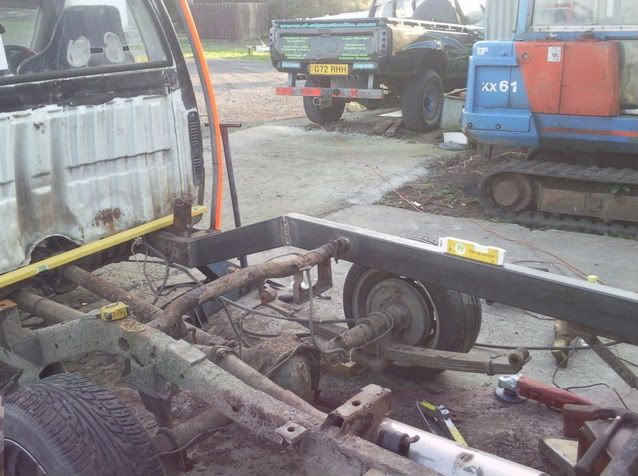
All repeated the other side, and shockingly it's all level front to back and side to side
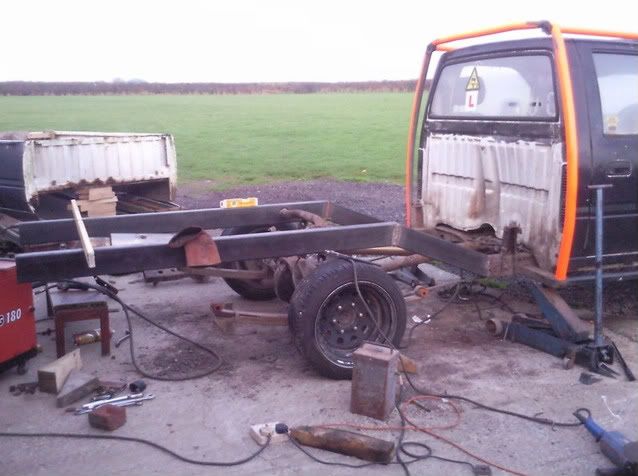
cut the chassis to the correct lenght, then made the gussets for the joint to the old chassis, and some strengtheners for the braces joining the two sides:

all welded up nicely

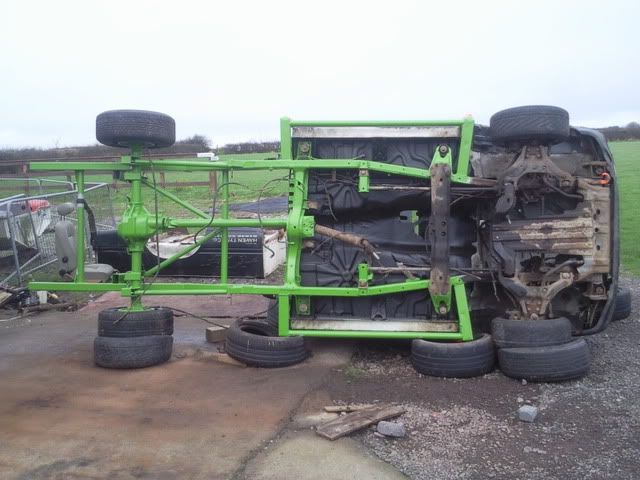
A few mods to the tub underneath so it will fit on the new chassis, and it fited like a glove
just got to make a few brackets so I can bolt it back on!
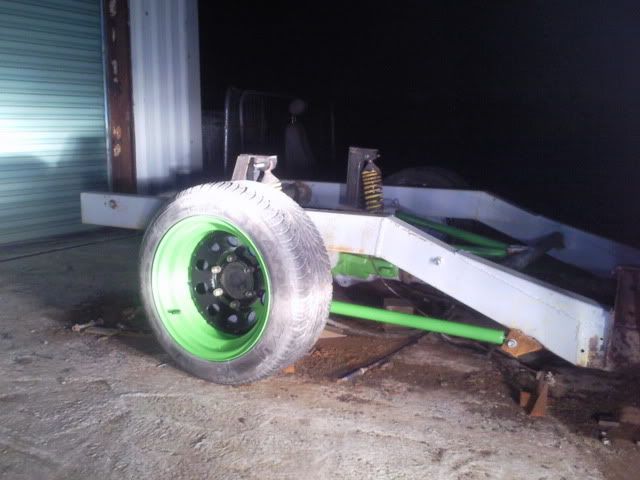
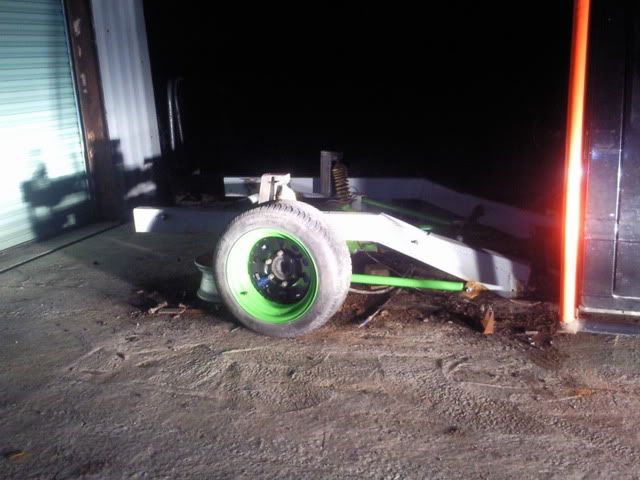
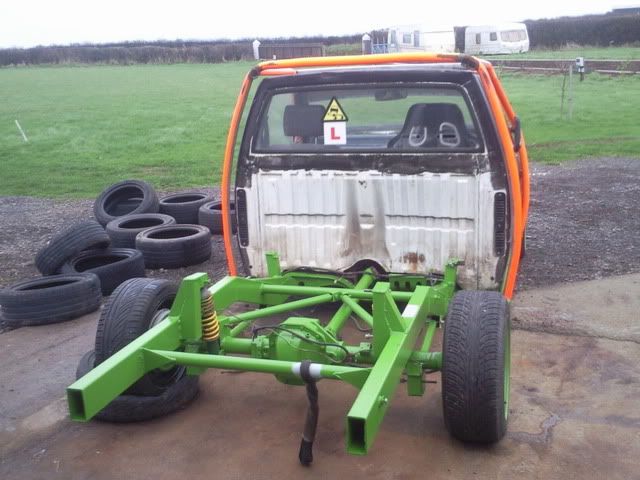
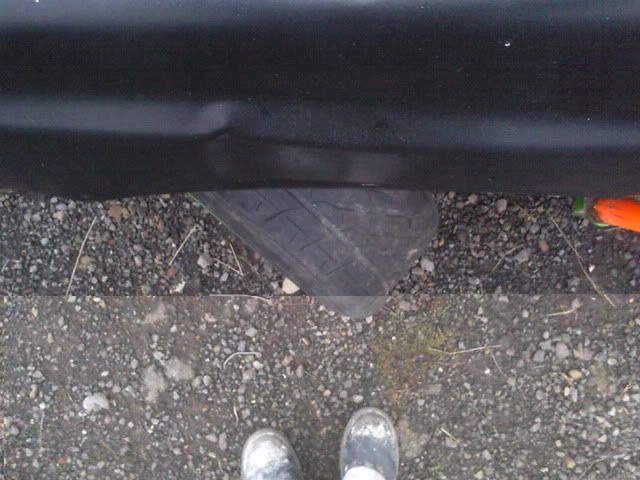
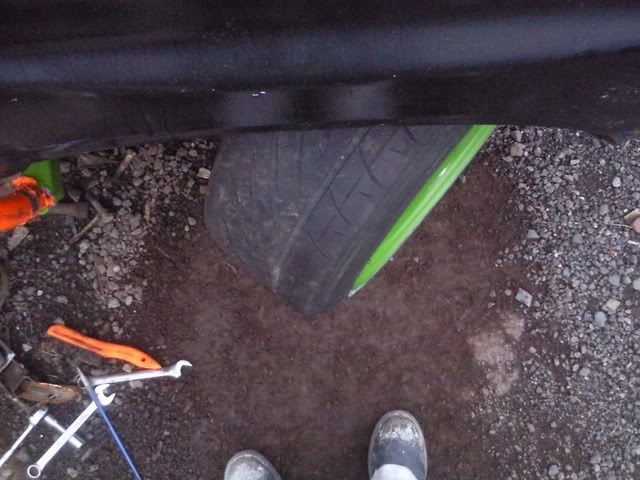
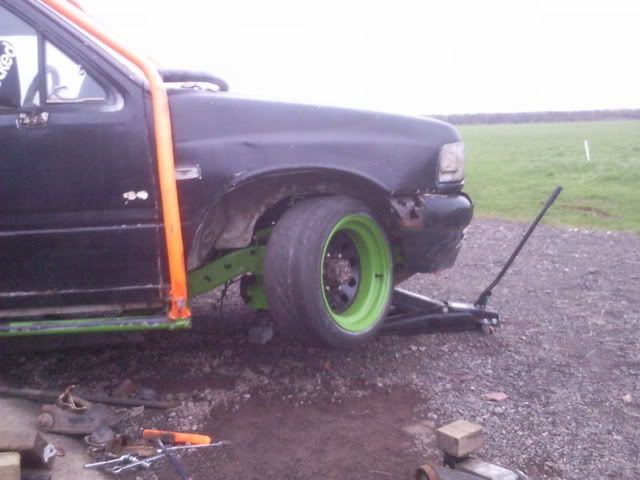
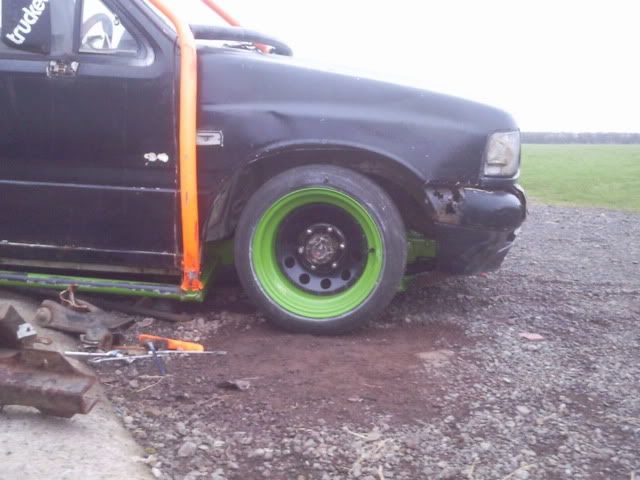
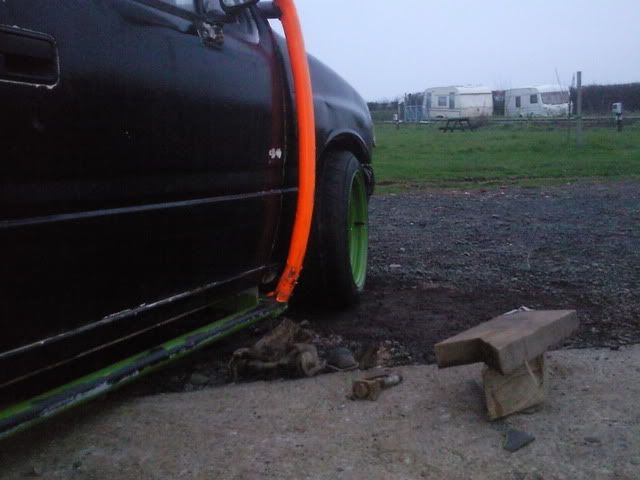
and then lowerd the chassis to the desired ride hight ......
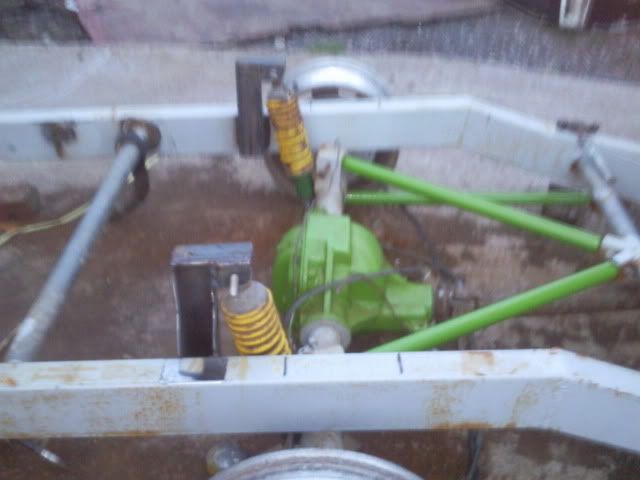
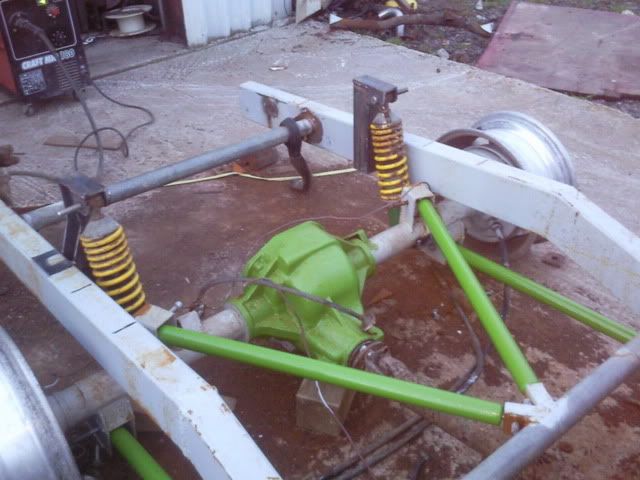
Now I have the rough ride hight, I can now get on with designing the 4 link suspention, and the design has changed again due to lack of space! LOL Now going to be running triangulated 4 link as I haven't got enough space for parallel with a watts link!!
Jono