Ok
So here's the next bit then.
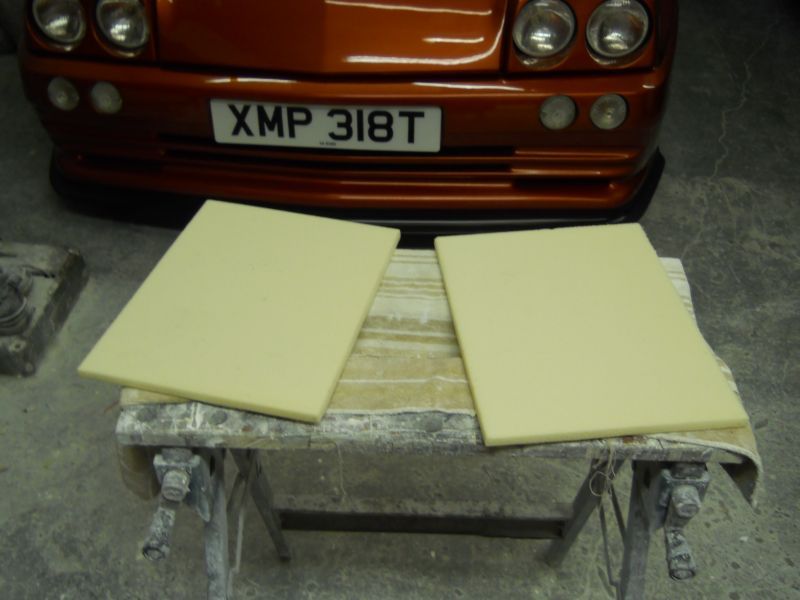
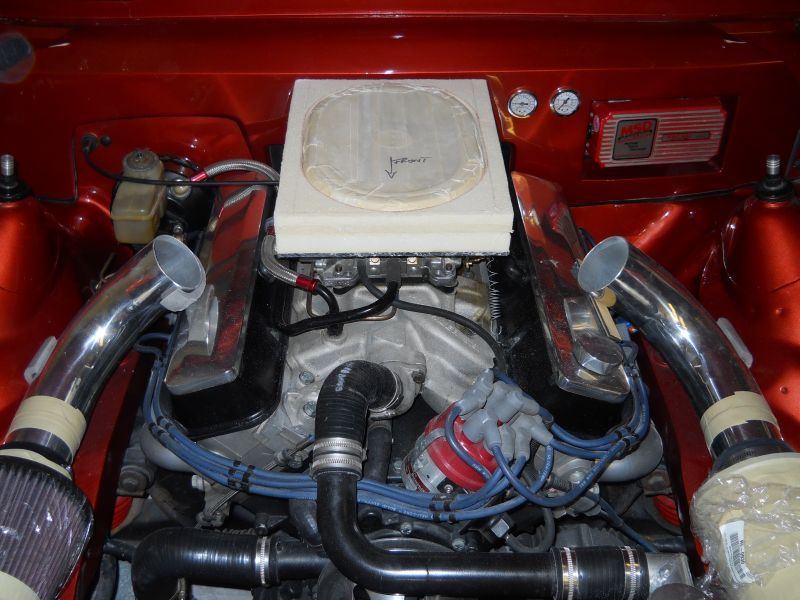
With my base made it is now a question of getting exactly the right depth for the intake as I only have 185mm from the inlet manifold to the underside of the forward end of the bonnet detail so space is very limited indeed.
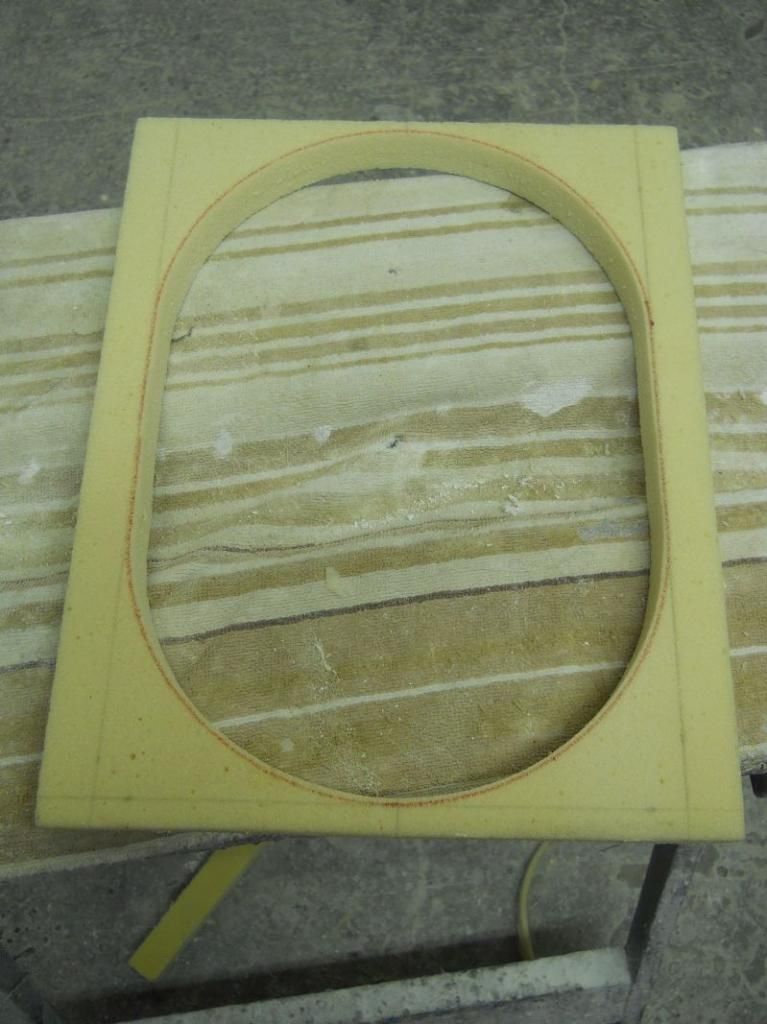
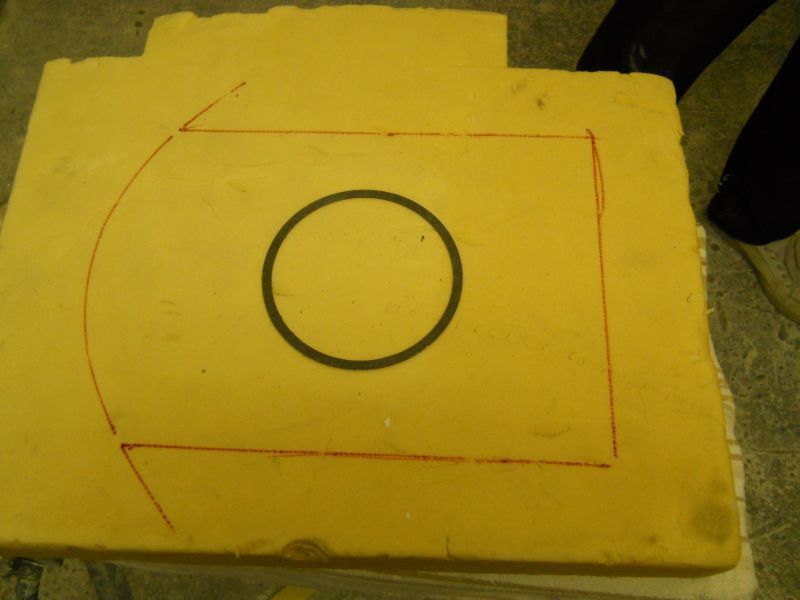
With that in mind and knowing that my original filter sits in just nice I took some closed cell PU foam sheets and cut them to sit on the perspex baseplate.
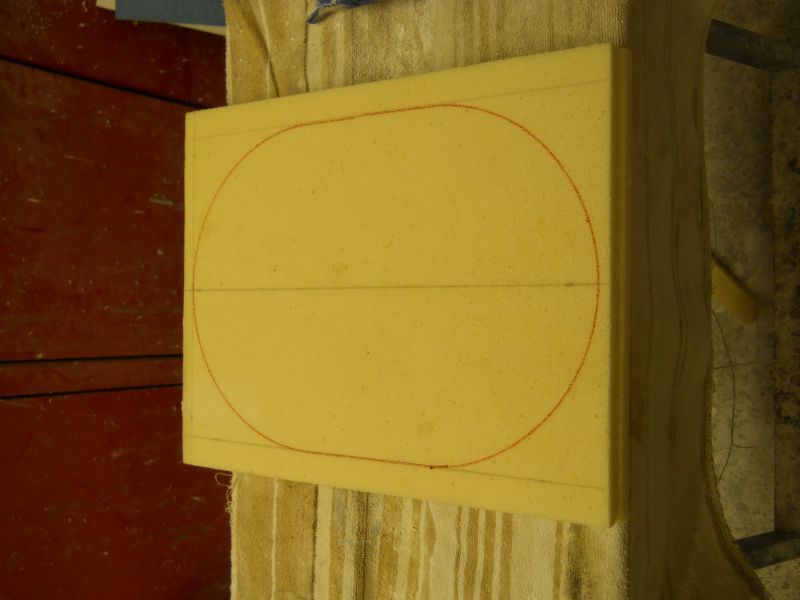
After bonding them together and transferring all my measurements I then scribed around the original filter top.
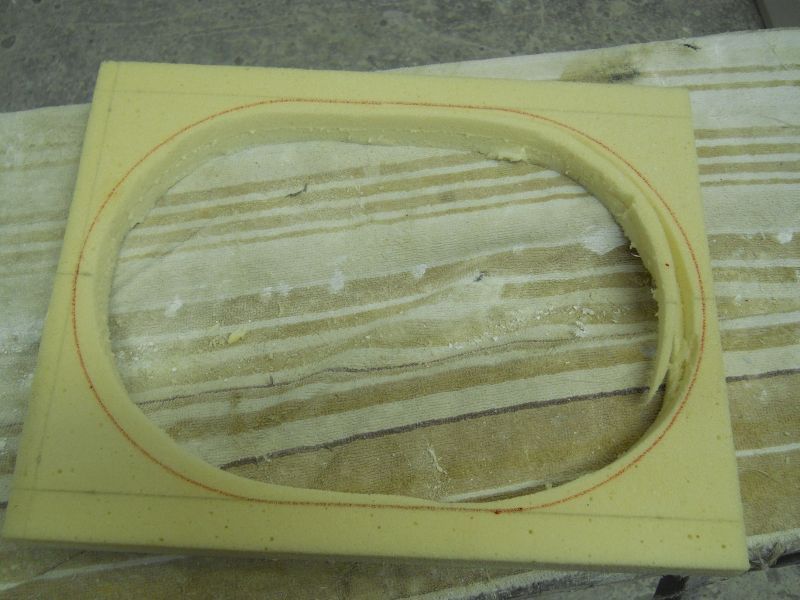
Next is was a case of cutting the center out roughly with a Stanley knife to get the basic shape being careful to not go over the lines.
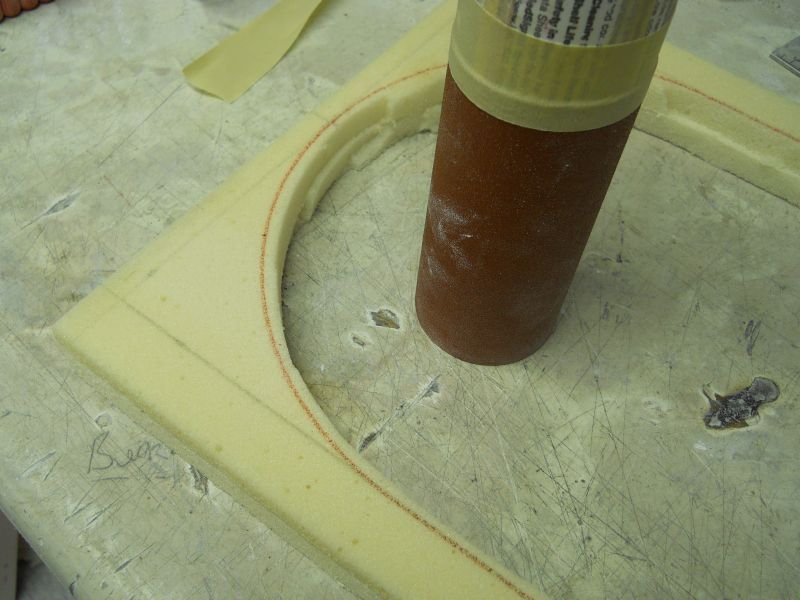
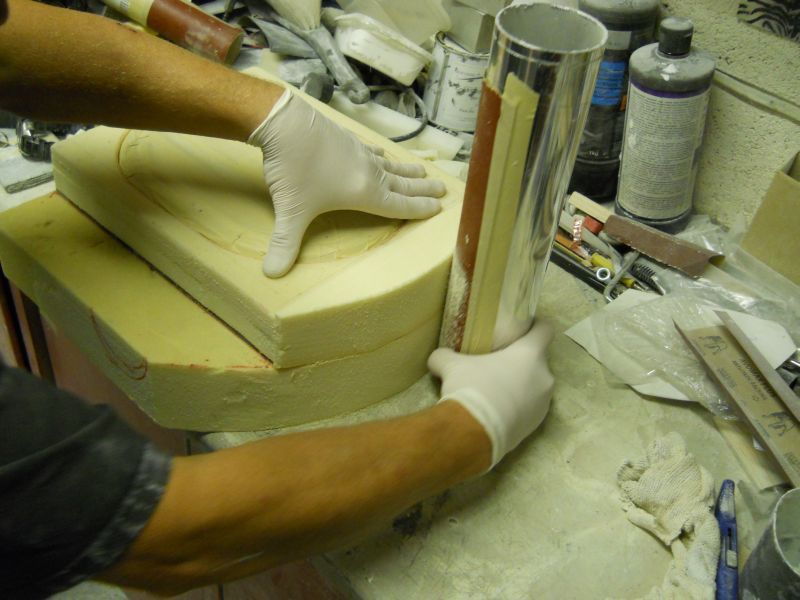
I then taped some 120 grit paper to an old silicone tube and final finished the cut out.
If you stick the paper completely square to the bottom of the tube and the sand with the tube upright on a flat surface you are sure of a perfect 90 degree edge on what you are sanding.
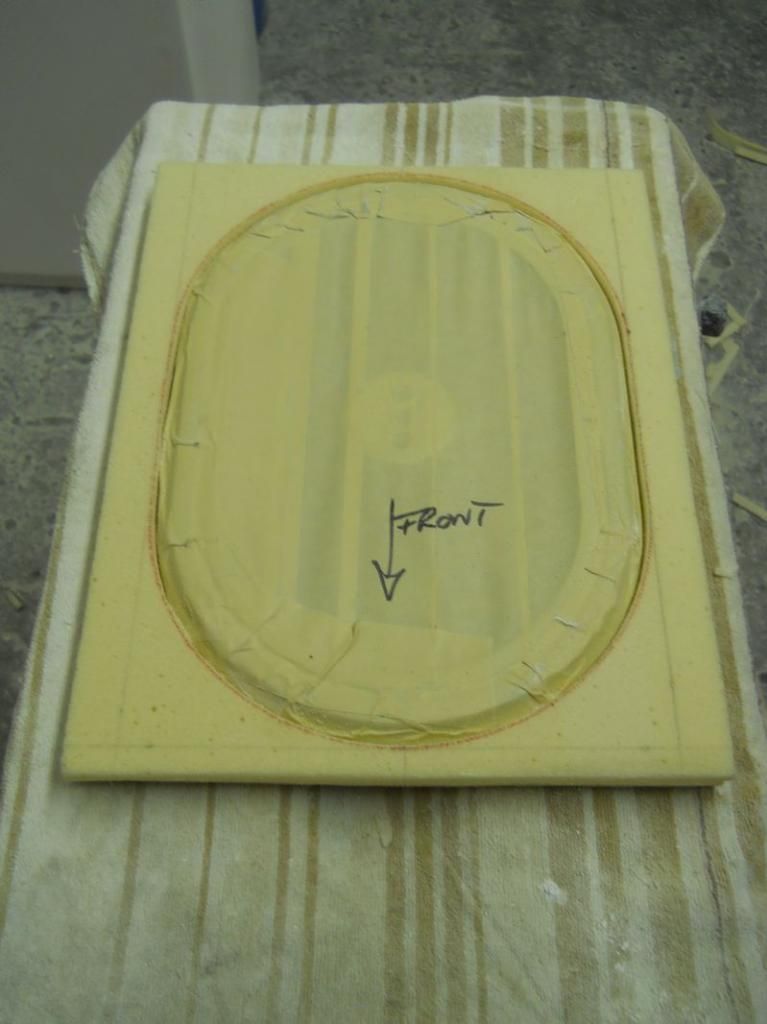
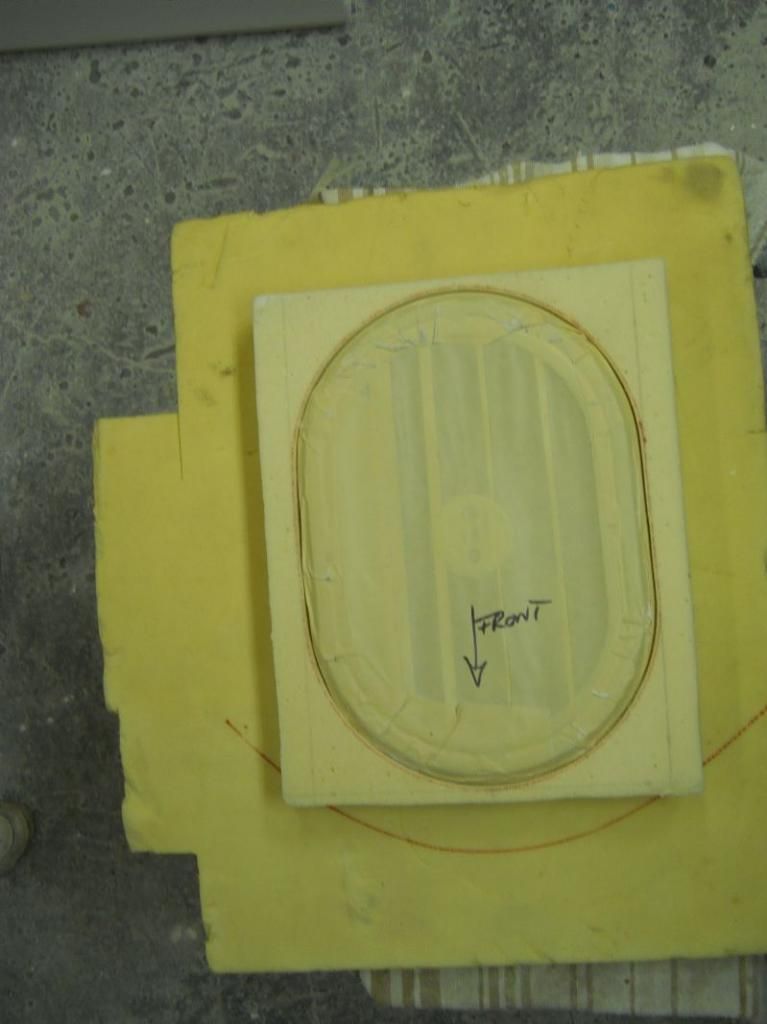
10 minutes later and we have a perfect fit for the new filter top.
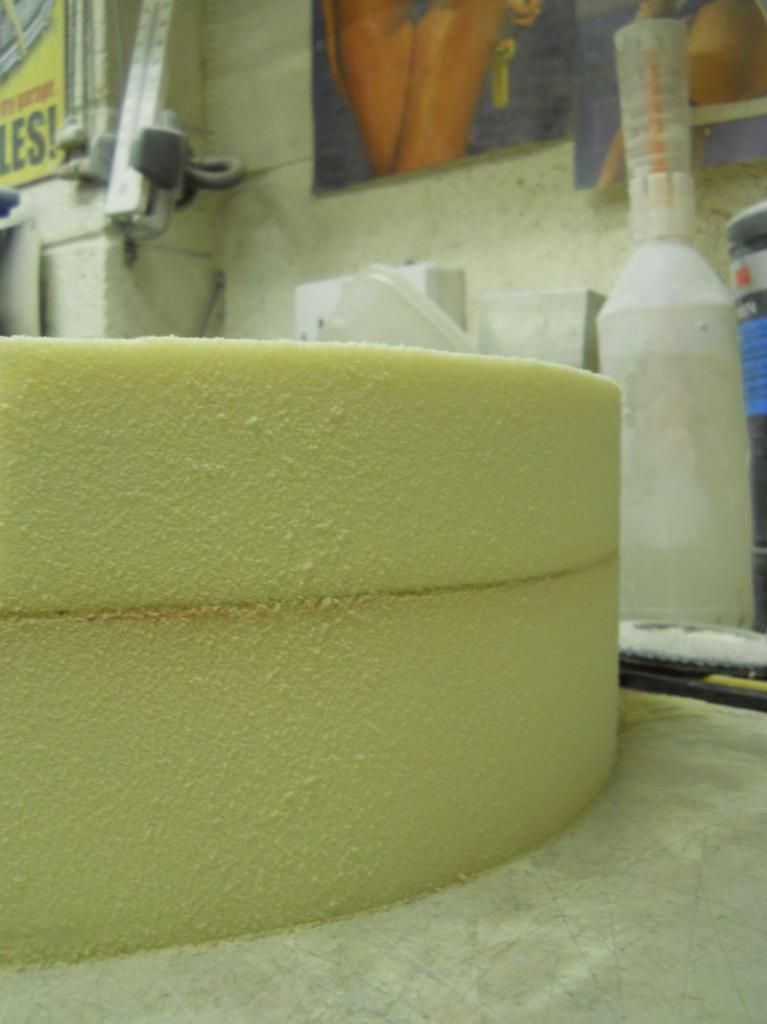
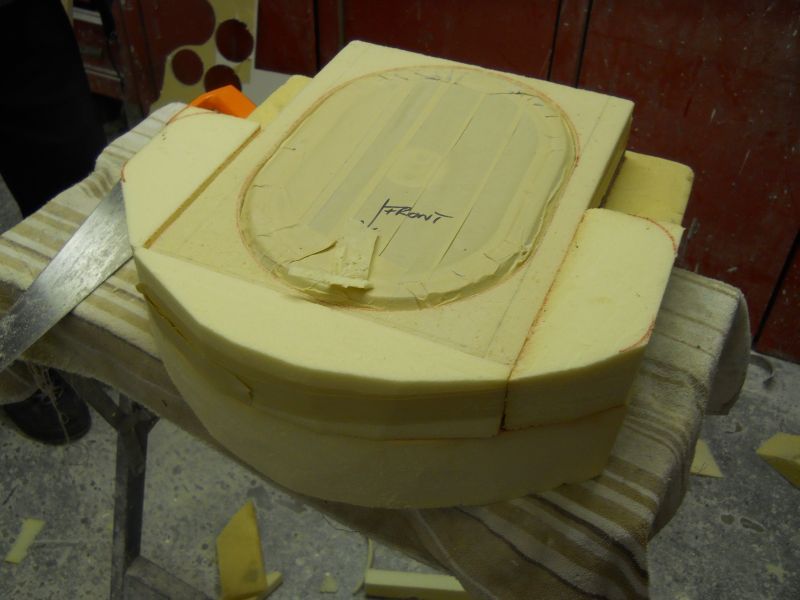
With the the top and bottom now done I took some more foam and made a center section that would allow the filter top to sit square and also to be the right depth bearing in mind the limited space and ended up with this.
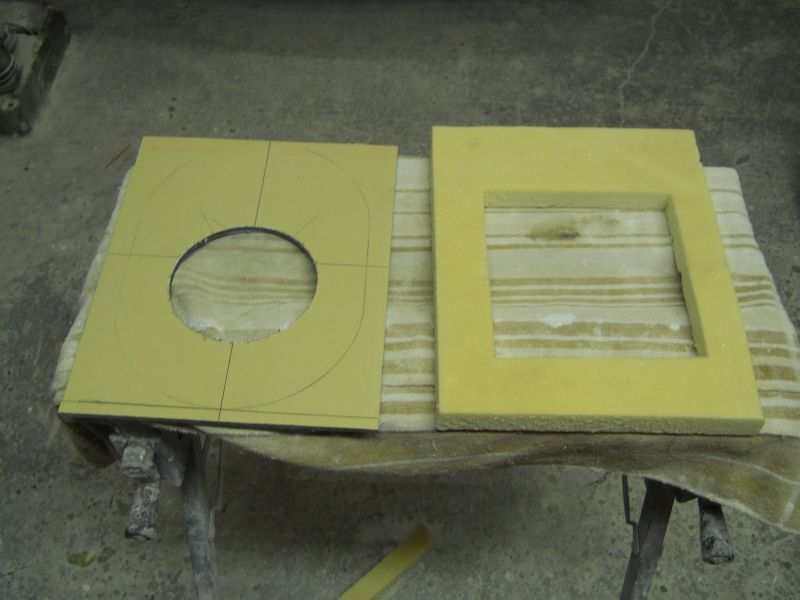
As you can see clearly all I have here at the moment is slightly bigger than what I had on originally so greater depth and a way of connecting the intakes to the box are the next concern.
A large block of 3" foam was taken from the stock pile scribed and cut to shape.
An off cut of the thinner foam was then bent to form the same curvature of the airfilter itself which keeps things looking quite nice.
Can you believe it, more foam was then bonded and shaped to give this.
At this point you can see the middle section of the box top and how the filter top is supported.
It might be worth mentioning at this point that I am using the foam as
1. I have it here in stock from previous projects .
2 It is incredibly easy to use and shape.
3 Very simple to mould off
4 It costs me nothing (always good)
Wearing gloves when using this foam is always a good idea.
When sanded it leaves very small particles on your skin and if you rub your face it very easily gets into your eyes (been there done that) which makes things uncomfortable for a while.
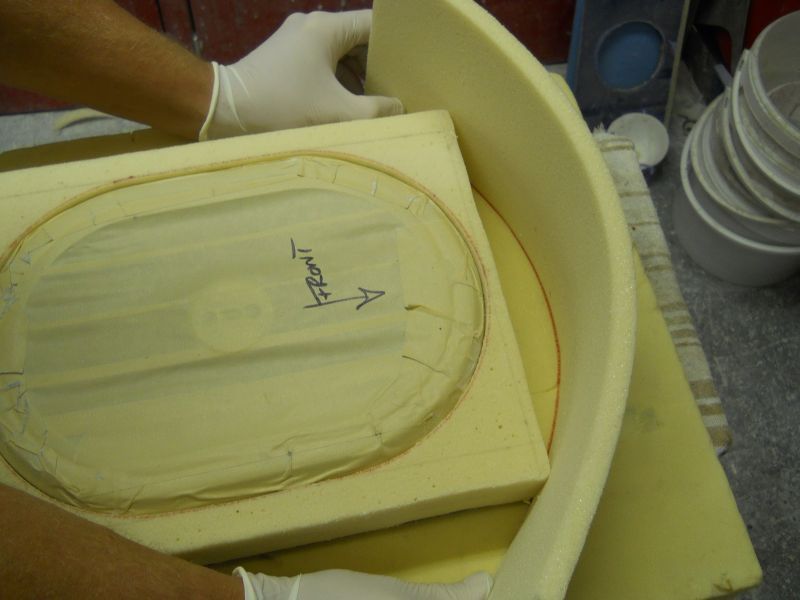
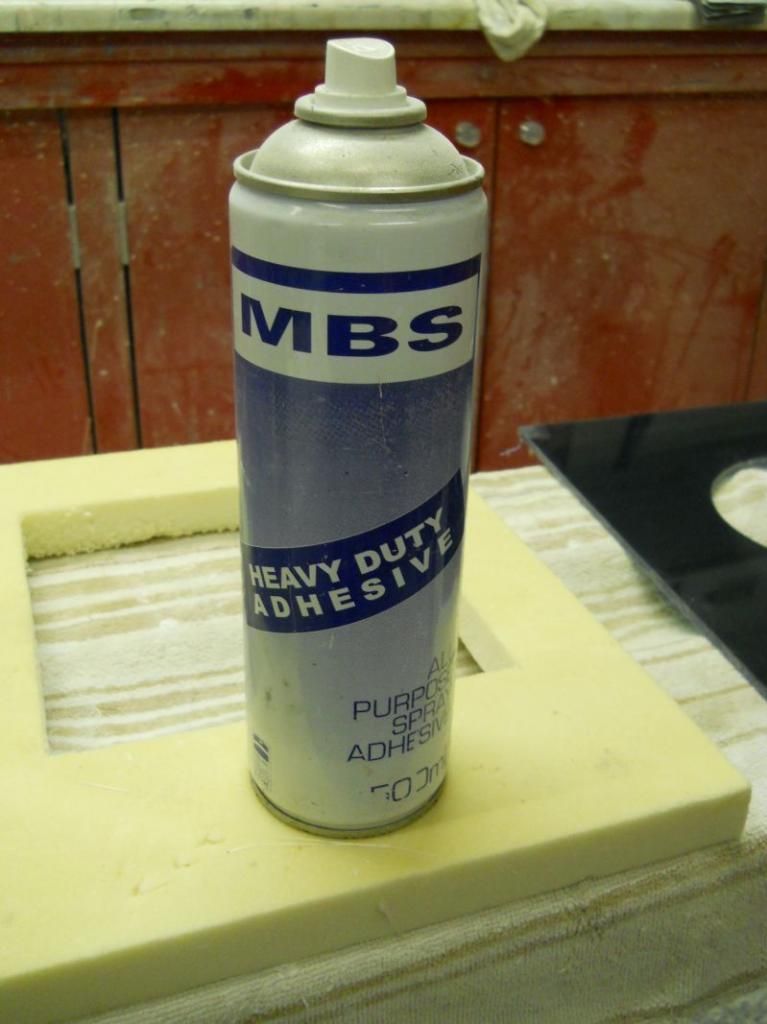
With the 3" foam already cut and roughly shaped the top section was bonded to it using some marine glue ("Strong stuff", that will make sense to some and not to others) and we end up with this.
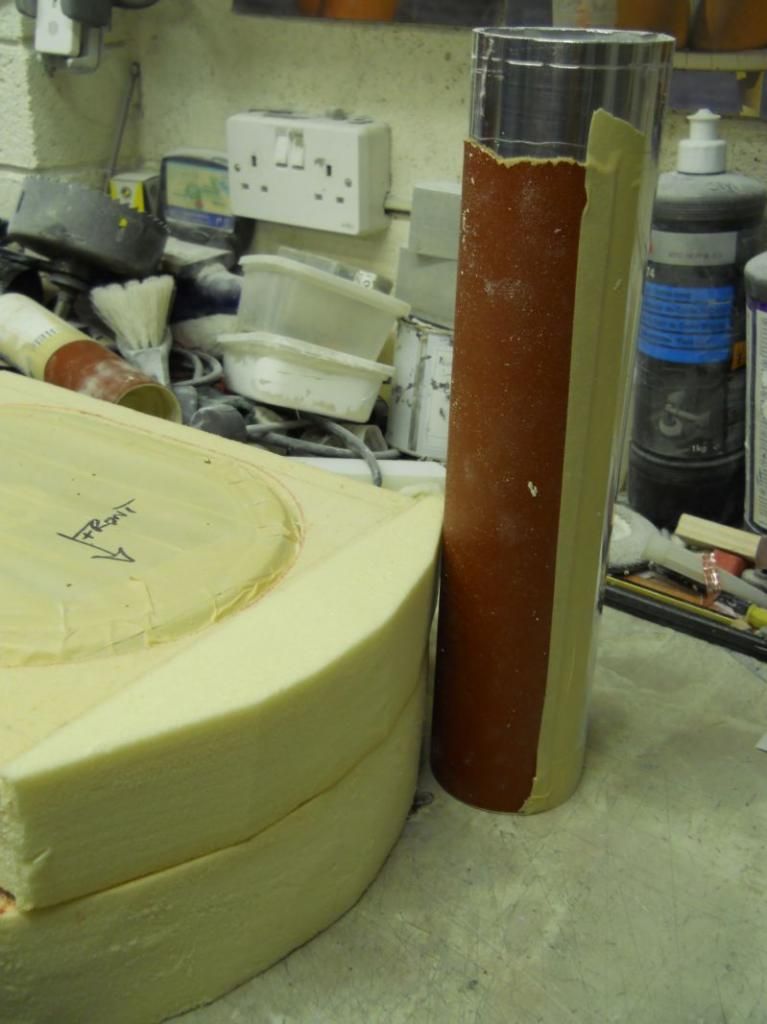
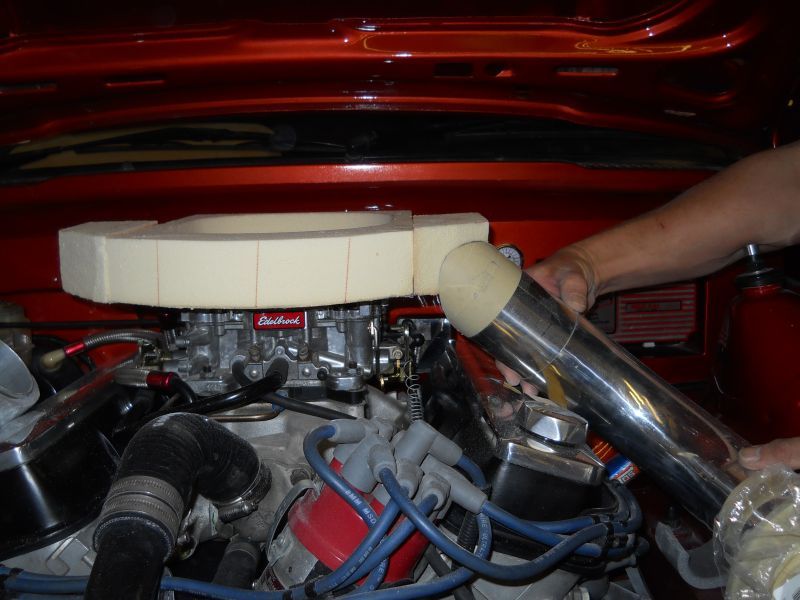
Using a section of the ali pipe I employed the same sanding method as earlier and spent 10 minutes shaping to end up with this.
Then all I needed to do was to add two sections to the sides to make wings for the tubes to fit into.
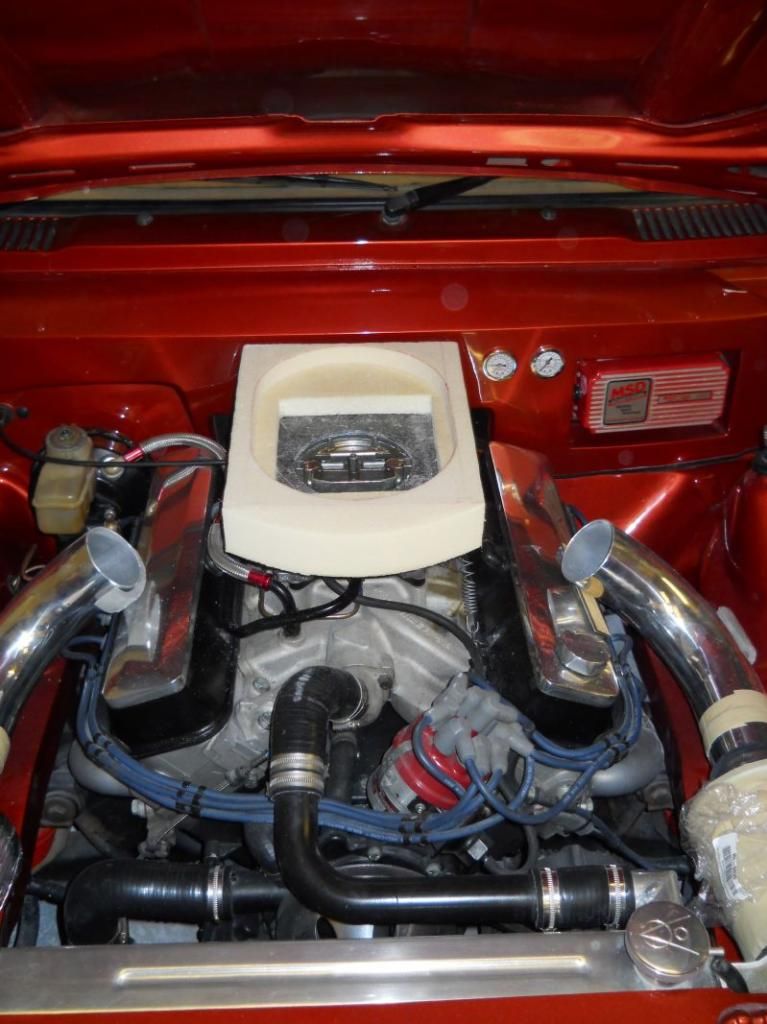
A rough test fit was done earlier in the evening and as long as I'm careful I should end up with the intake tubes flowing in something like this.
Thats it for now so if time allows I will be back on the case tonight and show progress again tomorrow.
Cheers for now
P


