Greetings from Gelmonkey Towers.
Well been out and done a bit more tonight and would have liked to have got a bit more done but it is not that warm in the garage and the gel is taking a while to cure so thought it would be best to leave it overnight and continue gelling tomorrow.
So in the meantime this is what I have done this evening.
After getting everything straight yesterday evening it was now time to cove in the ends of the tubes with Plasticene
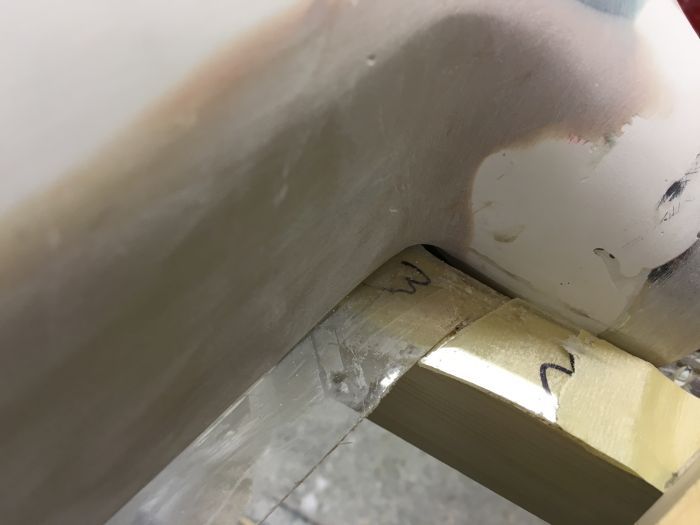

With that done attention then had to turn to the very tight radii that was mentioned yesterday (I think) and how to stop the laminates when applied from lifting off such tight corners.
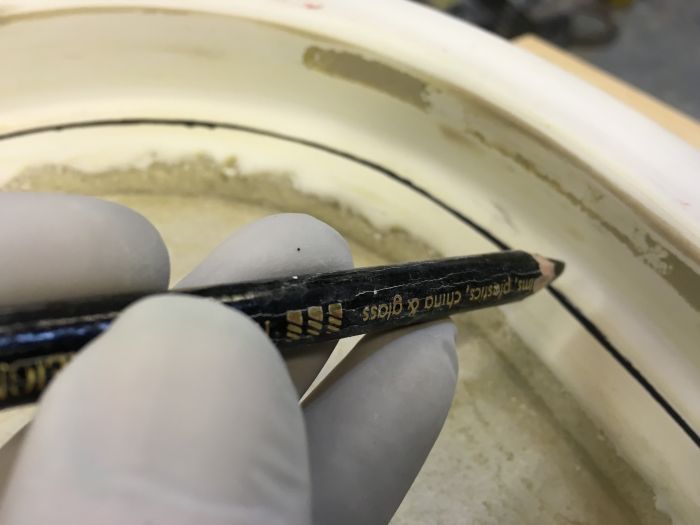
Also at the bottom of the upper section where the top filter will sit there is a small 'land ' that the glass will have to sit on and not come away from the corners as the glass cures.
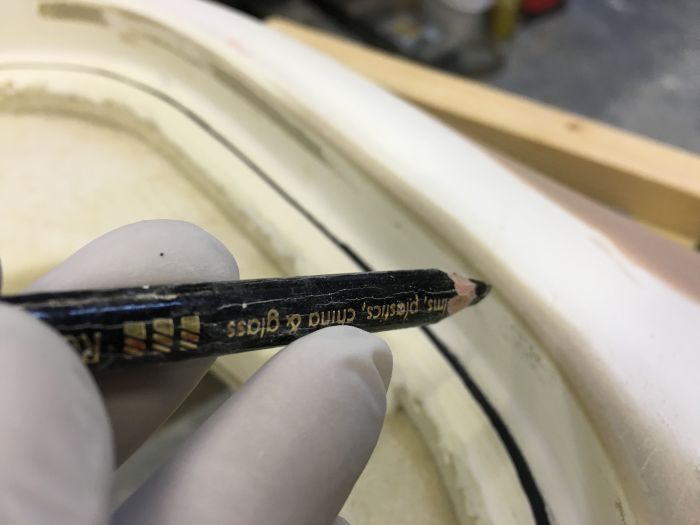
As you can see from the pics the black line denotes where the actual filter sits but I have to take the glass out further than this to keep and equal thickness .
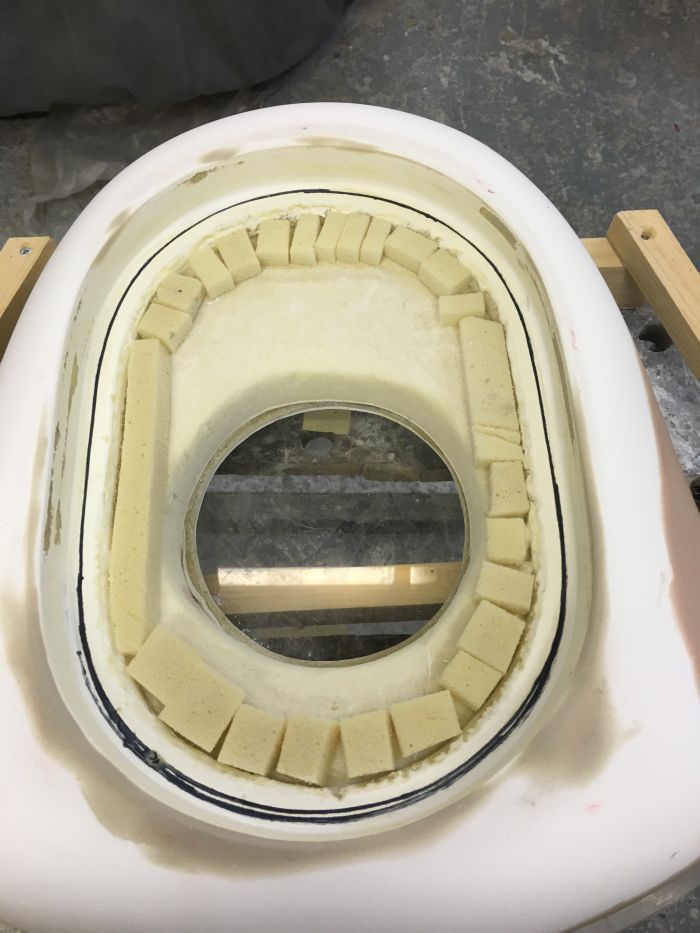
To get around this problem small blocks of foam were cut and just sat in place.
When the gel has been applied that will hold the blocks in place and as they are just sacrificial it does not matter what they look like as long as they do the job required.
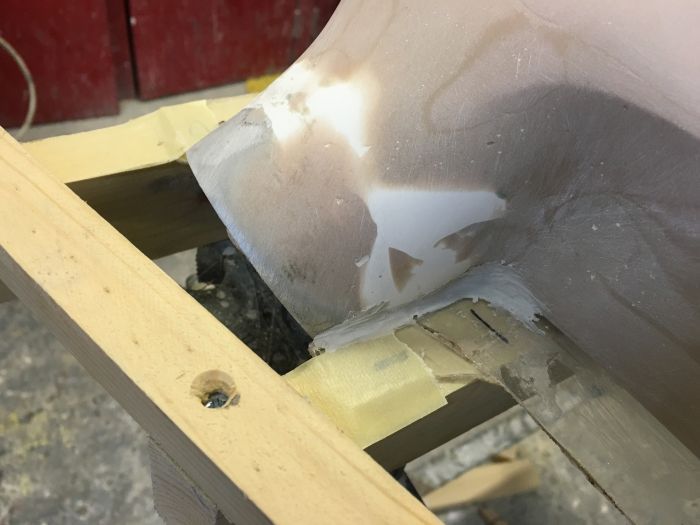
To solve the problem of the tight corners plenty of gel is applied which then bulks up the edges and allows the laminates when applied to flow over the curves rather that being forced in and without question the glass would lift away and cause air voids which we do not want.
The picture above shows pretty much a right angle so that the filter itself sits square within the housing and would be impossible to glass without the aid of plenty of gel.
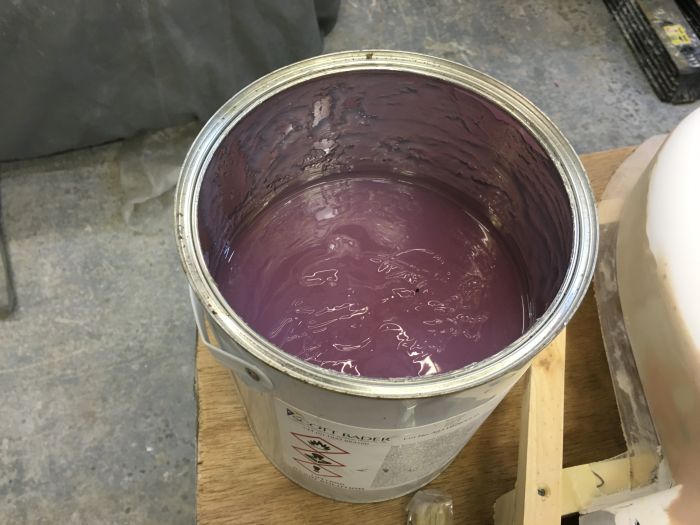
So after waxing the whole thing 8 times it was out with the clear gel and some yellow pigment paste and mix them together.
It is recommended that between 2 and 5% of pigment is used in clear gel but over the years i have found that you can use up to 10 %without any worries so thats roughly what was done here.
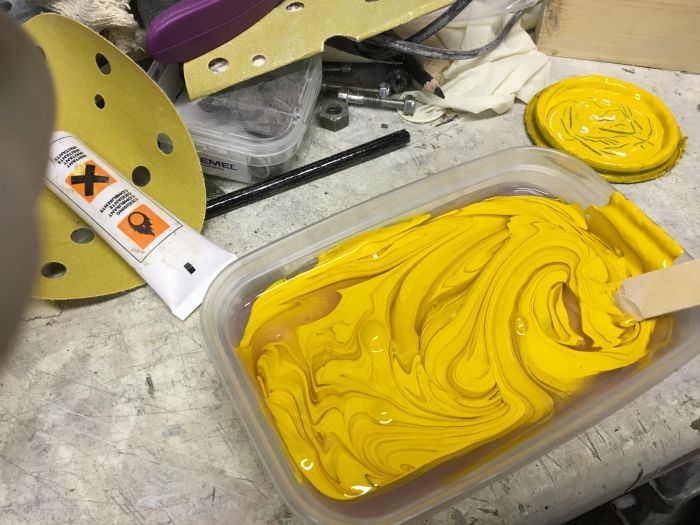
Yellow is a great pigment for mould making because it is such a stark colour against what the final unit colour will be and simple to see the parting lines.
Obviously if you wanted your final unit to be yellow then you would use a different but equally as stark pigment.
After a good mix together and a slug of catalyst along with another good mix it was time to finally get the gelling underway which was done using a 1" brush.
Bung it on and then smooth out so it will more or less level itself out on the top and nit be too heavy on the sides.
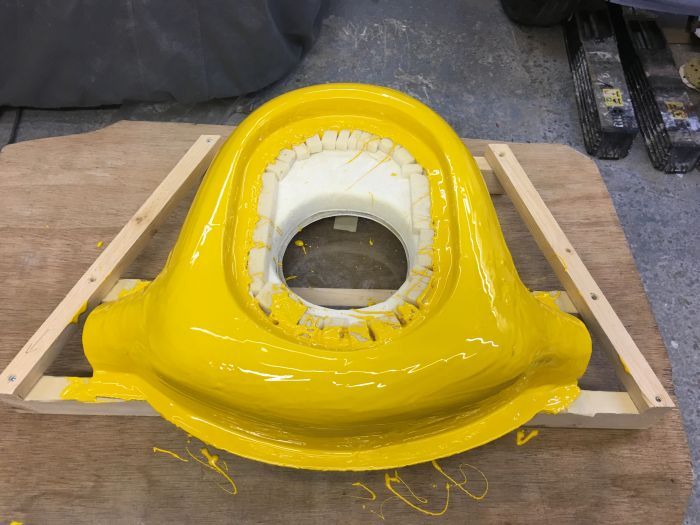
Allow to cure and apply 2 more coats which will be done tomorrow during the day.
Its good to be getting on with the real stuff now as whilst the plug making is enjoyable for me there is nothing quite like doing the proper part of the job.
On a final note for tonight I am often asked why do you need to make a pattern?
The answer is simple in as much as you have to make a positive to make a negative to make a positive.
Basically its just pattern making
cheers
P


