Page 5 of 6
Posted: Sun May 09, 2010 3:57 pm
by gelmonkey
Here we go again then.
Slightly behind schedule but still going forward.
Went to see the Australian Pink Floyd last night (just awesome,if you like Floyd and get a chance to go see these guys you won't be disappointed)
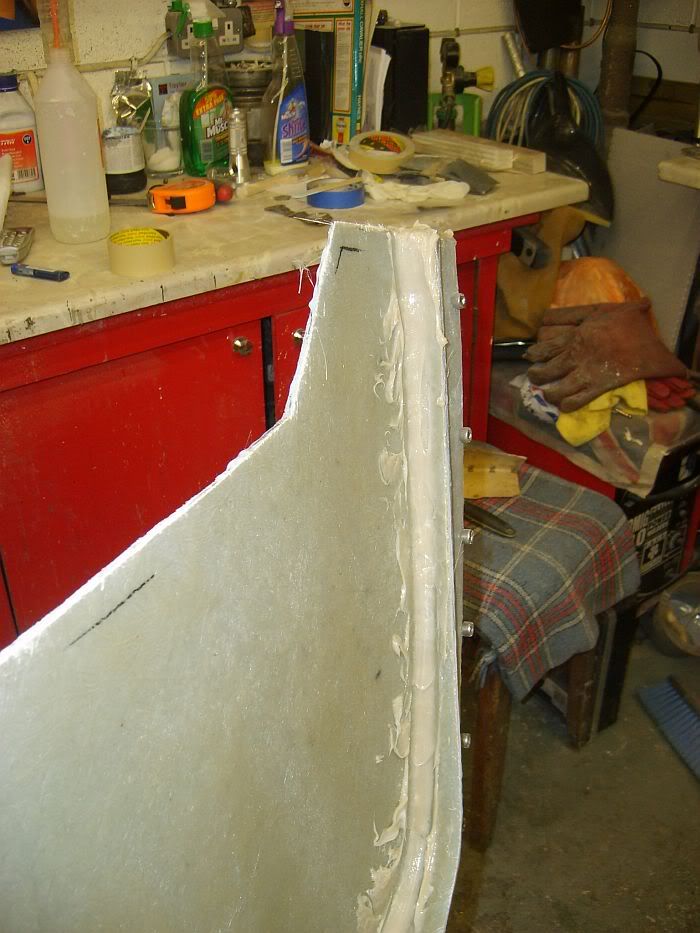
The gel cured off and then it was out with the laminate.
Putting the mould in the workmate and I glassed the tight radius first as I did with the gel and then layed the mould down and did the base.
I used just one layer of glass for this part of the project.
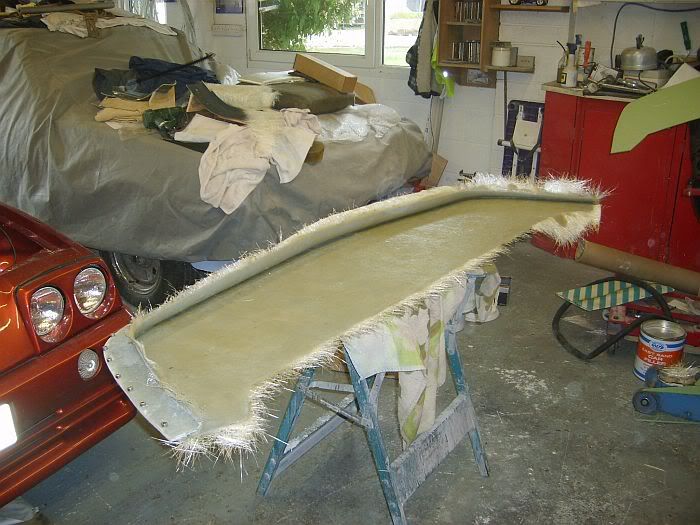
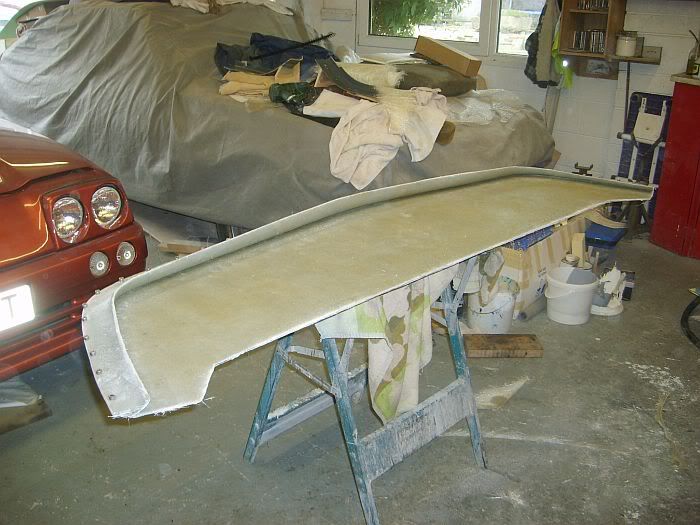
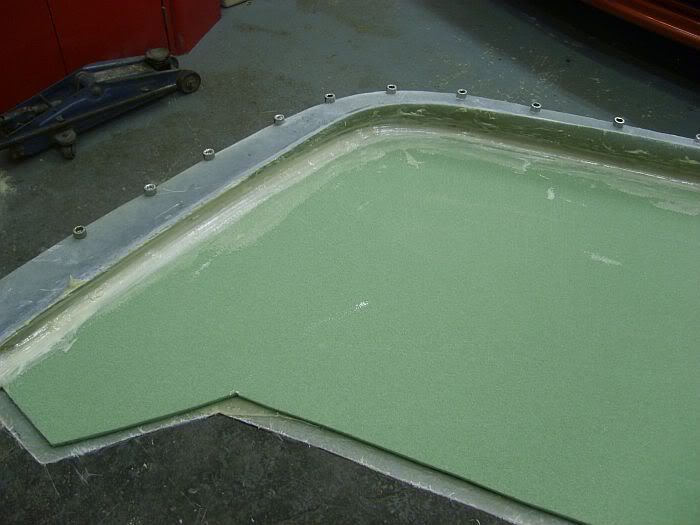
It needed a quick trim as usual and the mould looks like this after trimming.
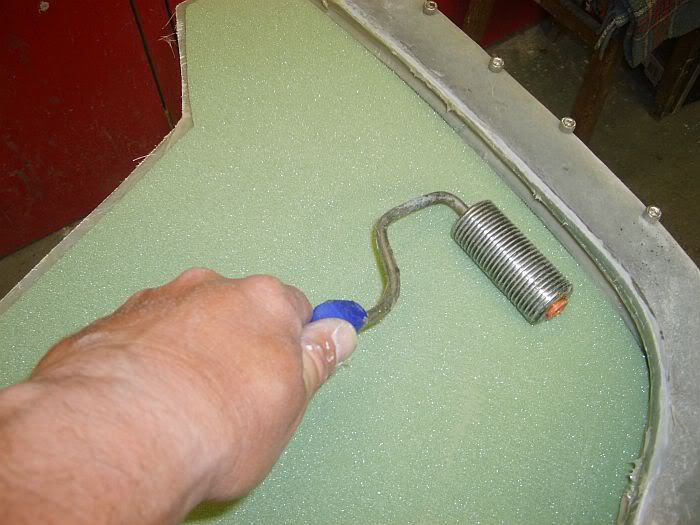
Next I got out a sheet of high strength PU foam and cut this to shape.
It has to fit quite snugly up at the front as I will be using a very strong bonding agent (Crestomer Jelly)to fix the foam into position.
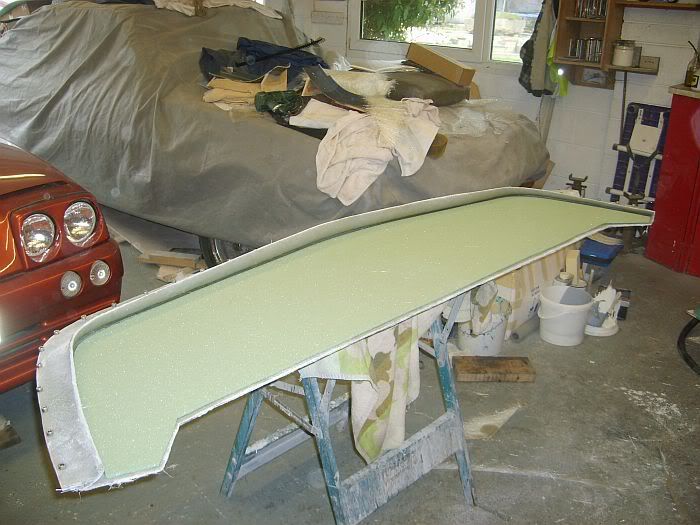

This will give the splitter a great deal of rigidity and yet will be very light even with another layer of glass over the top.
This will tie the whole thing together and ready for the last stages of this project.
More later.
Cheers
P
Posted: Sun May 09, 2010 4:26 pm
by topcatcustom
Coming on then Paul, is the foam rigid or like conventional squashy stuff?
Posted: Sun May 09, 2010 7:11 pm
by gelmonkey
Hi Tom
The foam is rigid.
It has been the most expensive part of the job because I had to buy the sheet.
All of the rest of the kit that has been used is stuff carried in the vans on a daily basis.
We do use this kind of foam but quite a bit thicker than this (6mm is what is being used here).
I watched the Youtube clip of your car firing up yesterday before I went to work(go to work on an egg it used to be said but I prefer a good slice of V8 with my cup of tea.The look on your face said it all

)
Well done again Tom,can't wait to see it in the flesh and to hear it with that lung singing the right songs.
cheers
P
Posted: Sun May 09, 2010 10:51 pm
by Muscle-Manta
Posted: Mon May 10, 2010 7:11 am
by gelmonkey
Thanks Paul
It is coming together now.
When I got home from work on Saturday the new M/C was here waitng for me so I can sort out the bonding of the foam and change the master cylinder over tonight,maybe even bleed the brakes.
Are you going to the Beaulieu run this year mate?
It will be so cool to have our two sat together

cheers
P
Posted: Mon May 10, 2010 8:01 am
by Muscle-Manta
Yes! Unless there are any hicups I should be there with me new engine installed.
See you there
Posted: Mon May 10, 2010 10:00 pm
by gelmonkey
Hi All
Here's tonights progress.
The bonding agent is just a jelly that turns rock hard once catalised and allowed to cure.
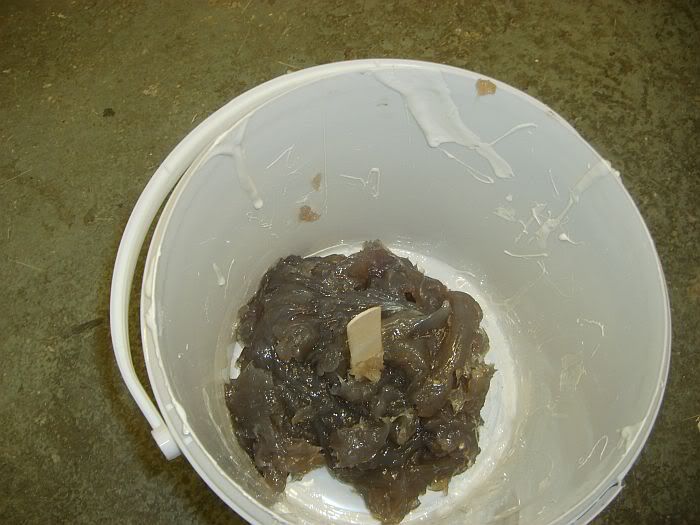
Once it was mixed up I 'buttered'up the internal radius and then ran over it with a brush to make sure that the jelly went right into the radfius at the front.
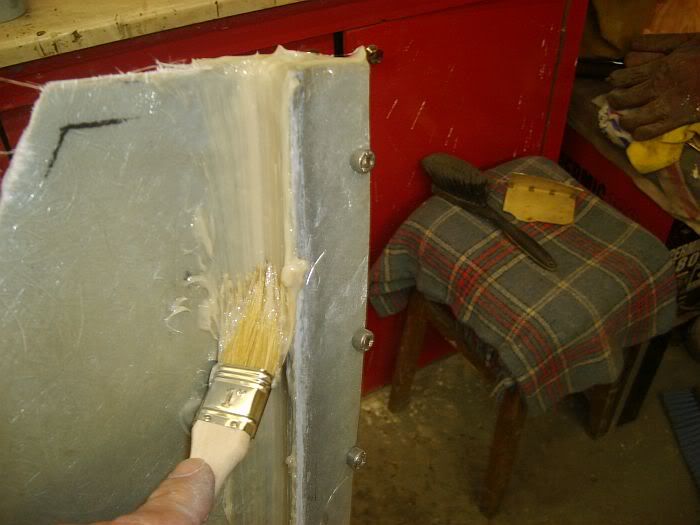
With that done I then used a body filler spreader to skim the base of the splitter with the crestomer and then placed the foam on top of that and then rolled it as flat as I could.
After that it was a quick splash of jelly all around the front of the foam and then a bit of coving,again to get a nice radius and then a final lick over with the brush to make it all neat and tidy
This must now be allowed to cure for a day or so and then the last lot of glassing can be done along with the mounting braces and it will be ready to release from the mould.
I hope have all been paying attention because I will be asking questions at the end of the lesson

Cheers
Paul
Posted: Tue May 11, 2010 7:47 am
by topcatcustom
If you were a bit closer I'd happily come along to see how it's looking and ask you a million questions Paul! Not sure about nipping down to see you after work one evening though

Posted: Tue May 11, 2010 7:52 am
by stagcar
Hi Paul,
Looking good mate
Did you get the brakes sorted out ok?
Cheers
Derek
Posted: Tue May 11, 2010 4:35 pm
by gelmonkey
Tom
If you have a million questions you can always give me a ring.
PM me if you want my number happy to answer any that I can.
Always welcome to come and visit,you are just up the road from me
.
Derek,fingers crossed, brakes finally sorted tonight.
Have to get it done quickly now as I need to be out on the road!!
Also been to see a customers Willy's Coupe today and that is coming down to me for some major work and need to be able to get it in the workshop.
Coddington eat your heart out
cheers
P
Posted: Sun May 16, 2010 7:22 pm
by gelmonkey
Hi All
The final furlongs then.
Having completed the last layer of laminate (you have already seen how the glassing is done so no need to repeat that process) I come to the really fun bit and see if what has been made is actually any good.
After releasing all of the bolts around the mould (it could be heard to release itself as it was unbolted) a body filler spreader was pushed between the top and bottom sections of the mould and it started to come away very easily.
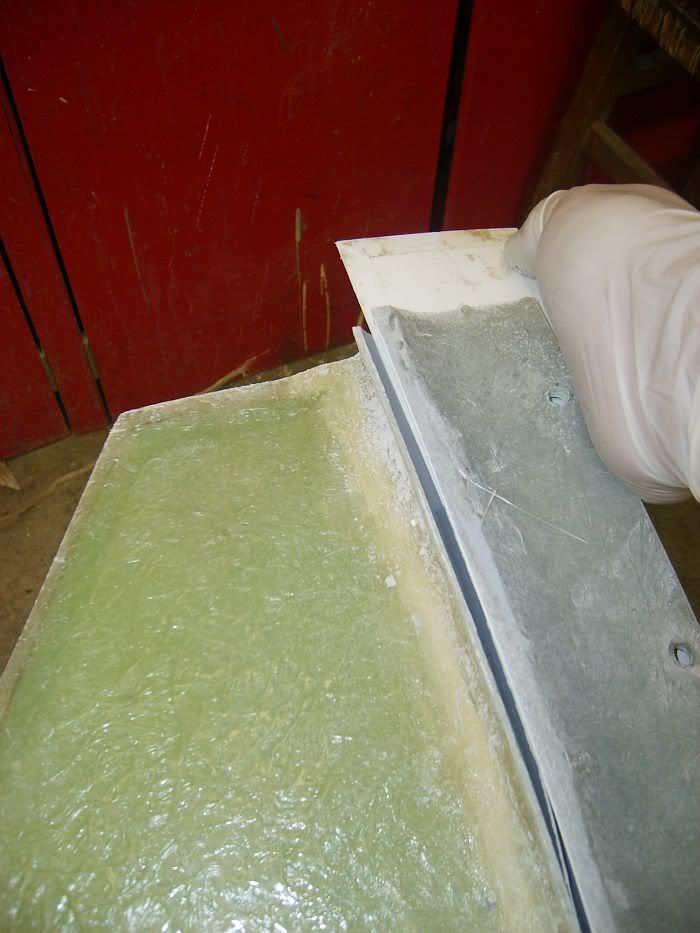
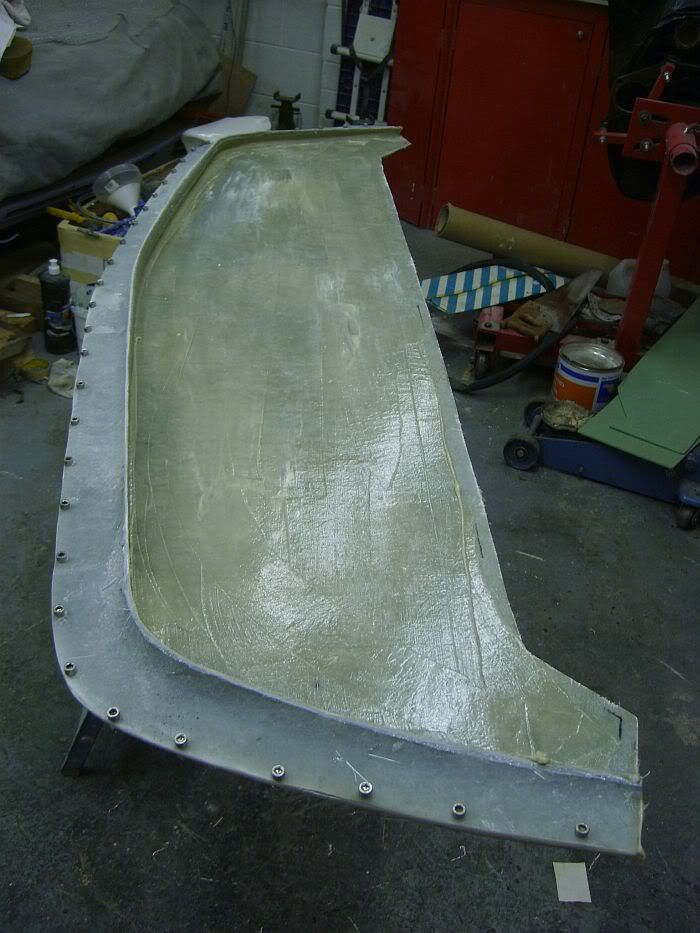
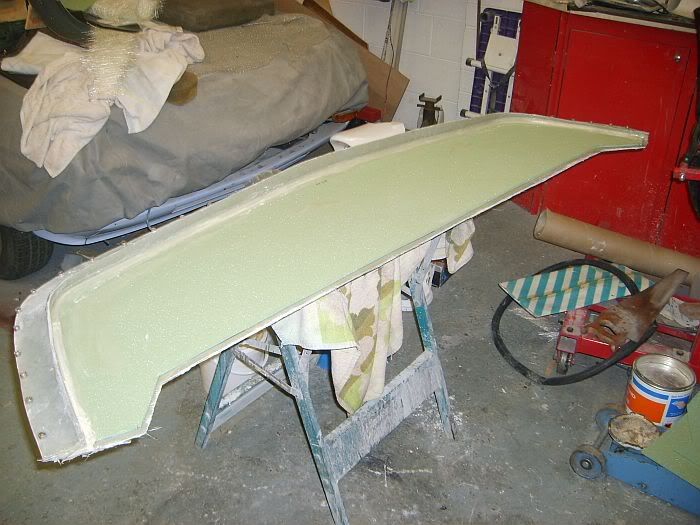
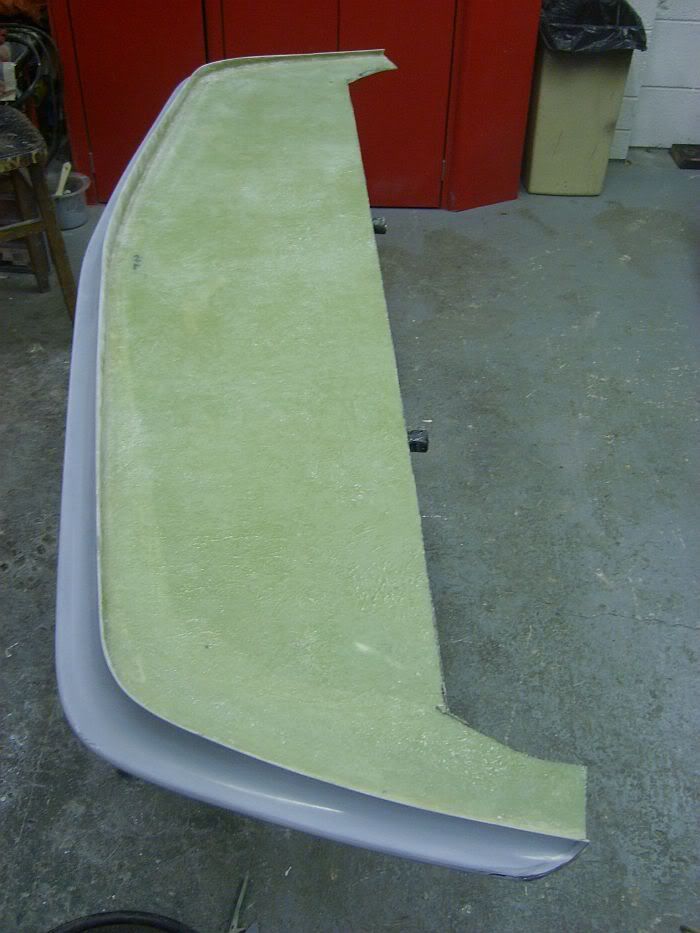
Running the spreader around the front face of the mould resulted in the upper section poping off without drama and I was left with this.
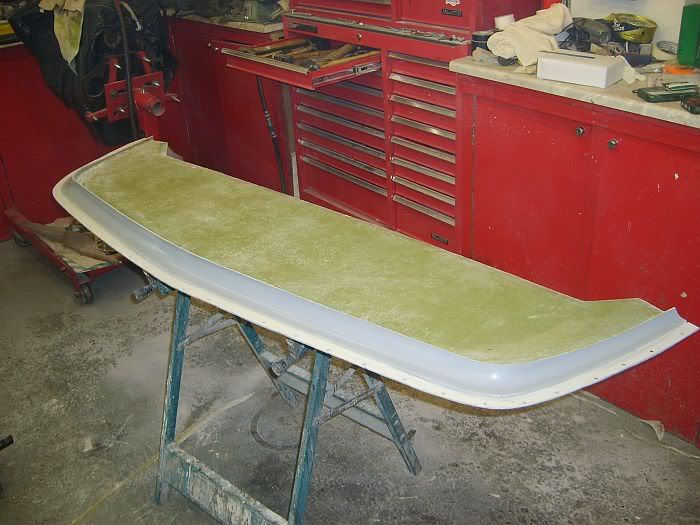
Then it was the same again around the bottom section of the mould and I ended up with a fully released panel.
As you can see there is just a very small amount of gel flashing that needs to be sanded back to make the front radius good.
All of the prep work that has gone before is so important and you can see how ,at this stage ,it pays dividends to the final thing.
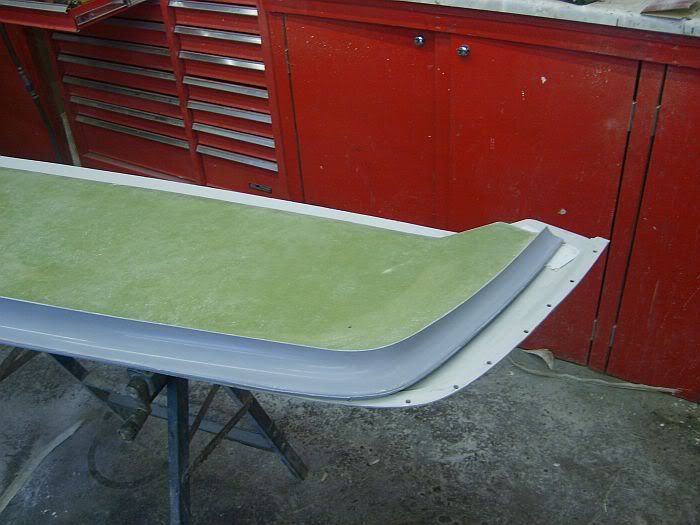
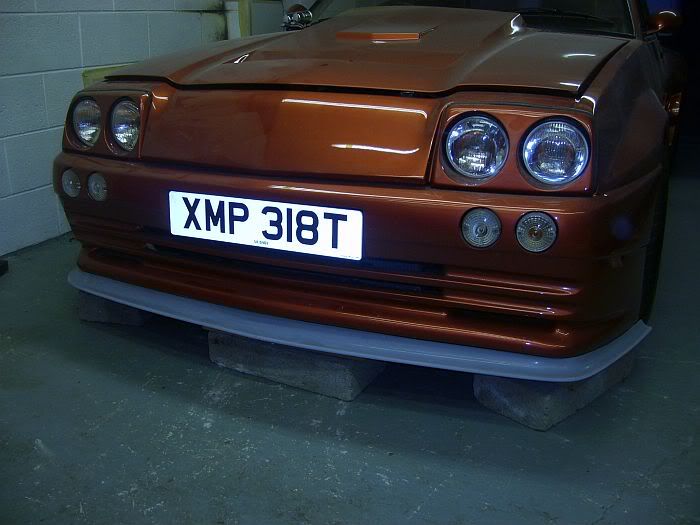
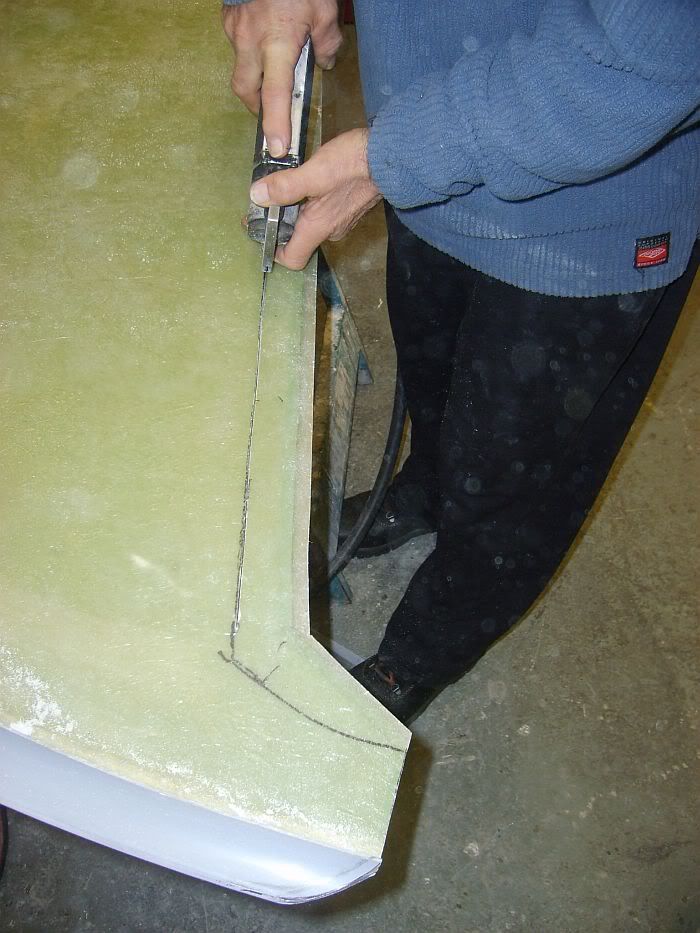
Offered up to the bottom of the car all looked good so it was time to scribe the final lines and make good.
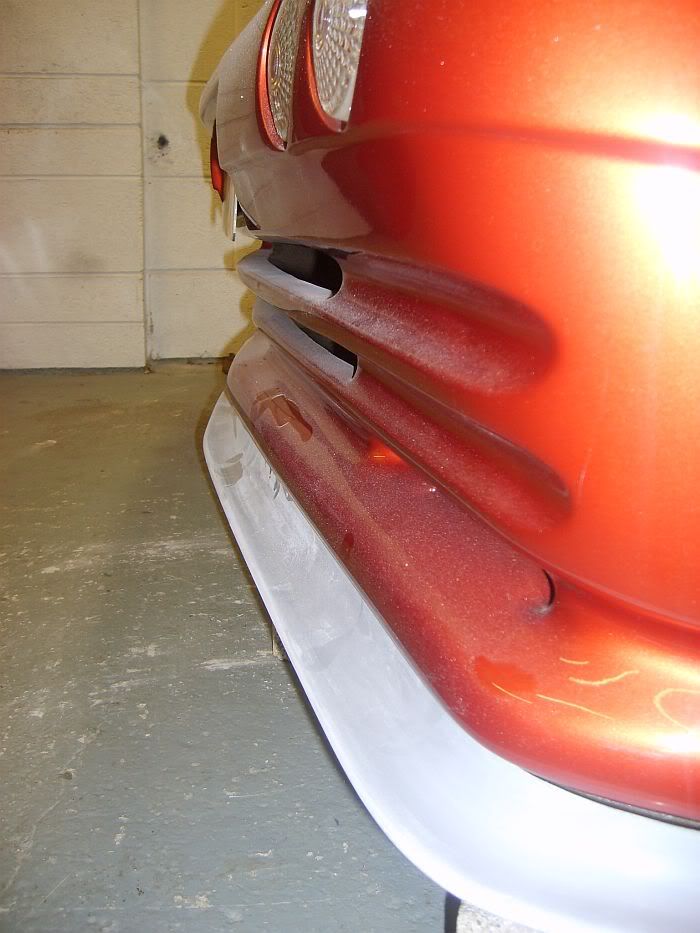
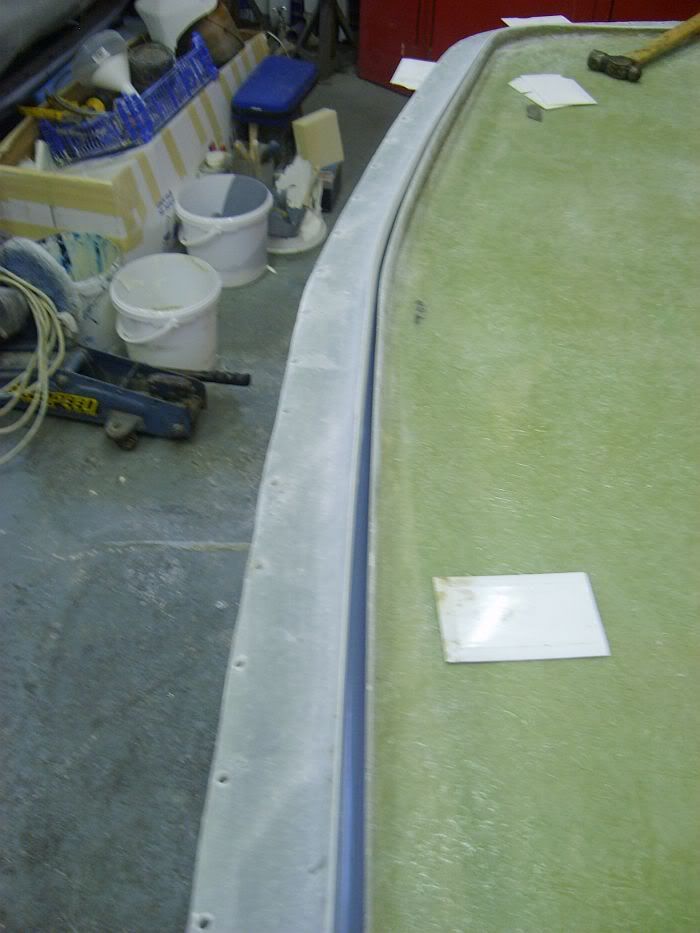
The trailing edges needed to be radiused a little to make it all flow and this is how it looks now.
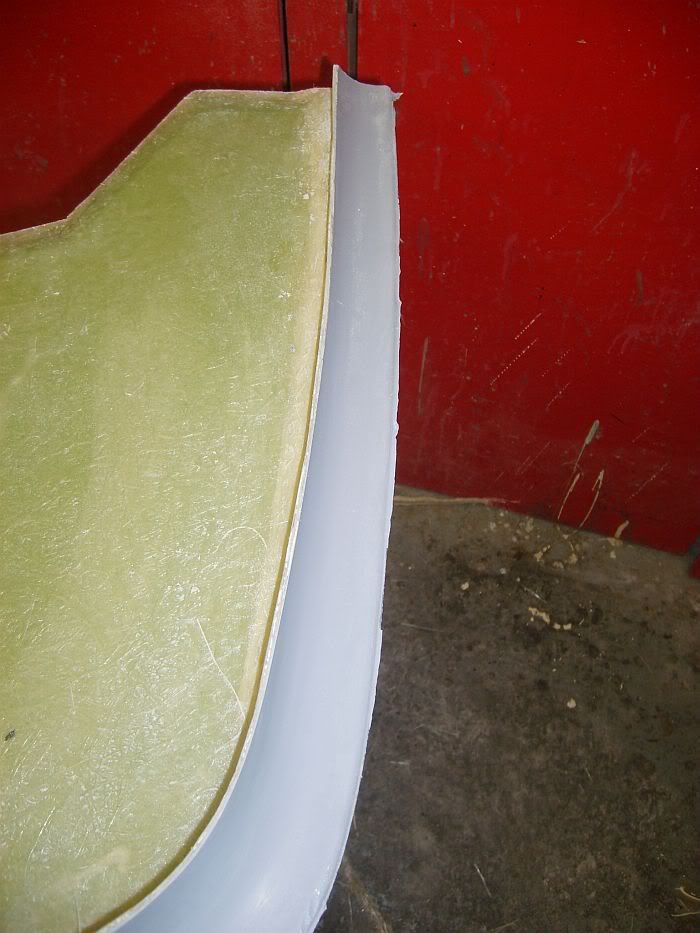
The last thing to do was to profile the back edge to the existing panel on the lower section of the car.
All I need to do now is to get hold of some grommet strip and then I can glass in the mounting pads,let them cure and then prep and paint.
The last episode this coming week. ( Thank god I hear you cry
)
Cheers
Paul
Posted: Sun May 16, 2010 7:49 pm
by ChrisJC
Awesome, it's great to see some real skill at work.
Chris.
Posted: Sun May 16, 2010 9:00 pm
by gelmonkey
Thanks Chris
Thanks for your kind words again.
I am quite pleased with it so far.
I just hope that after all this work it does actually do the job it has been designed for.
Will look like a complete pillock if it does'nt

cheers
Paul
Posted: Mon May 17, 2010 9:04 am
by topcatcustom
Paul that looks excellent! If you want any grommet strip I have a box full of black U shaped stuff to my disposal, similar to this
http://www.woolies-trim.co.uk/popup.asp ... e/1760.jpg
Can easily post you over a length. Your car must have so much dust on it if you leave it in the garage when doing your grp work
Posted: Mon May 17, 2010 9:32 am
by bclancy
Really nice job!
and an excellent read, pretty sure this will help others to have a go at some DIY glass projects... well done and thanks
Brian