Page 29 of 79
Posted: Sun Jun 28, 2009 8:38 pm
by Coops
we have had a good day today on the car,
engine mounts are finished and awaiting shot blasting and powder coating,
tunnel is now cut out, and gear box is as high as we dare go,
and new gearbox mount is now fabricated,
started sorting out the internal wiring too.
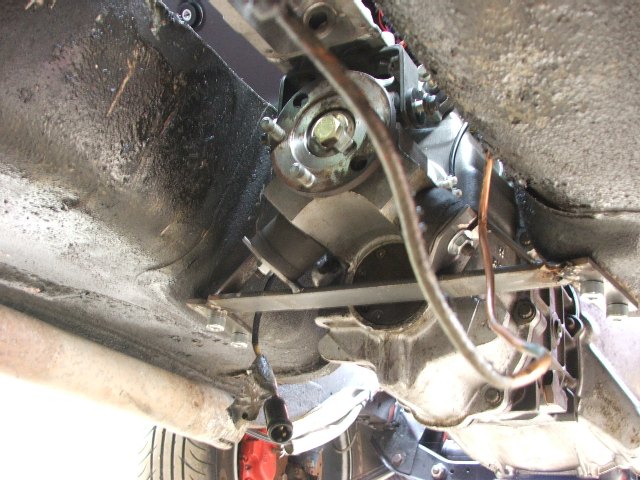
and spaced the steering rack by 5mm to try and gain more clearance for the steering coupling.
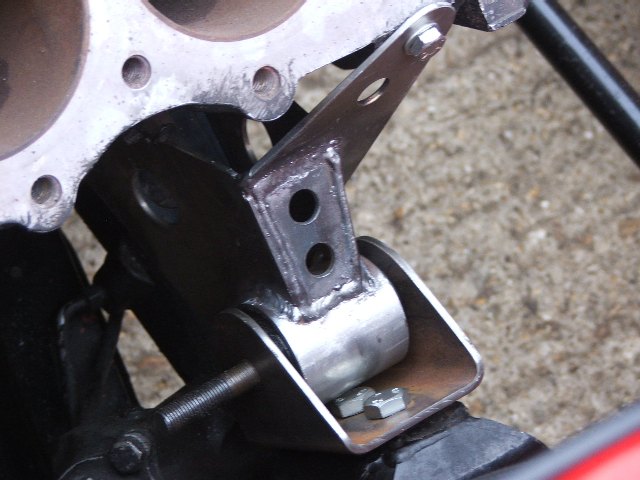
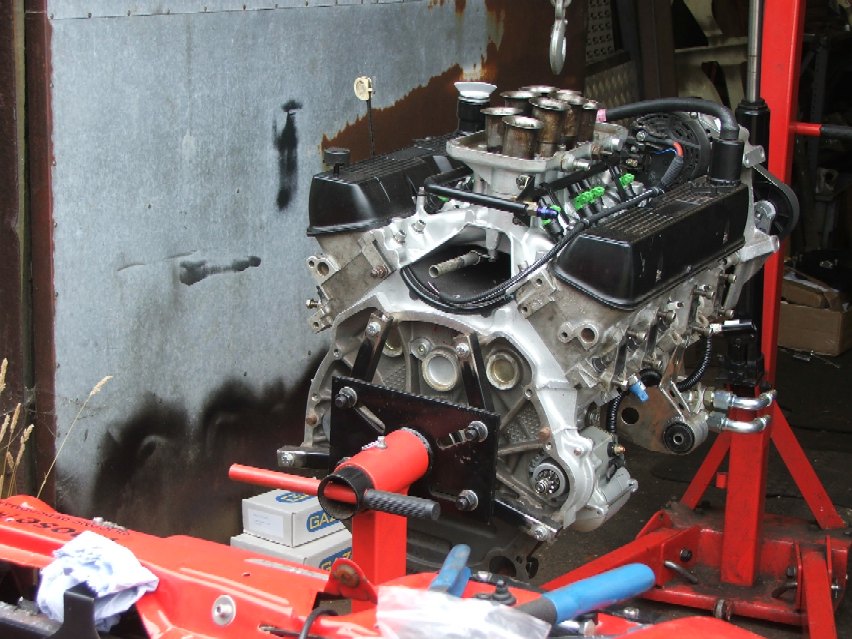
Engine mount fabrication finished, just needs welding now,
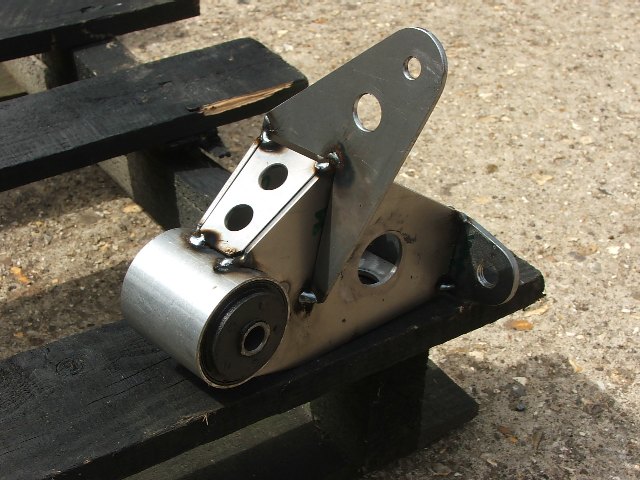
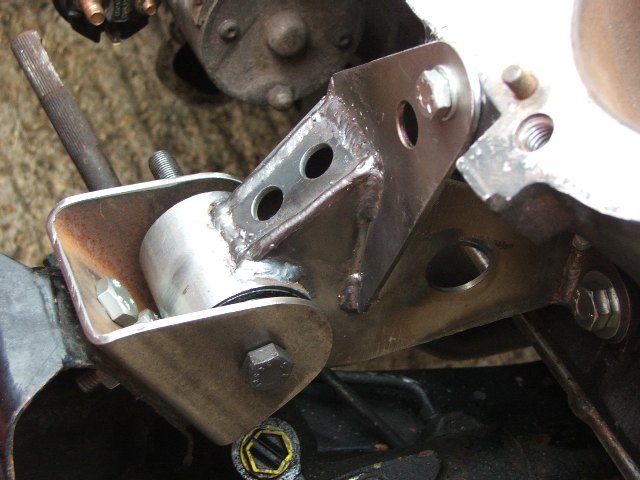
Welded and bolted back on dummy block for fitment,
Tunnel removed AGAIN...
and shortened gear remote on the R380 gearbox (box is longer than the LT77)
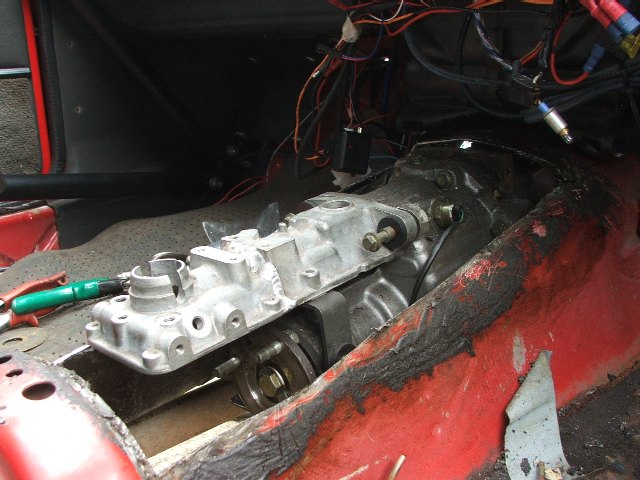
New gearbox mount lifting the gearbox higher into the tunnel,
Block sits nice and low sump clears the steering rack by about an inch now.
Posted: Sun Jun 28, 2009 9:01 pm
by Cobratone
Will those engine mounts foul on the heads when they are fitted??
Posted: Sun Jun 28, 2009 9:16 pm
by Coops
Nope mate we have tried that already

Posted: Mon Jun 29, 2009 8:46 am
by topcatcustom
Tony those mounts look bloody ace! Pity they aren't in ally though

Are they just straight forward poly bushes? My 'box is almost touching in the tunnel, but couldn't bring myself to pull out the entire dash etc to cut the tunnel, as it's a driver friendly comfy car there looks like a lot of stuff to take out- if it was a mini or mk1/2 escort it wouldn't be a problem!!!
Posted: Mon Jun 29, 2009 8:55 pm
by Coops
cheers mate,
have the axle to do next

Posted: Tue Jun 30, 2009 10:58 am
by katanaman
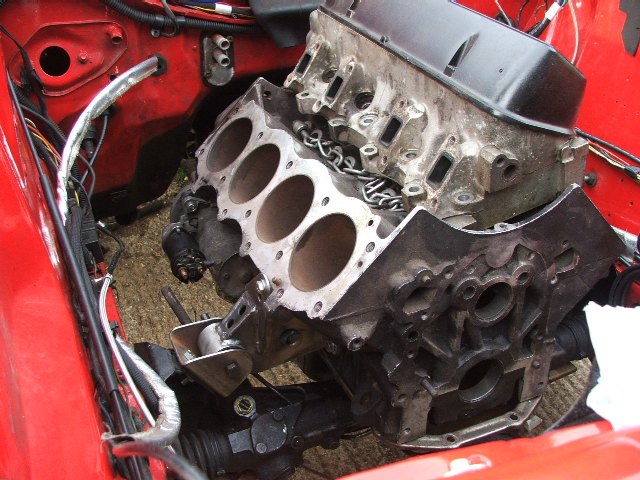
ummm Tony you have bolted the head in the wrong place
Posted: Tue Jun 30, 2009 3:54 pm
by Coops
bugger,
im not very good at this engine building lark am i

dont it go there then?
wondered why i had to grind and weld bits on for the holes to line up on the head
Posted: Wed Jul 01, 2009 8:16 pm
by Coops
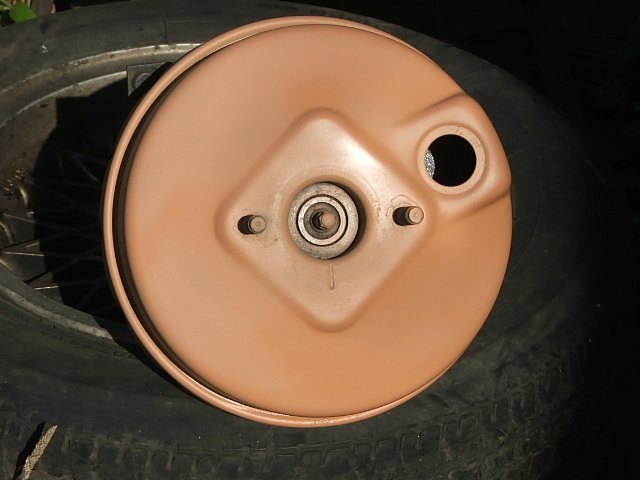
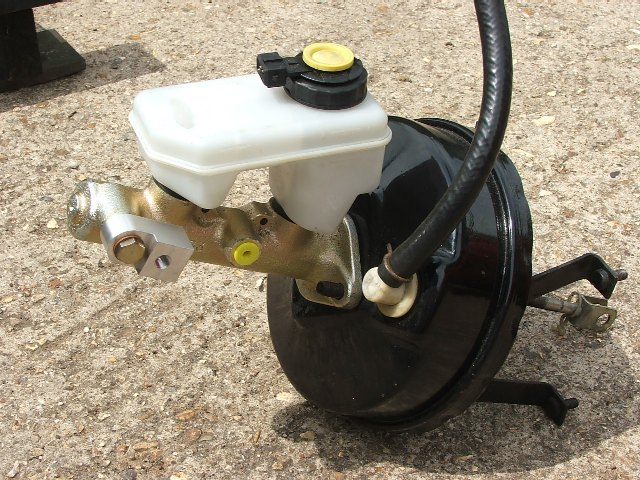
new brake master cylinder set up
uses a land rover 25mm cylinder,
Posted: Sat Jul 04, 2009 5:32 pm
by Coops
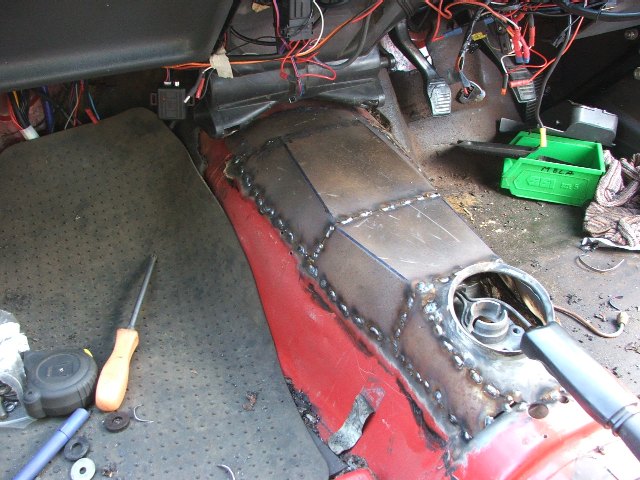
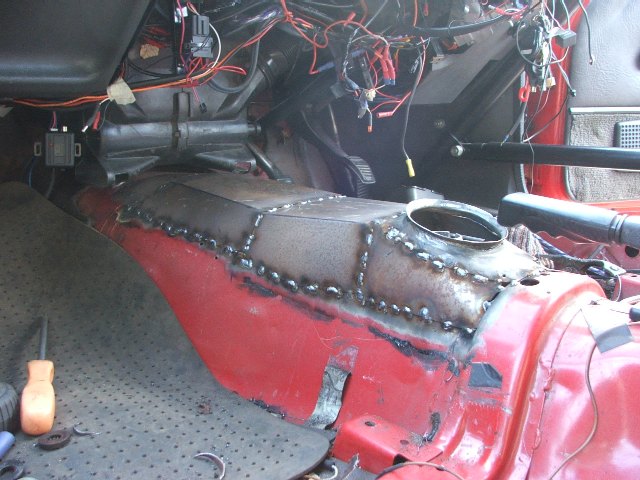
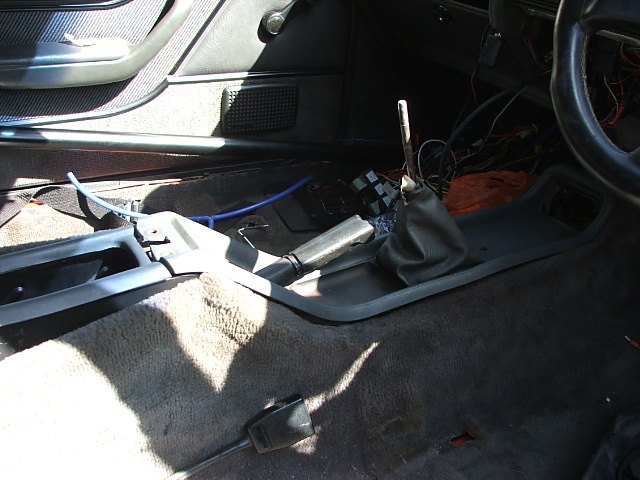
The tunnels now done,
a few bits to finish off then seal and paint,
then need to mod the center console a bit due to the height we have the box at now,
she is coming along now wont be long before we can lower the new engine in to its new home.
Posted: Sat Jul 04, 2009 6:31 pm
by CastleMGBV8
Tony,
Seems a while back now, but weren't you just looking to cure a misfire
You seem to have built a new car and very nicely too.
Kevin.
Posted: Sat Jul 04, 2009 6:38 pm
by Coops
ahhhhh bugger
wondered why it was taking so long to do the missfire Kevin
yeah it will be like a new car when finished,
found some bad body work points today while under the car,
seemed the body shop that painted the car 4yrs ago cut a few corners as in in never prepped the underside of the cills propery and the paint has come off and rust has set in, the same with the back edges of the wheel arches,
so that needs sorting before it gets any worse.
just be a touch up for now cant afford to have it painted just yet.
Posted: Sun Jul 05, 2009 9:33 pm
by Coops
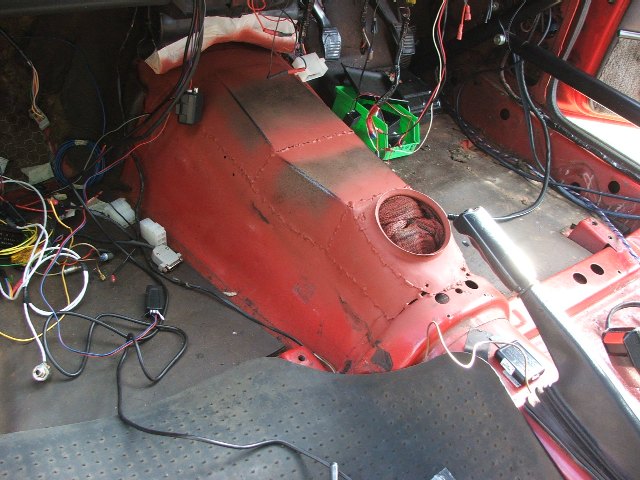
didnt do much on the tunnel today due to the changable weather,
so before the damp set in it got a quick touch up of rust proofer,
never sealed it today as we need to do some welding under the tunnel when the weather allows,
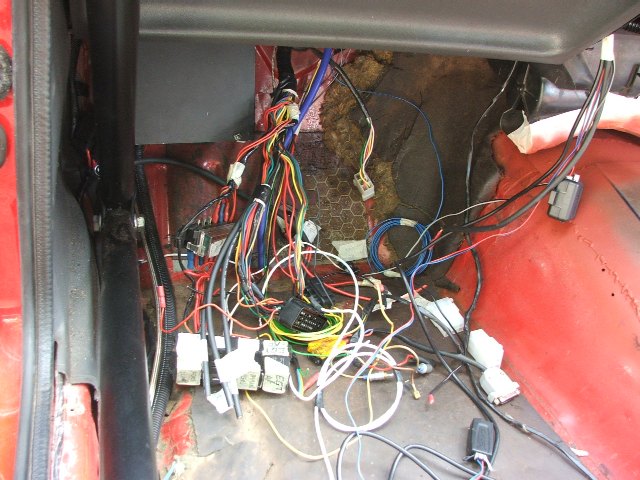
so i made a start on running the new knock sensor wires,
crank sensor wire and coil pack wires,
and tidying the cars looms up where parts have been added and removed etc over the 14yrs of owning her.
And the dummy engine is coming out next weekend and the new engine going in for a fit up of cooler hoses, coil pack brackets intake pipes etc etc etc,
then will be removed one last time to finish off the engine bay then it will be back in to stay
.
once the engine is in to stay we can start on the exhaust and fuel lines,
Posted: Fri Jul 10, 2009 4:07 pm
by Coops
well had the day off work as holiday,
and got some more done on the car,
getting ready to go in,
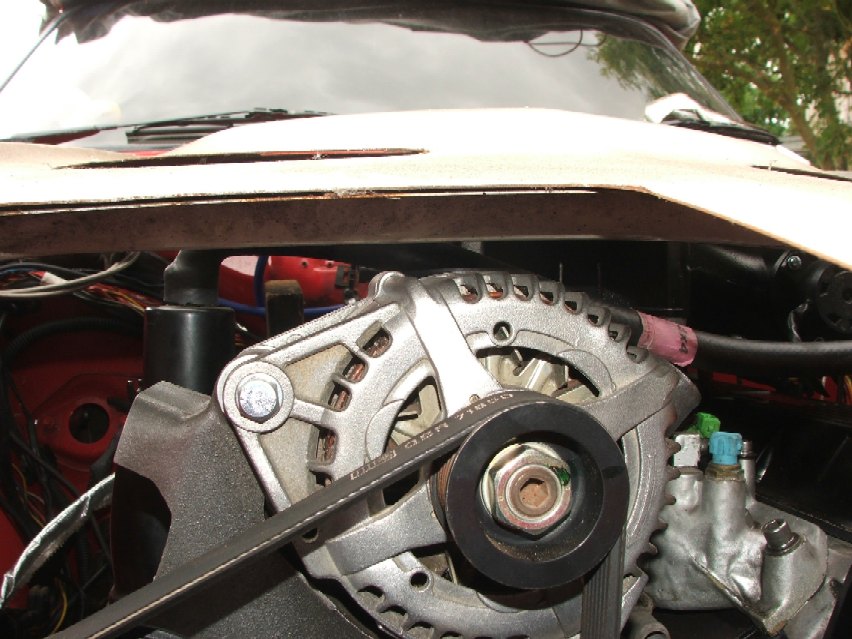
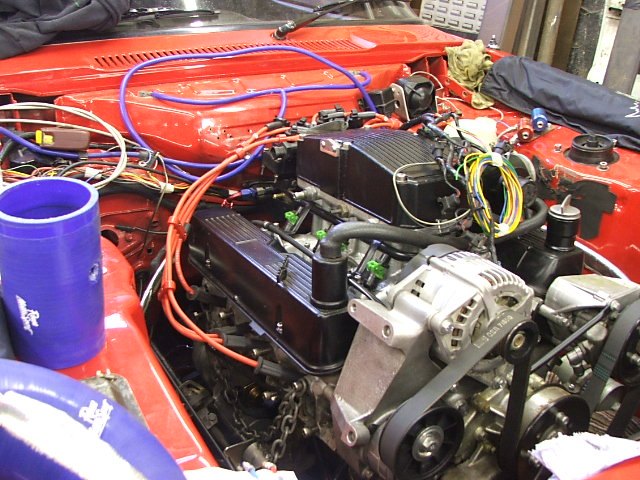
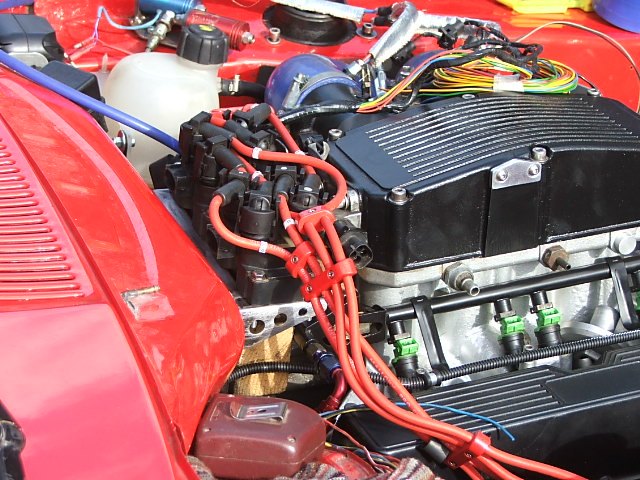
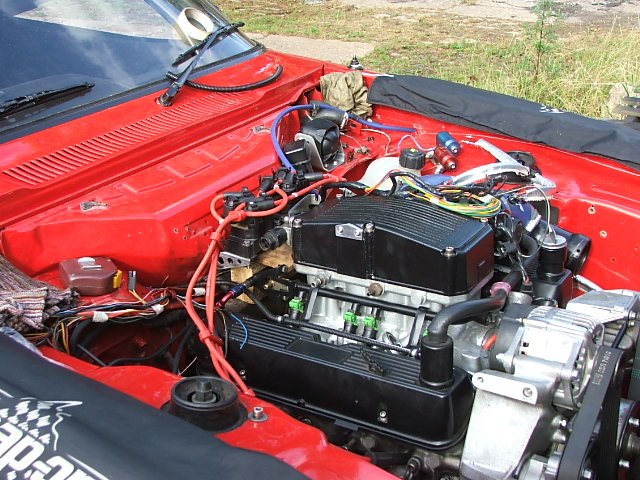
It's in (only tempary)
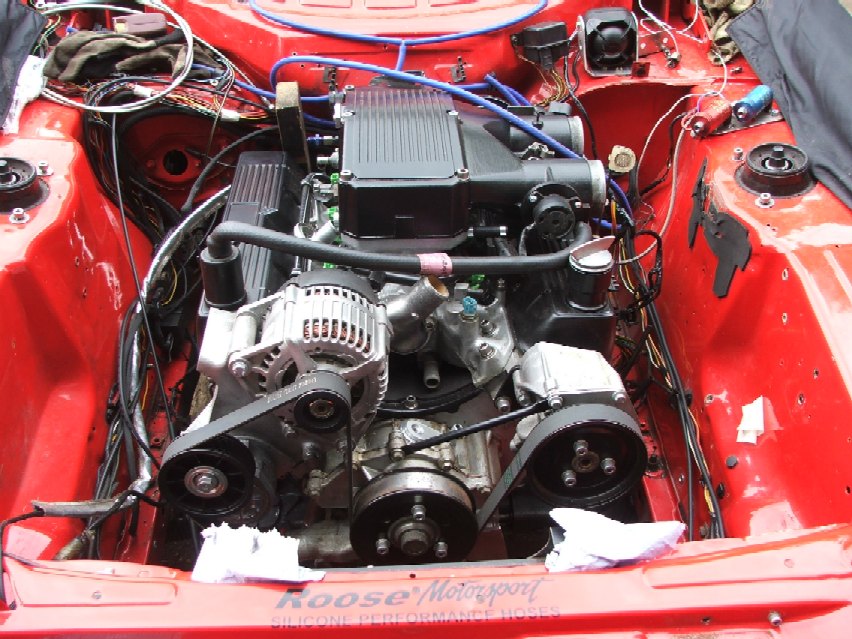
MMMMMM that was a bit to close for comfort,
thank god the engine is mounted quite solid now
,
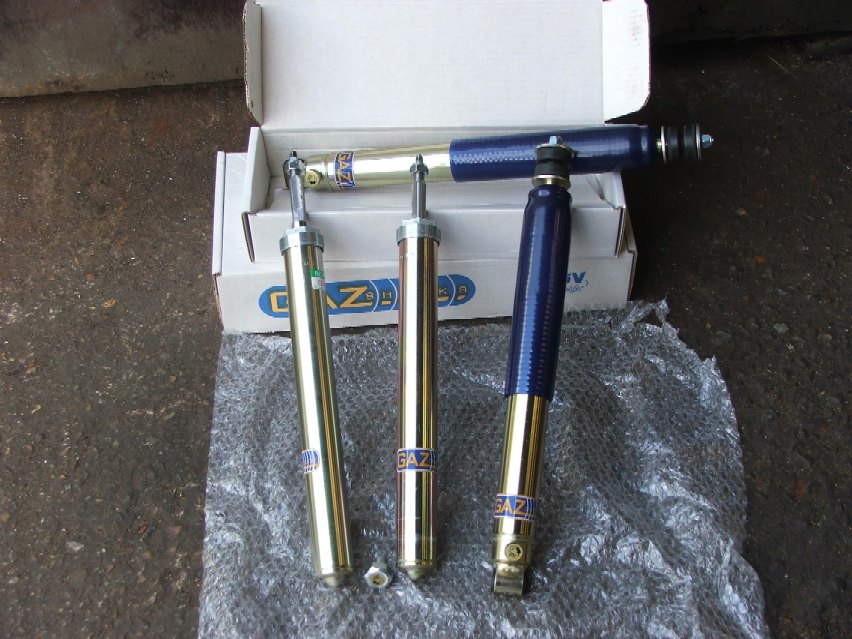
New suspenssion has arrived at last,
so thats another job we can get on with.
Posted: Sat Jul 11, 2009 8:10 pm
by Coops
we had a great day on the car today,
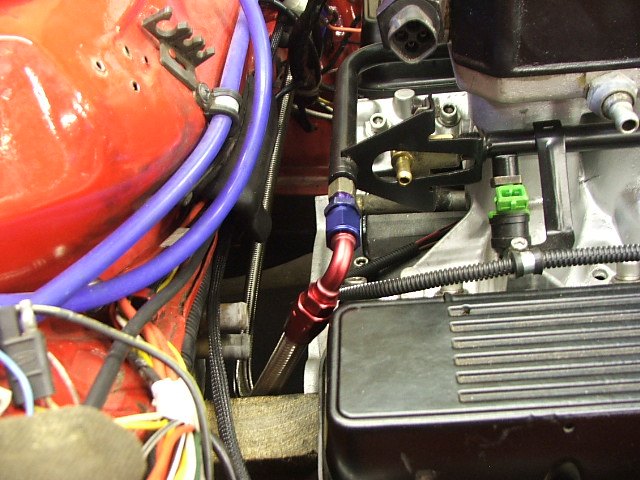
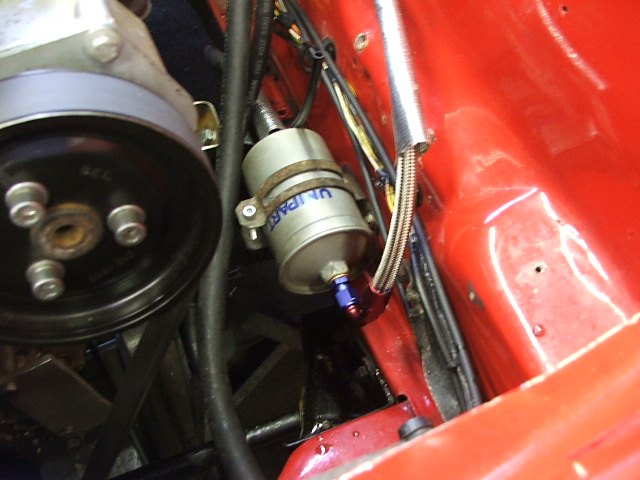
removed the old fuel lines and ran the new -6 braided line and completely plumb the new lines in right up to the fuel rail along with relocating the fuel filter,
removed the exhaust ready for modifying,
finished the tunnel off,
fitted the flywheel and clutch,
fitted the remote and new shaft on the r380 box,
coupled engine and box together and bolted in on its mounts.
Posted: Sun Jul 12, 2009 9:15 pm
by Coops
center console sits back as per factory,
a few mods to the framework was needed, but seems fine,
and coil pack bracket was made for the bulkhead,
Servo in primer ready for top coat: