Evening All
Well I managed to get the gelling done and shock horror have got the glassing done as well.
Here's tonight's efforts
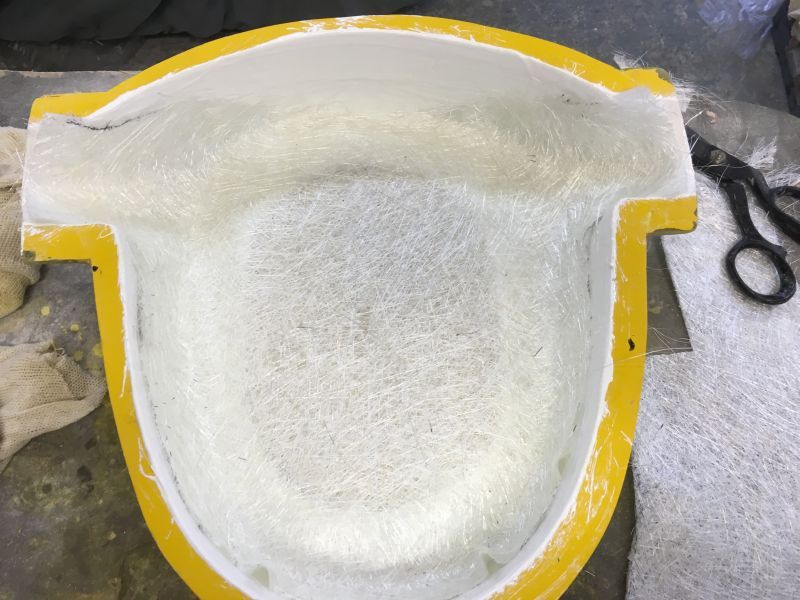
It was always going to be tricky getting the glass to flow down the sharp edge of the filter rebate.
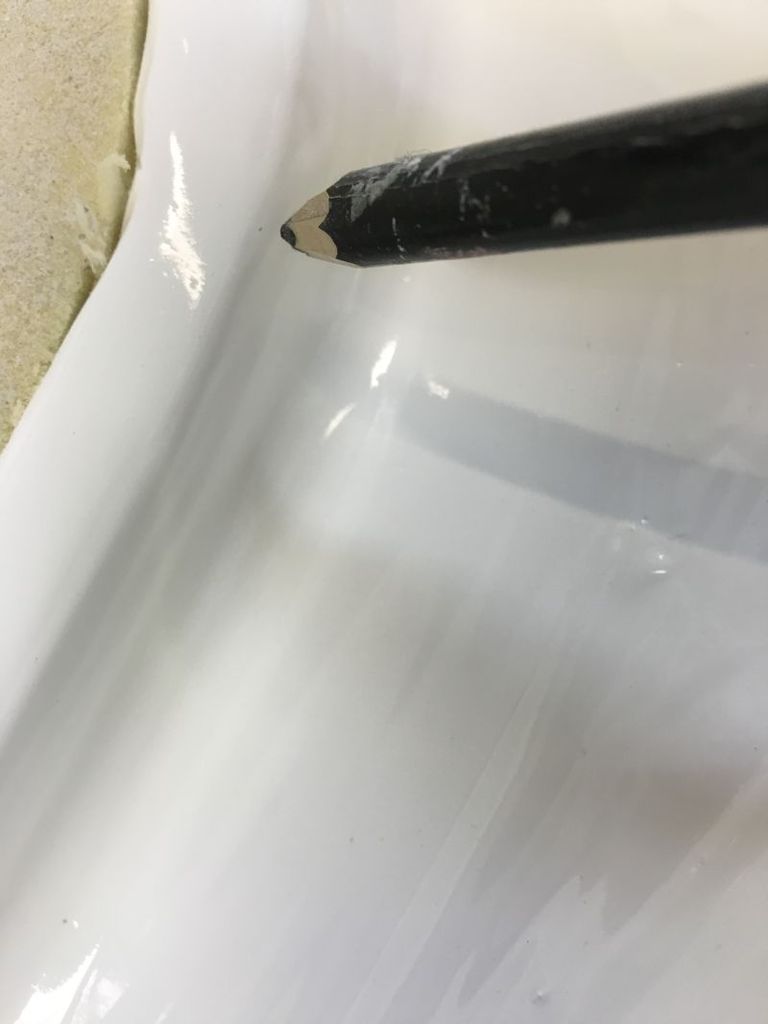
So I cut a section of the original foam that was used and squished that into the hole so that the glass had something to cling to when laminated and to help ease the edges over.
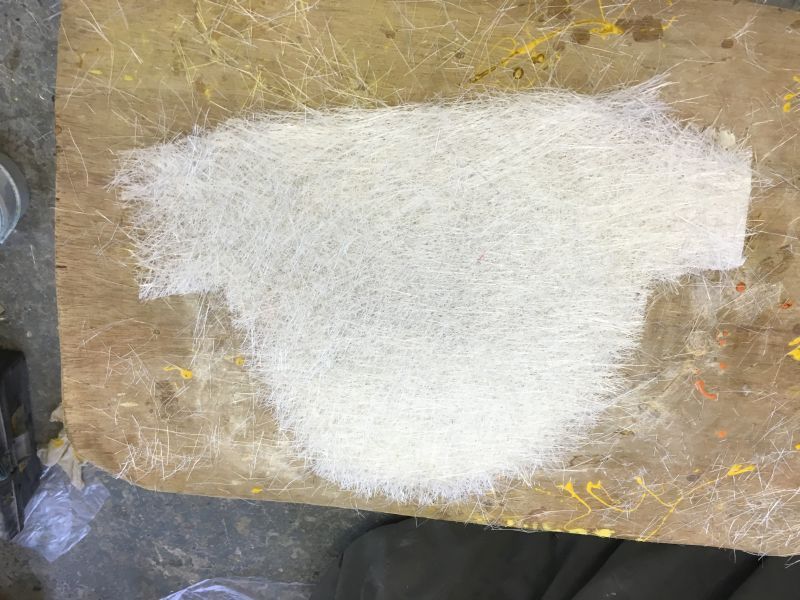
I also cut and trimmed all of the glass that I needed prior to getting the sticky stuff out.
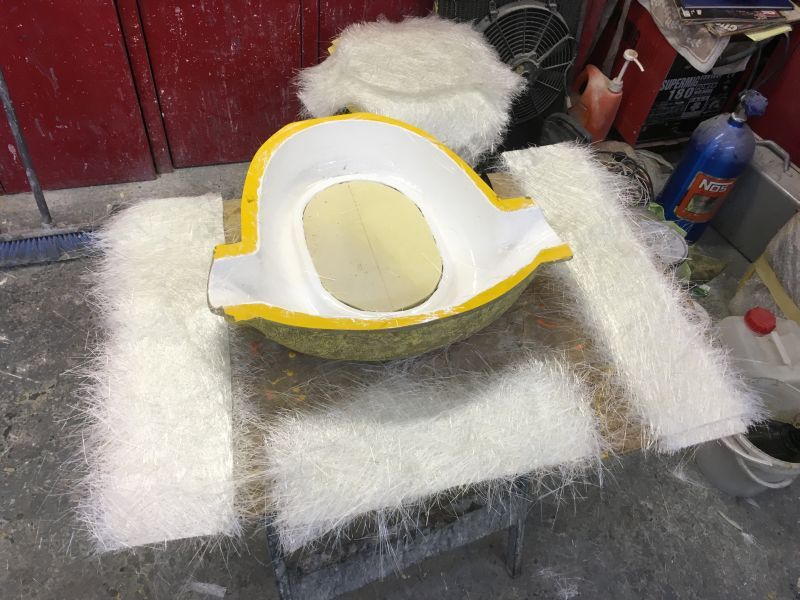
The walls of the housing are easy to sort out shape wise but if you are doing something like this you MUST allow for the drop of the glass at the base and cut your laminates bigger than you think because you don't want to end up stretching the glass as this gives thin spots on the moulding which is not ideal.
So lay your glass over whatever shape you are laminating and then draw around with a Sharpie pen or similar.
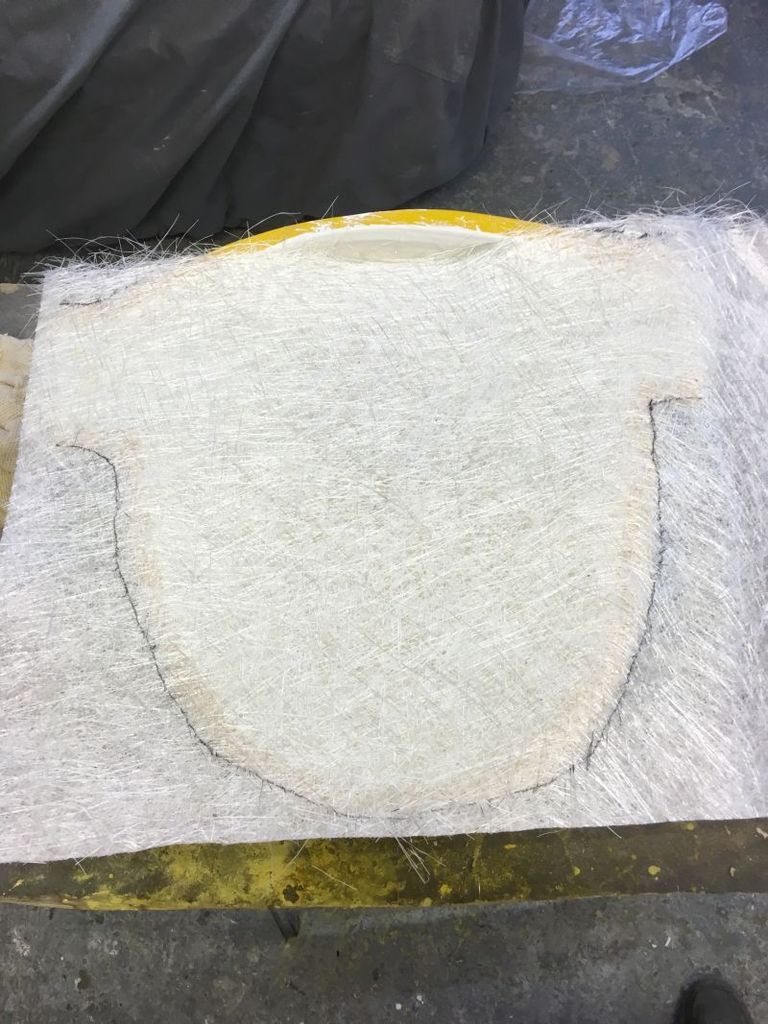
Then once that is done cut and then tear your edges like this
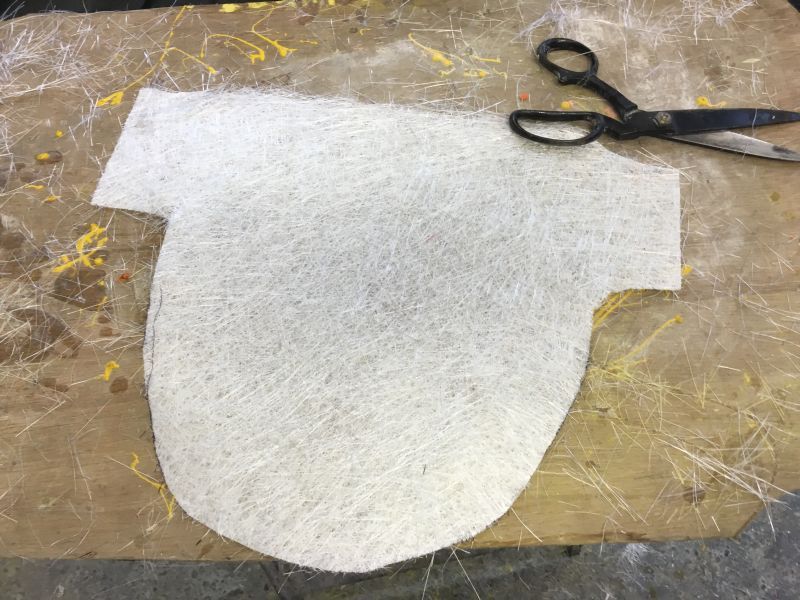
Then place it into the moulding and see if it is the right size and tear down more if needed.
Once you are happy with the glass then its out with the sticky stuff and bung it on.
I did one layer on the bottom and then set to with th wall sections.
By cutting the wall sections longer than needed it was possible to flap the excess into the intake tube areas without having to cut really small sections.
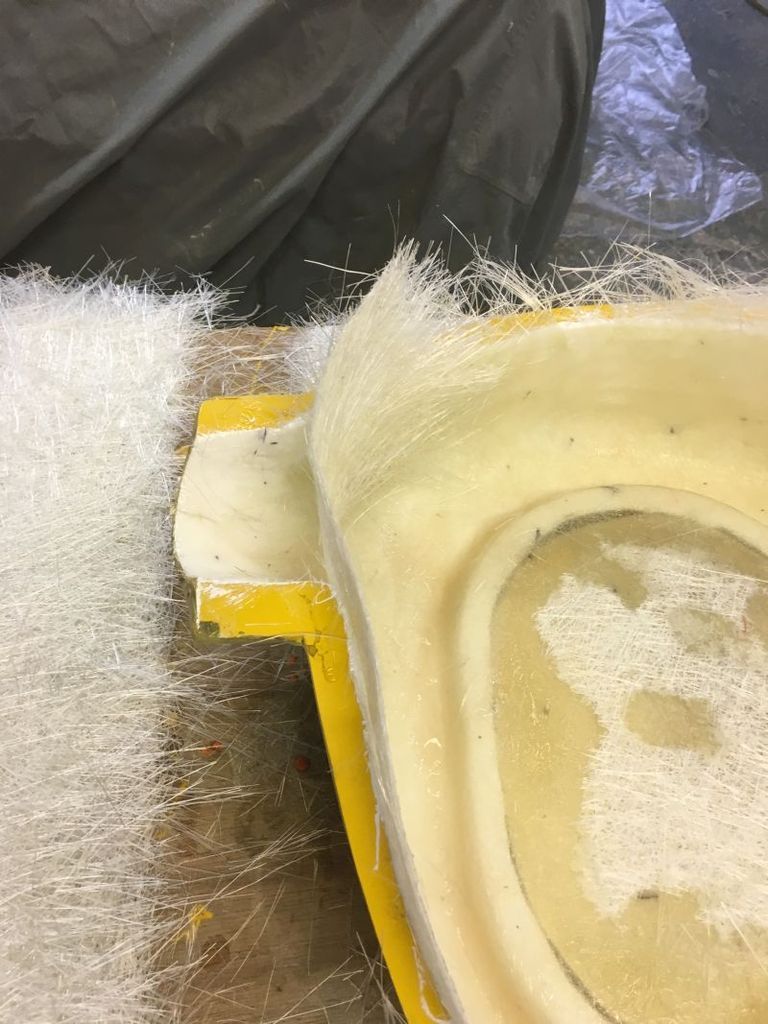
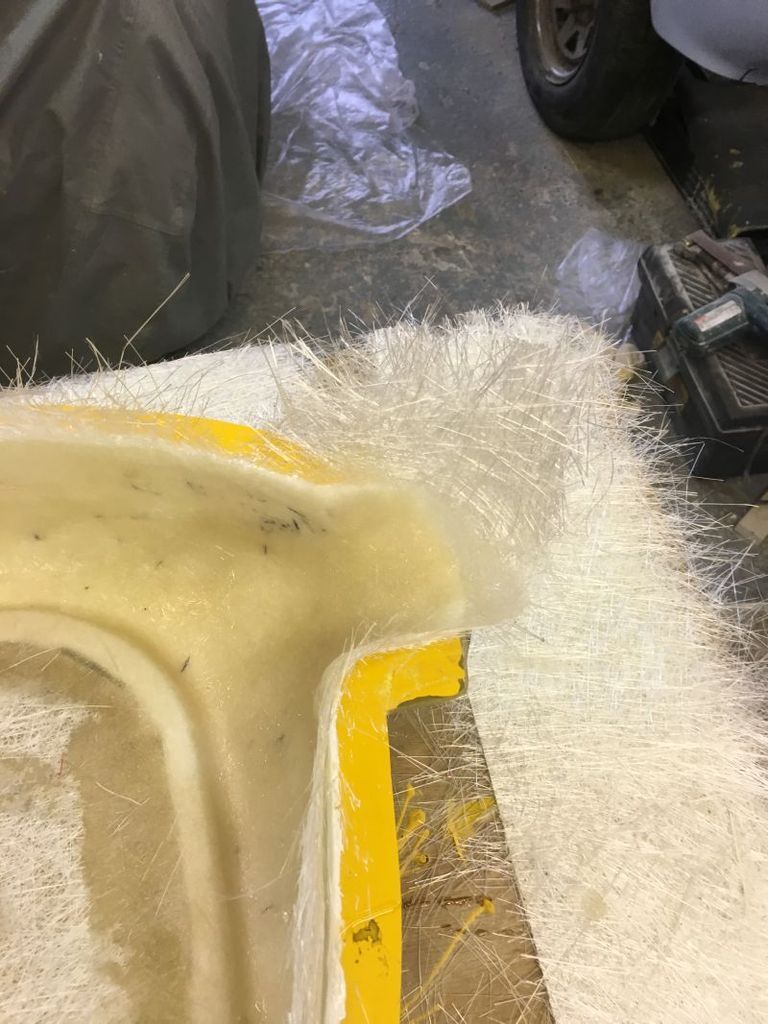
Its simple to do and with a bit of forward planning you can get the most usage out of the glass with minimum wastage.
By doing the first layer on the base and then continuing with the walls you effectivley lock the laminates together as you go.
The second lot was applied by walls first then base then in reverse for the last application.
After a little bit of time working away and then rollering out I ended up with this.
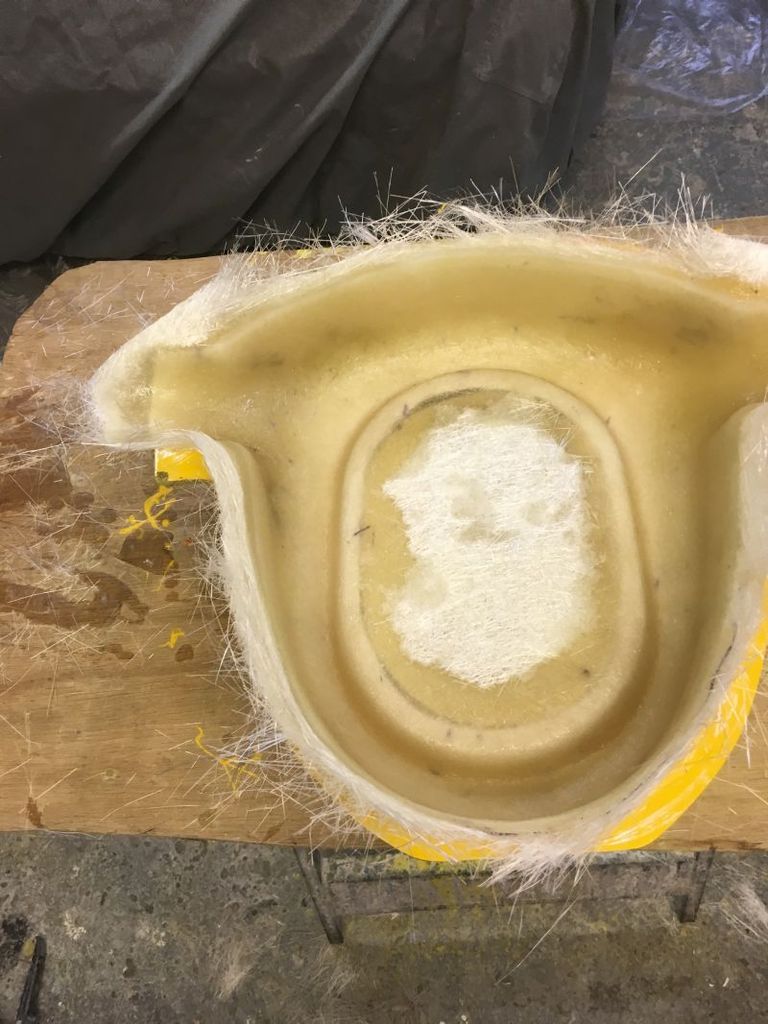
In this picture you can clearly see how the middle section supports the glass as it flows down over the sides yet does not need to be fully laminated.
After a good stipple around with the resin brush to lift the excess resin and a trim with the shears we are all done now with the main part of the project.
This will need to be post cured now once it has flashed of and i should be able to knock a clave together quickly and get the infra red lamp on it.
Then its a case of leave it alone for a fortnight.
Still a way to go for sure but can see the finishing line now.
cheers
P


