Hi All
Lots of pics, some a bit fuzzy coz its difficult to work and photograph at the same time,a party trick and for all those who have small chips and dings in their own GRP cars (GT 40 boys are you watching?) the way to make them good again.
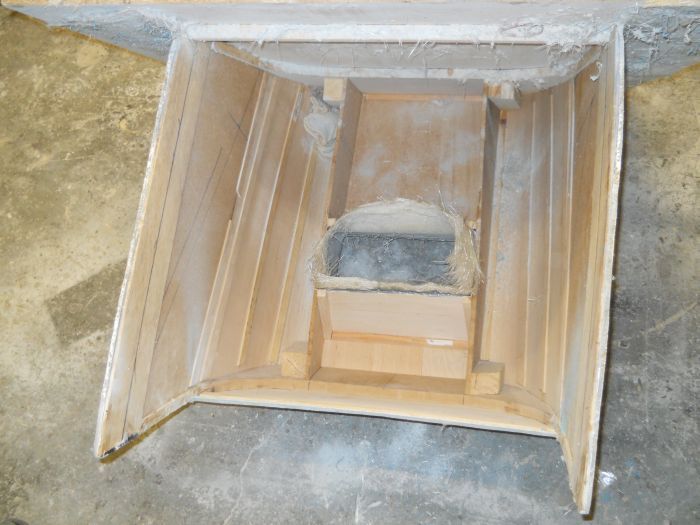
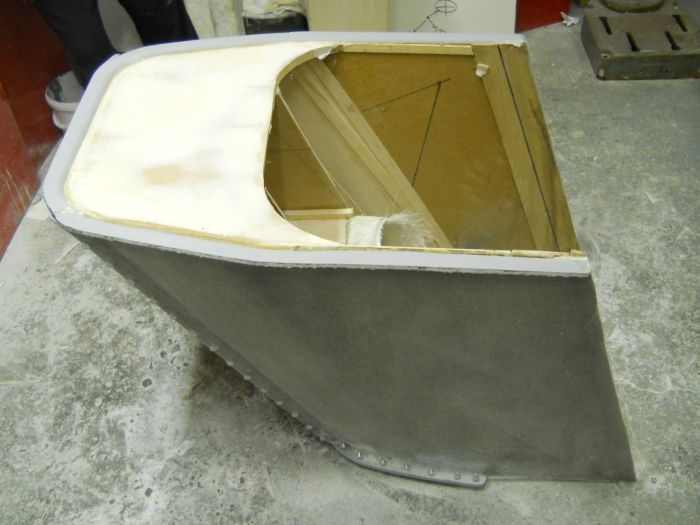
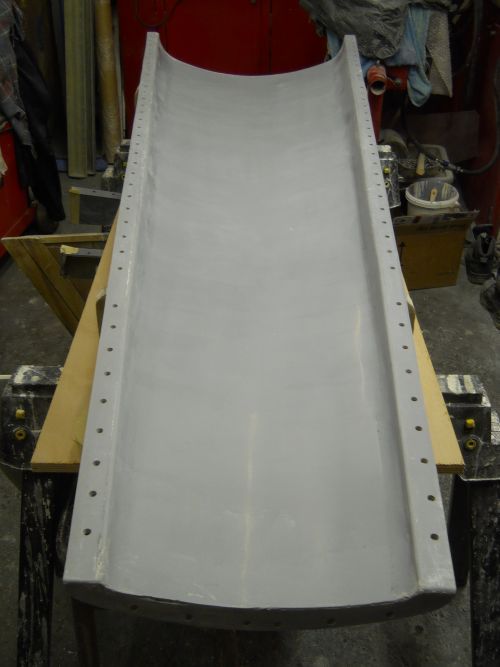
Finished the last section of laminating on the tub WOO HOO.
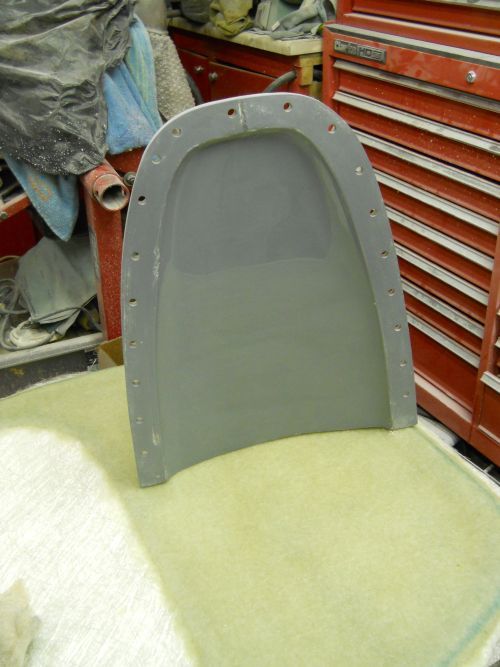
Next it was back to the main body sections of the mould and the prep work that these bits now need.
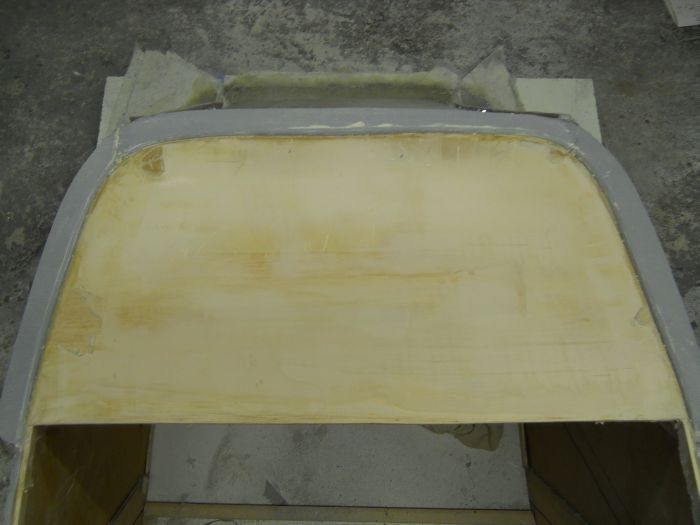
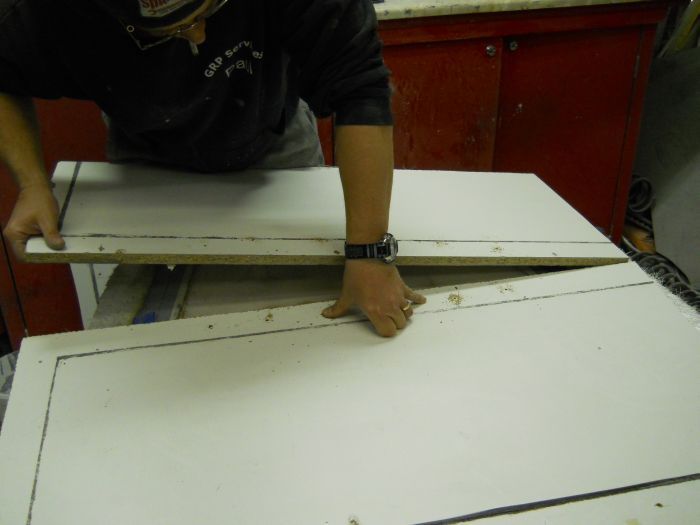
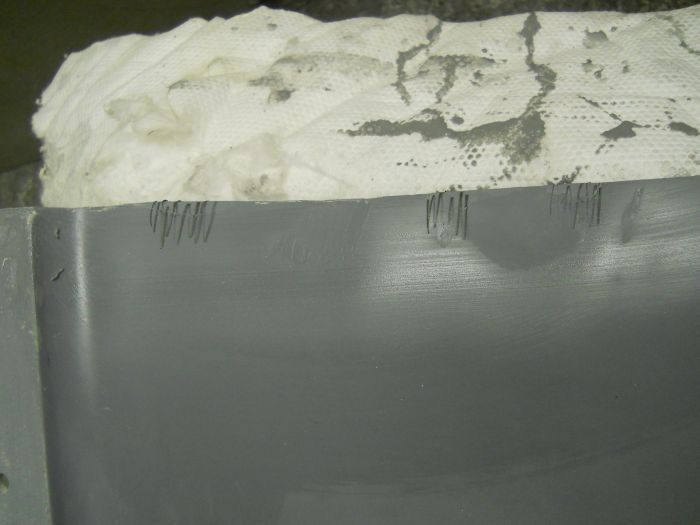
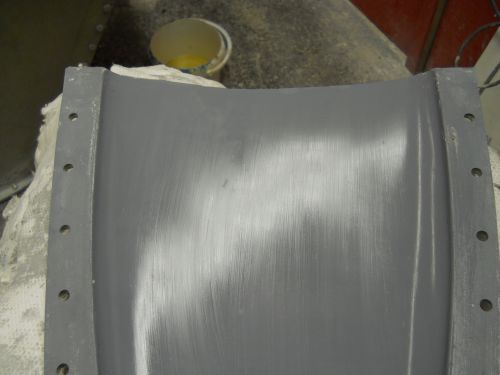
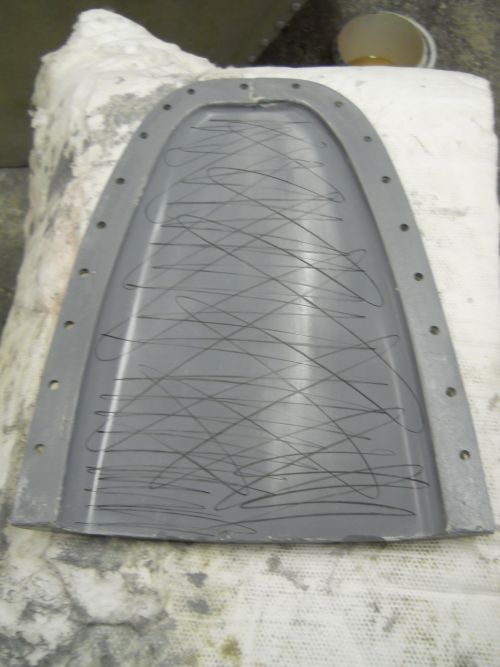
After degreasing with acetone the whole mould section but not the fence area is marked up with a chinagraph pencil.
This acts as a guide coat for rubbing down.
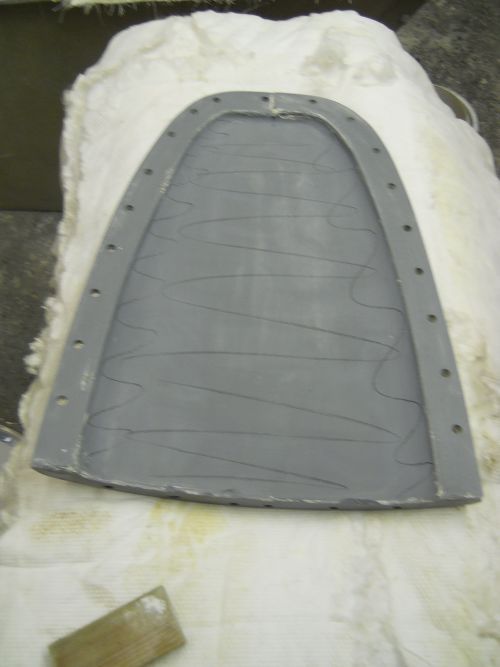
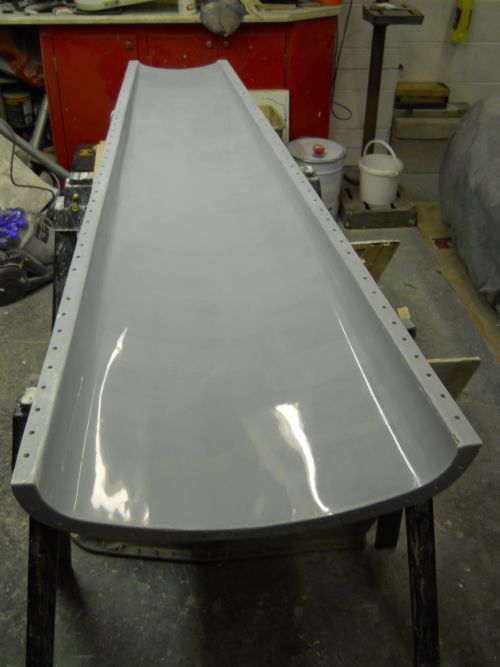
This is then rubbed down with a block and 400grit wet n dry paper until all of the black marks are removed and then the whole thing is done twice more and then dried off.
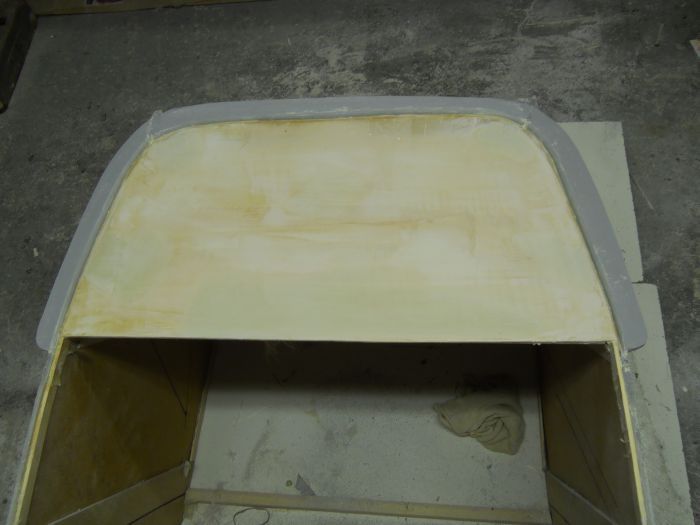
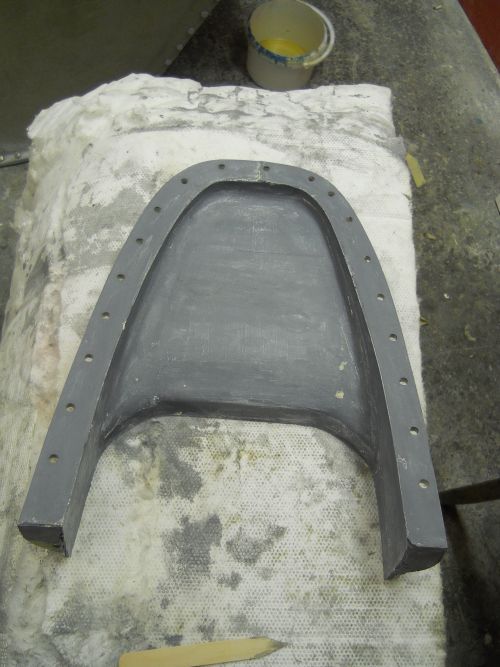
Then we mark the thing up again and flat back with 1200 w/d.
This is also done 3 times.
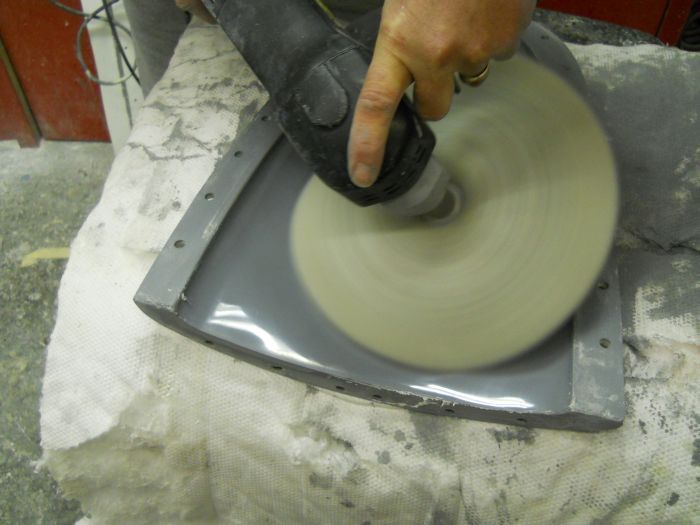
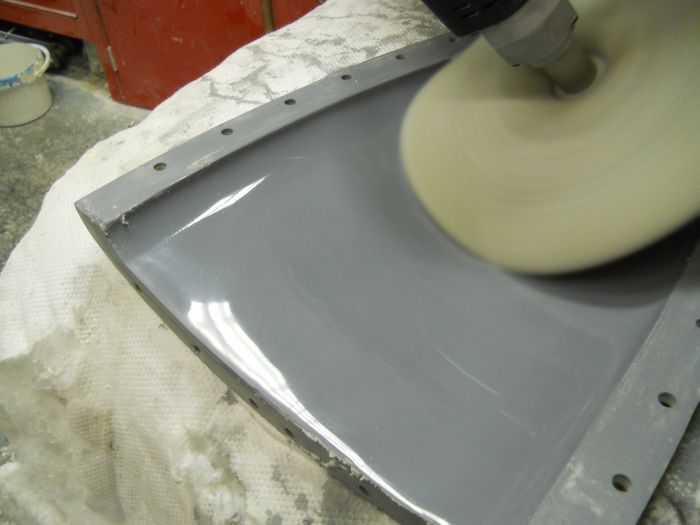
We do this so that when the mould is machine polished a high gloss can be obtained and this helps tremendously with releasing.
Using a block is so important as even though the gel is hard if you just use your fingers you WILL rub tram lines in and that is a no no.
Every mark in the mould will be transferred to the final piece and you want to end up with as little work as possible once everything is released.
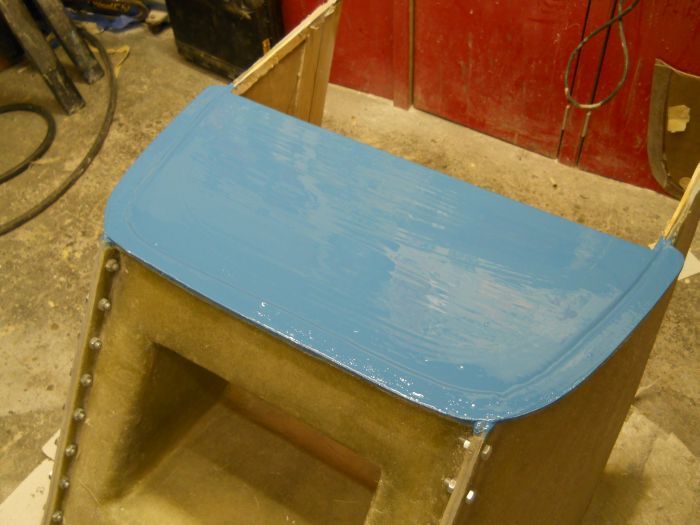
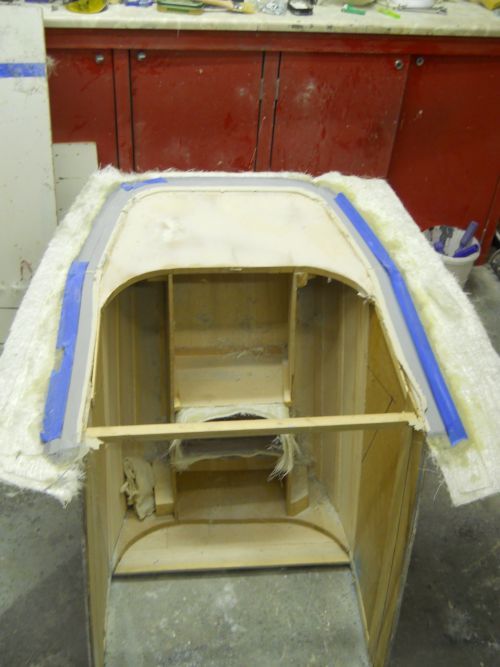
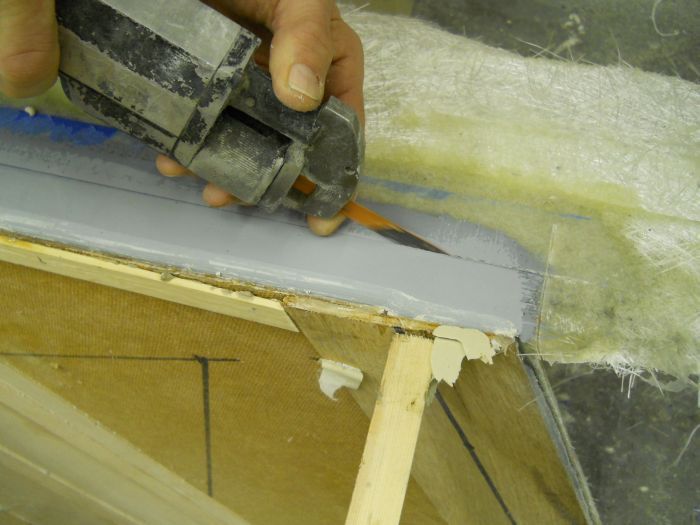
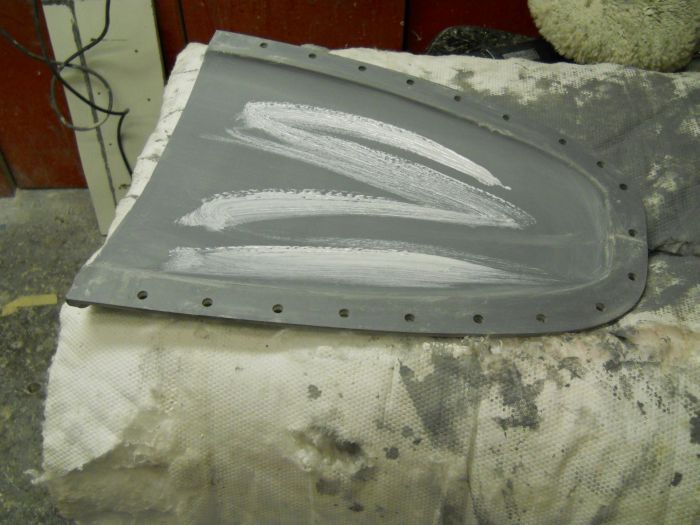
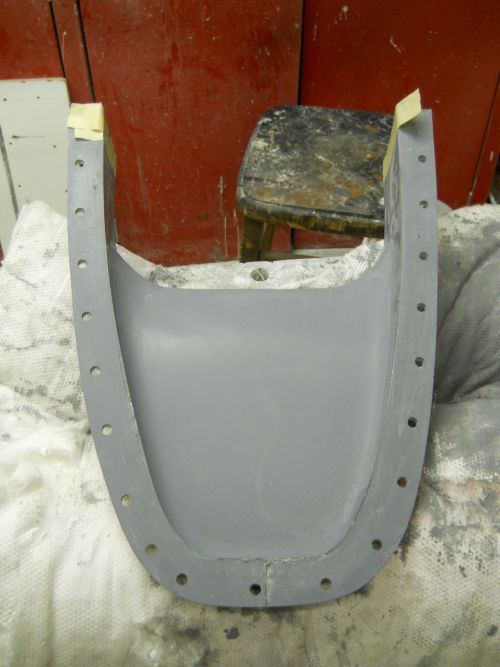
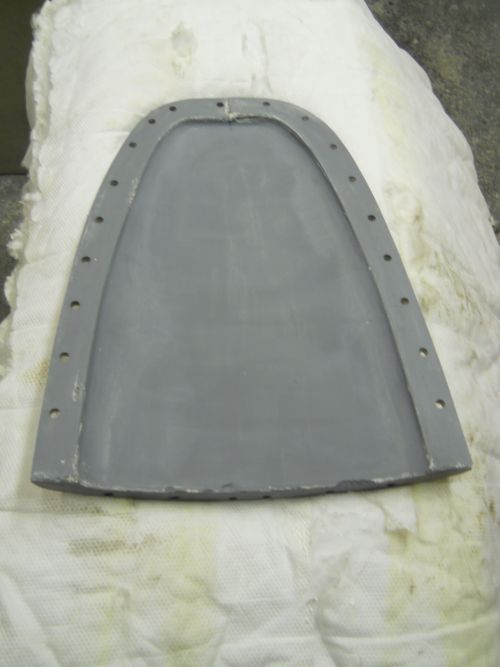
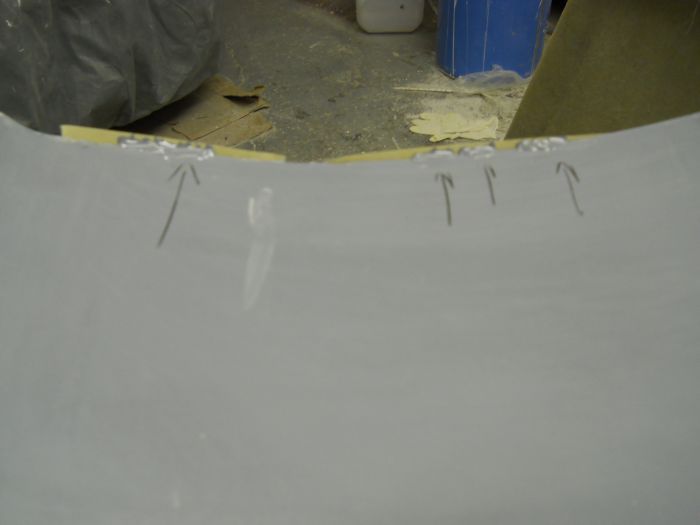
Okay so the sharp eyed will have seen some small areas of damage to the back edge of the mould and we need to repair these with gel coat.
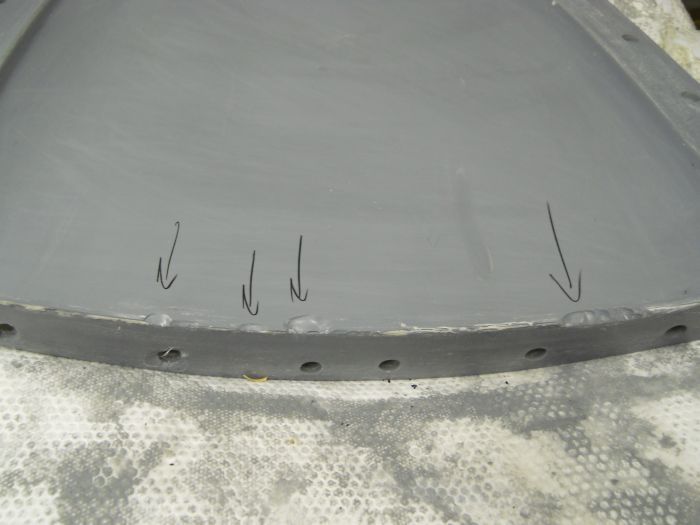
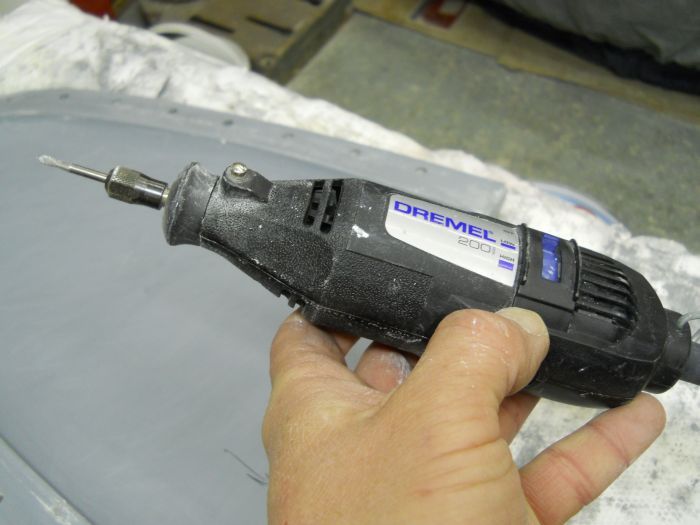
Using a Dremel with a 3mm tungsten burr lightly key the repair sites and clean with acetone.
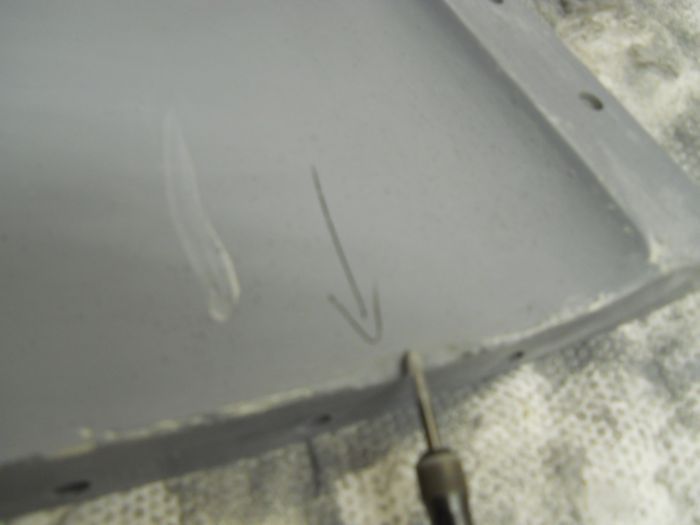
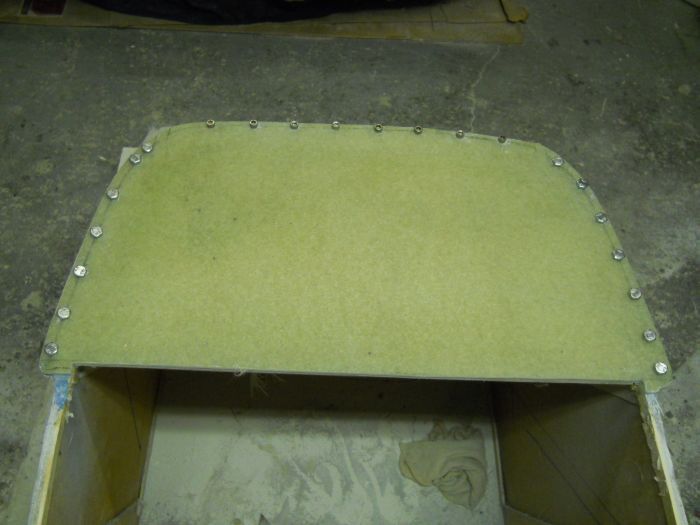
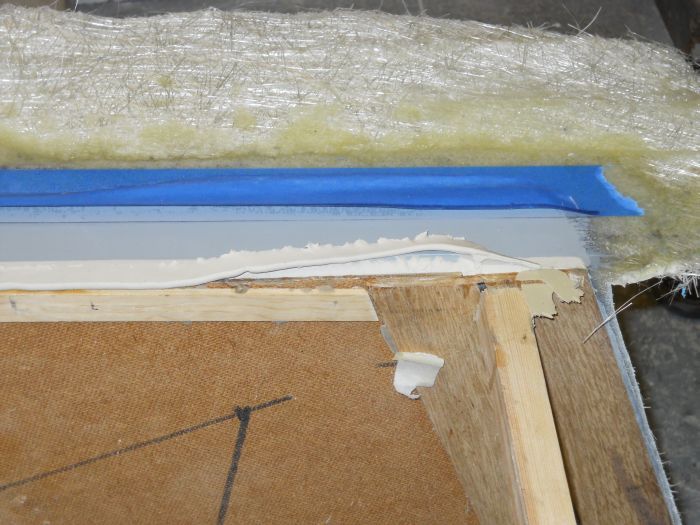
Gel is a thick liquid which will easily fall out of damaged areas so use masking tape across the backs of the repairs to hold it in place whilst it cures.
Now gel will melt polystyrene and even some plastics so we need something that is clean,small as we dont want to waste much material and very much to hand for mixing up in but what to use?
A small lid maybe but you dont have any so how about this...
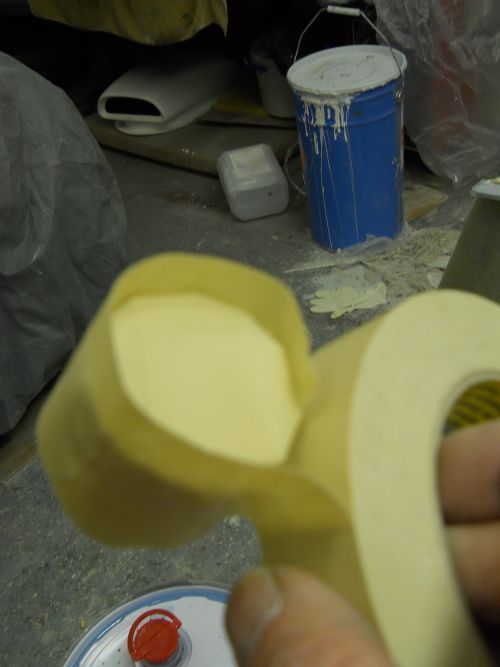
Take a roll of good quality masking tape.
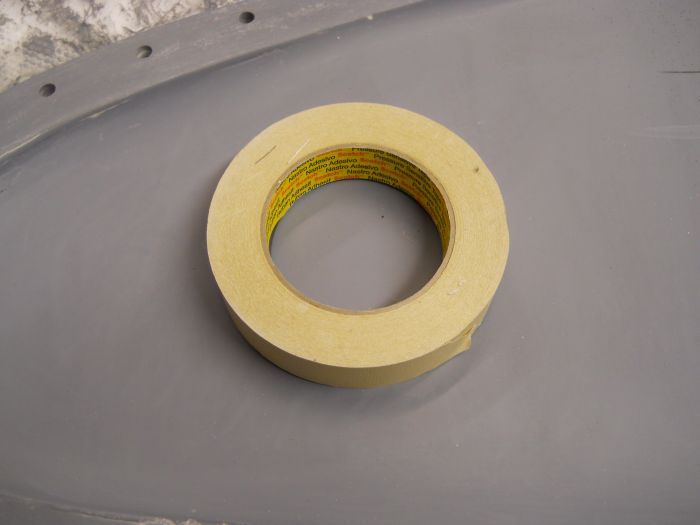
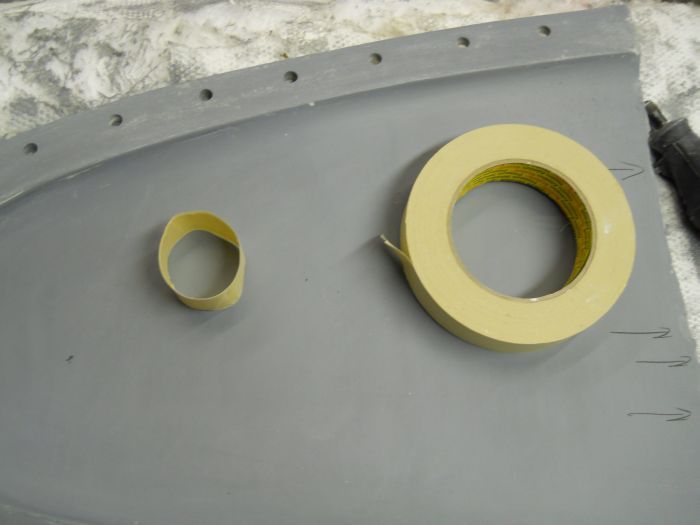
Make a loop out of it making sure the sticky side is out.
Once you have done that run some more tape around the outside this time sticky side in.
Then tear small strips and cover one end in a star shaped pattern.
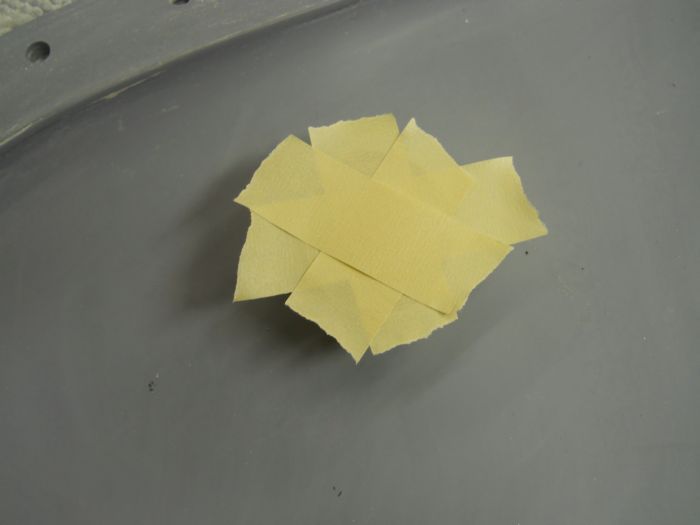
Fold the edges over.

Then sticky side in run around the bottom edge coming up about 10mm.
Tear off once you have gone all the way around and fold over onto the bottom.

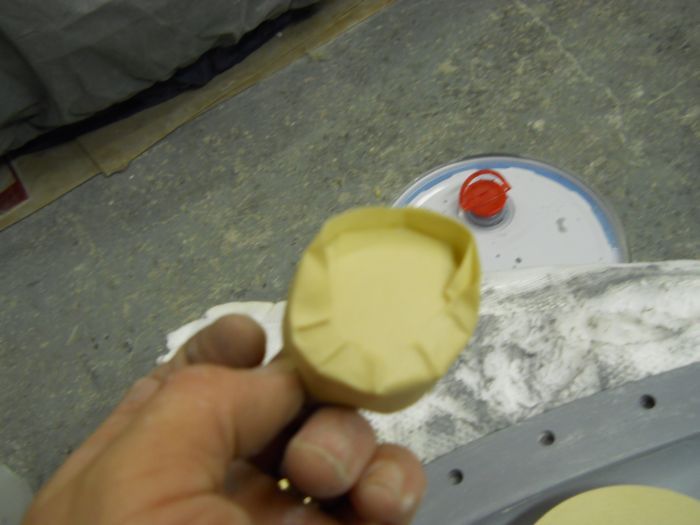
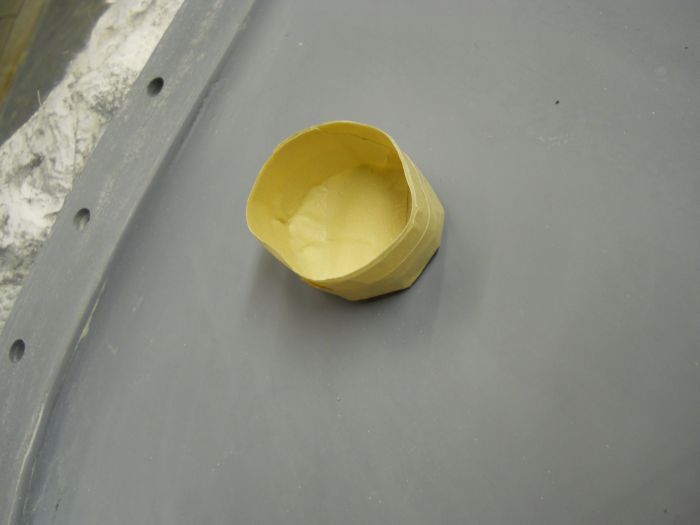
Round it off and there you have a small clean ready to use pot.
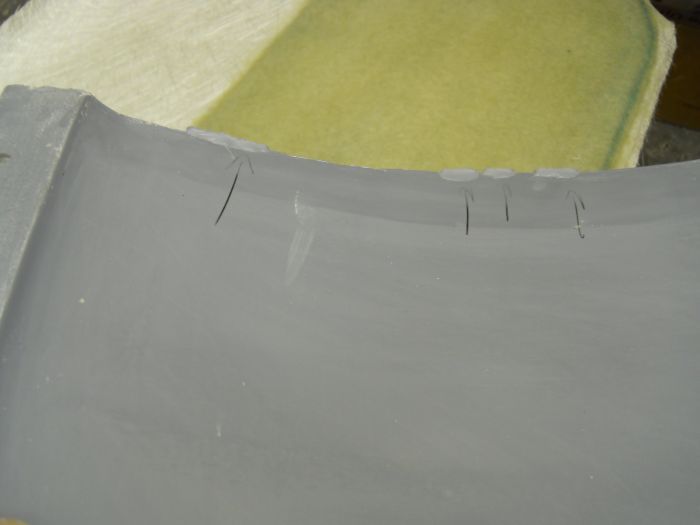
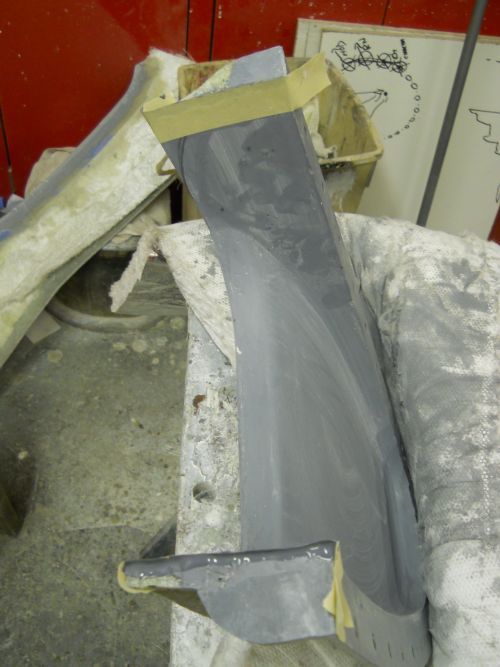
Mix up a small amount of gel and then simply let it into the repair sites allowing it to come just slightly proud of the surface.
I like to use wooden bats shaped down to a point for this job.
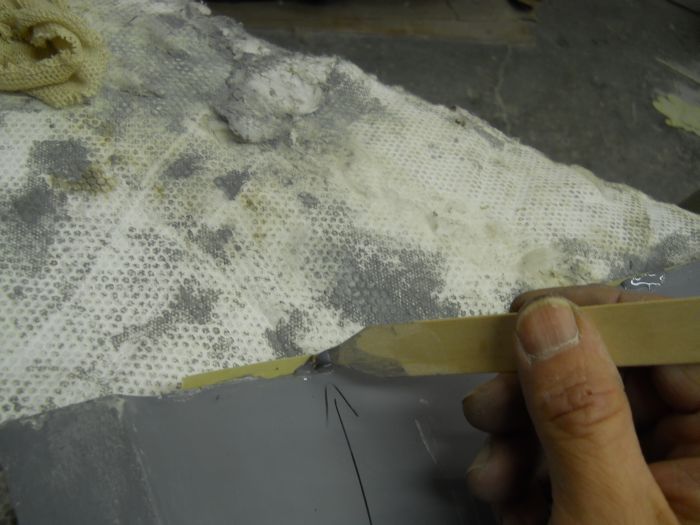
Once this is done it is left to cure and shrink and then we flat back tomorrow.
If you have a repair that is on a vertical surface then cut a bit of tape about an 11/2" bigger than the hole or dig and then lay it right over the top.
Peel back enough to reveal the repair and then let the gel in.
As it starts to fall out slowly roll the tape up until it pushes the gel back into the repair and top up if needed finally bring the tape completely over the repair and allow to cure.
Once cured you have a small neat button repair to flat back and because you have used tape it is almost exactly the right profile already.
I dont like to use filler or gel paste as it shrinks way too much and is generally poor quality stuff anyway.
Do it right with the proper kit and you will not be sorry.
The sections of the mould need to be sanded back and polished so if anyone needs a bank job doing give me a call at the end of the week because I will have no finger prints left by then.
Right thats it I'm knackered and I'm outta here.
cheers
P