Page 2 of 4
Posted: Fri Feb 10, 2012 10:19 am
by kiwicar
Hi
Plasticoat has alot to answer for!

Nice job you are doing there, I like youe 4 link set up, looks thoroughly funtional. Do you run a manual or auto on one of these cars/trucks? will you replace the front bumper or just let it fade into the enviroment?
I will have to watch some drifting now, if only to try and understand what the competition is based on, it looks like high speed rubbery autotesting to me but that is just from the evidance of the track areas at the pod. . .
Best regards
Mike
Posted: Fri Feb 10, 2012 12:55 pm
by topcatcustom
Only just seen this thread- looks good! Might you have some troubles with ride height under the cage?
Posted: Fri Feb 10, 2012 6:12 pm
by Jono FD3
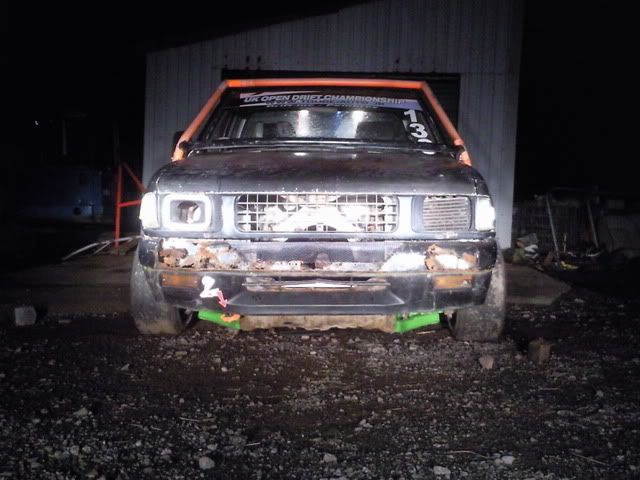
Haha, the cage looks a little lower to the ground in that pic than it actualy is as there is a slight deop off at the end of the concrete to the gravel

The drifting I'm doing is a little bit of fun, but in competition you are judged on speed entering the corner, the angle of the car during the drift and the amount of tyre smoke you kick out! obviously the faster you go, the angle is increased and more smoke generated

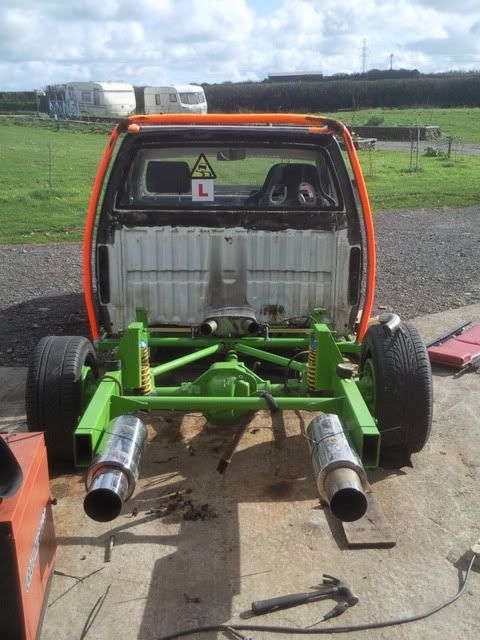
Posted: Tue Mar 06, 2012 1:23 pm
by Jono FD3
Slight update to the truck...
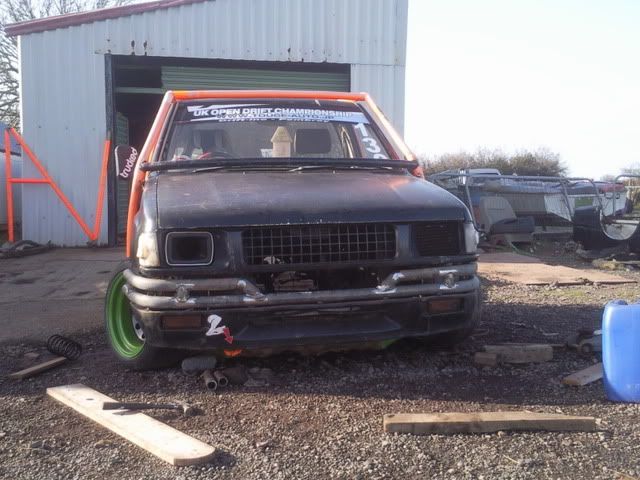
The new stance with the wider track and low ride hight:
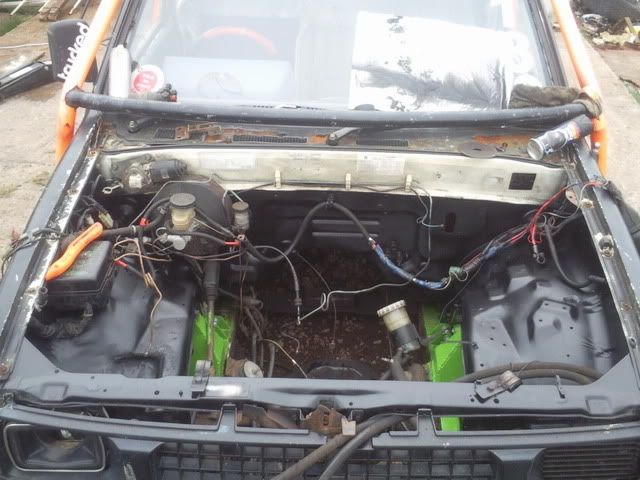
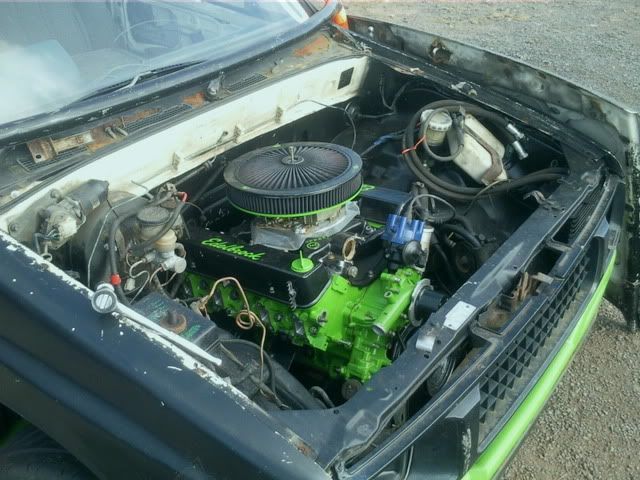
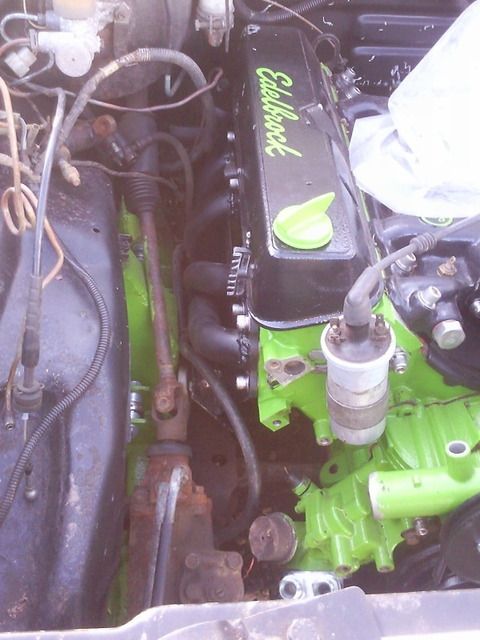
Sprayed the engine bay ready for the engine to slot in
New tubular bumper to replace the nakerd rusty thing that was there:
Starting the Beast of an exhaust:
Jono
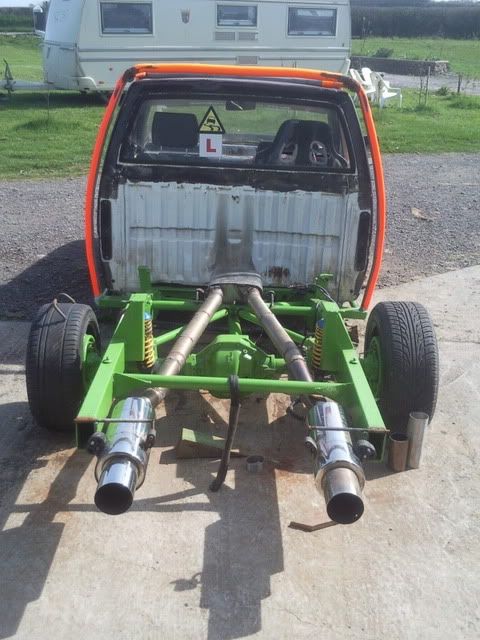
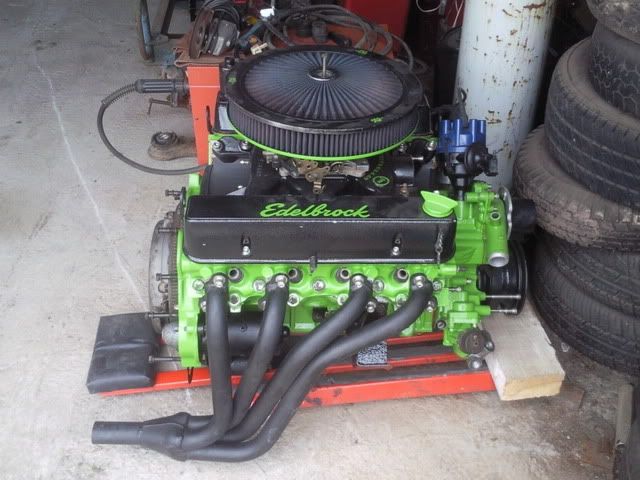
Posted: Tue Apr 03, 2012 5:26 pm
by Jono FD3
Quick update:
Rear exhaust is all finished:
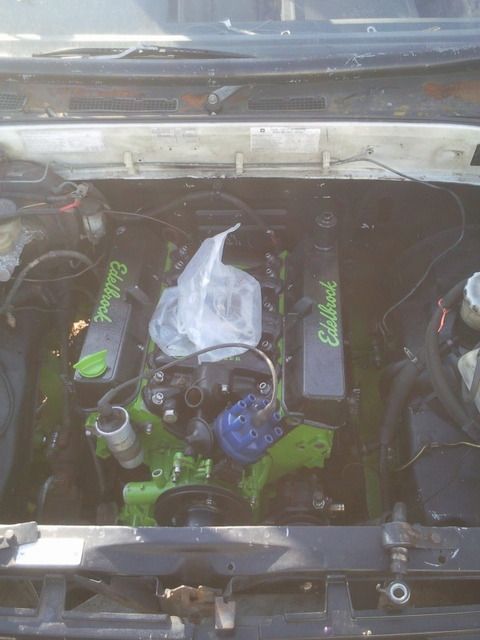
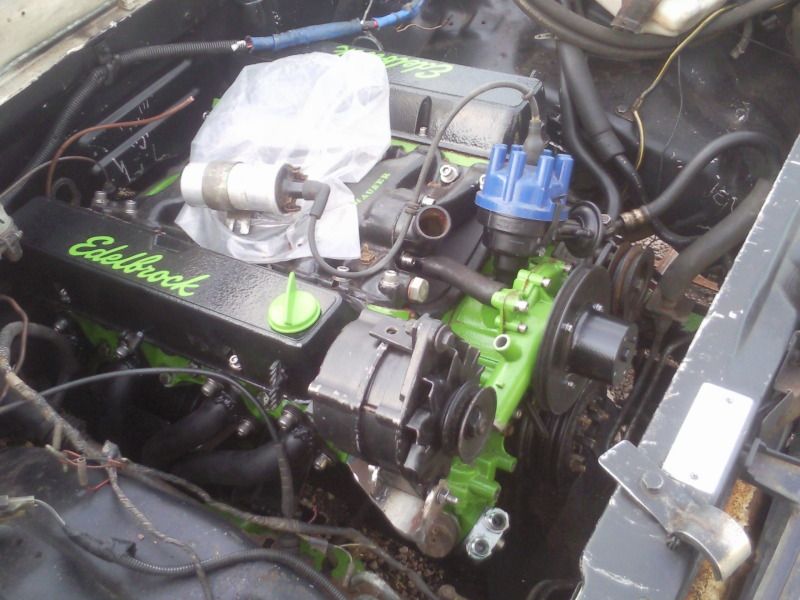
Engine all built up bar for spacer on carb
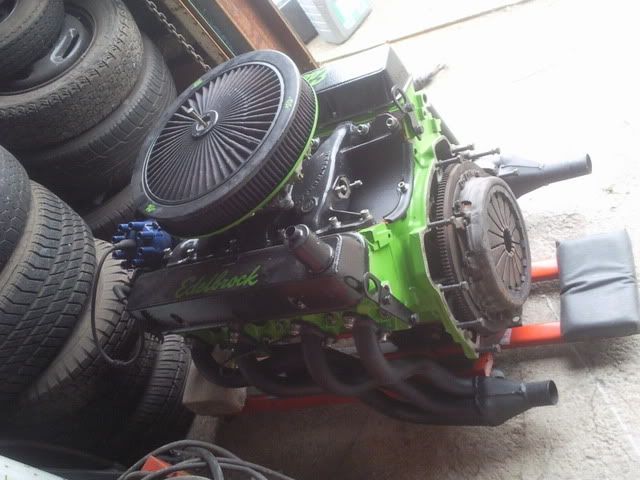
and engine in the bay (minus the headers as I need to mod them to clear the chassis

)
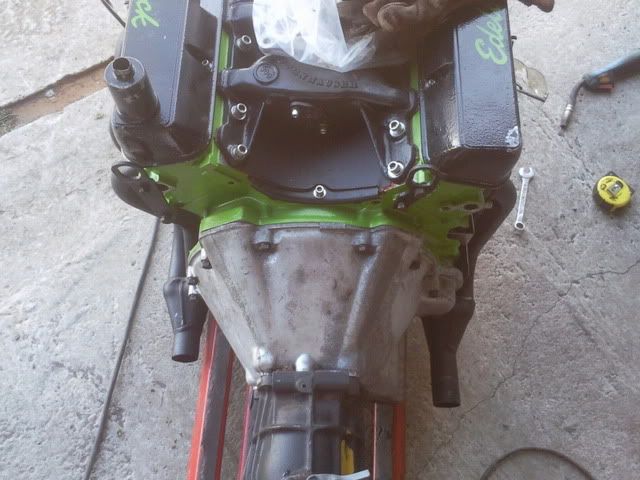
Engine mounts line up perfect as I'm solid mounting the engine and box all I need to do is bolt some 8mm plate to the original mounts on the chassis to lift the block a tad, and some angle to go from the original gearbox cross member to the LT77 fixing point
Starting to come together now
Jono
Posted: Tue Apr 03, 2012 7:07 pm
by ChrisJC
Looking good!
Chris.
Posted: Tue Apr 03, 2012 10:38 pm
by demo2
Love the colour of the motor
Posted: Sun Apr 08, 2012 9:06 pm
by Jono FD3
cheers for the comments guys
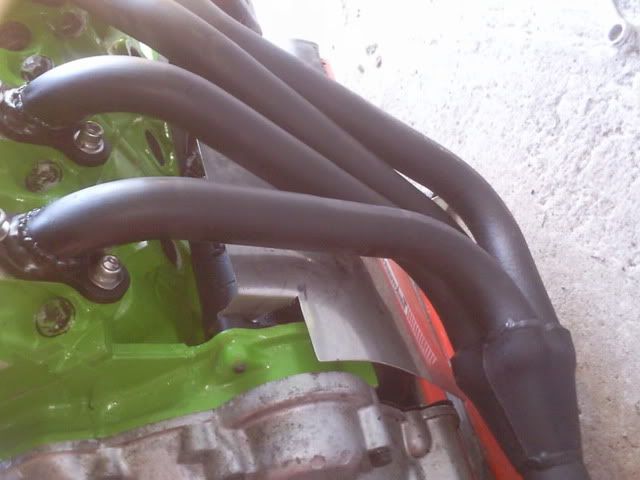
slight update again, had to mod the headder on the right hand bank as it wouldn't clear the chassis leg
so had to cut and rejig the flanges on the head to bring the pipes closer to the starter...... only issue with this is heat & electrics, so had to make a heat shield for the starter and clutch:
Now the manifolds sit about the same distance away from the bell housing:
Nice bit of stainless shielding
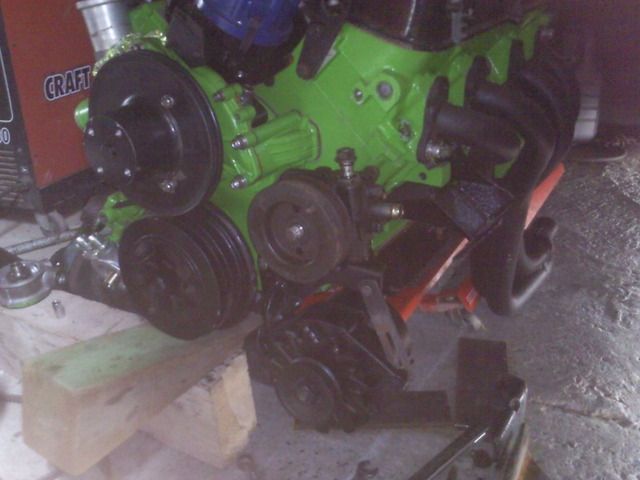
also fabbed up the brackets for the power steering and aulternator to sit on the left side of the engine (powersteering level with water pump and aulternator under that level with the lower pully) no pics of this as yet, but it should all fit in nicely (with very little clearance!)
Jono
quick update :)
Posted: Fri Apr 27, 2012 7:31 pm
by Jono FD3
Well, I got back to dry land on wednesday and finaly got to do a little on the truck tonight.... tomorrow is a full day so should get a fair bit done I hope!!
Anyway, here is the Aulternator & powersteering pump all positiond, just to make the tensioner bracket for the aulternator!!
and also managed to turn up a plug for the speedo drive in the LT77 as I have no speedo in the truck
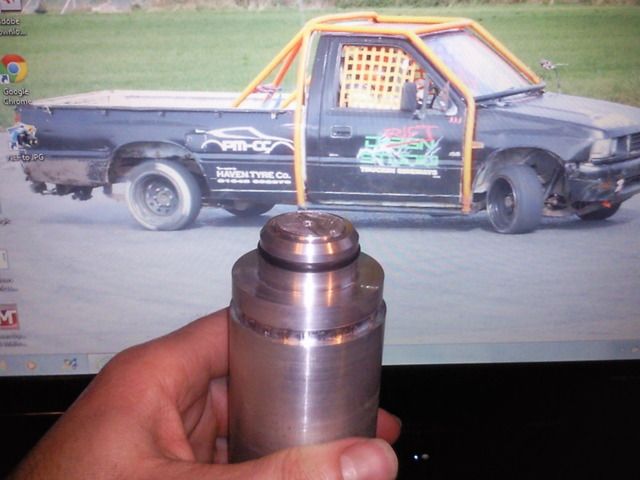
just need to chop it off and then make a clamp to hold it in place.
Jono
Posted: Tue May 01, 2012 6:52 pm
by Jono FD3
Engine in it's new home, but does need a little tweek to get it straight, but space looks to be prety tight in there! LOL
Engine and box need to drop back about 20mm driver side and 40mm passenger side to square things up, but should sit prety sweet... even the bulkhead has got a recess the correct size

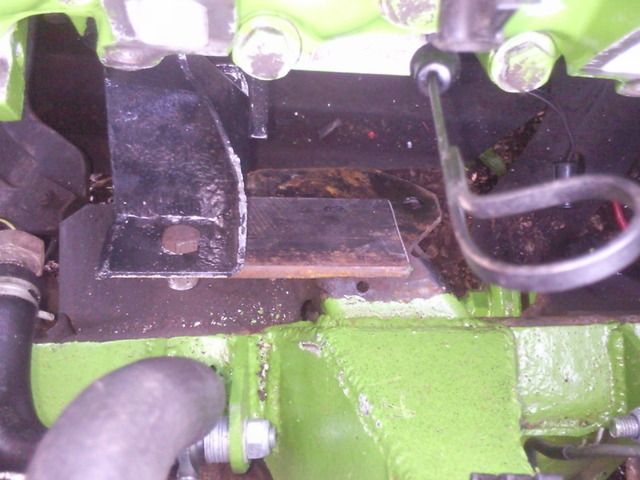
Engine mount needs to be cut and the plate welded to the original rover unit
and the lack of space on the headder driver side..... passenger side isn't going to be mutch better eather! LOL
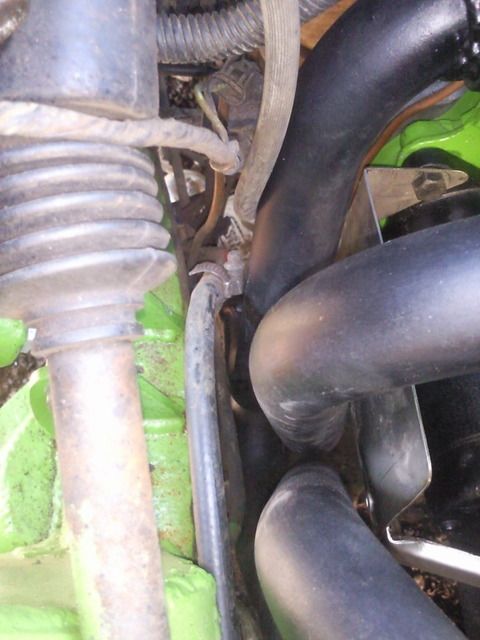
and the view I love, the front wheel well...... It's kind of a pervy shot! LOL

and the best thing is..... I can peek the other side and see the same view
Jono
Posted: Sat May 05, 2012 8:44 pm
by Jono FD3
sussed the alternator positioning!!
Now all fitted in and ready to be plumbed in
Posted: Sat May 19, 2012 12:29 pm
by Jono FD3
Not exactly truck work, but it is linked
Been messing about in the evenings this week to recover the crash hat, making it look little different and matching the trucks new colours
here it is...... what you think?


Jono
Posted: Sun May 20, 2012 8:39 am
by ChrisJC
Excellent!

Chris.
Posted: Sun May 20, 2012 6:55 pm
by mgbv8
Love it !!!

Posted: Sun May 20, 2012 7:21 pm
by ged