Well, this is my weapon of choice for the drifting at Pembrey, It was running a Vauxhall 2.0 8v, but desided it didn't have enough go so threw a turbo on to it and what a difference.... but a couple of head gaskets later due to over boosting, I got peed off (this is where I am at the mo!)
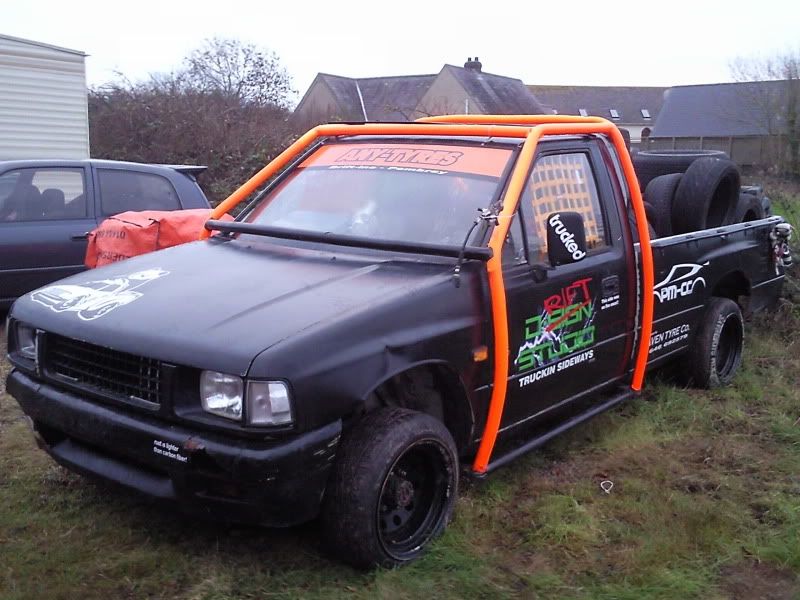
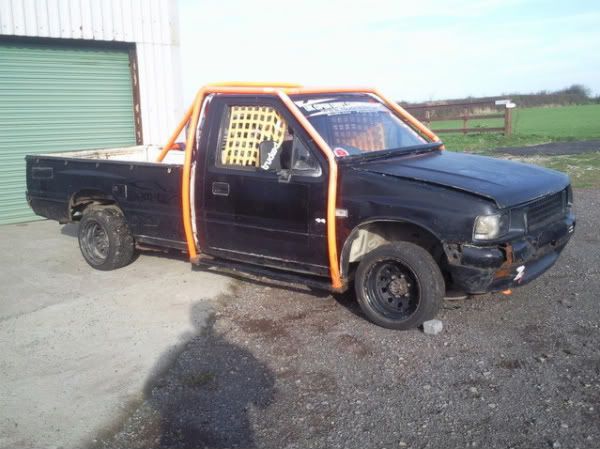
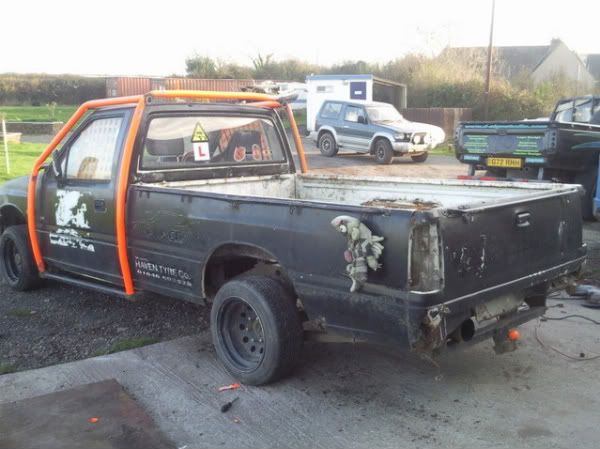
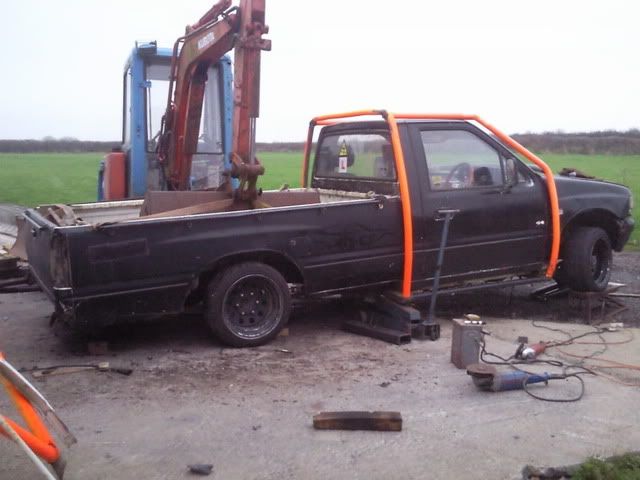
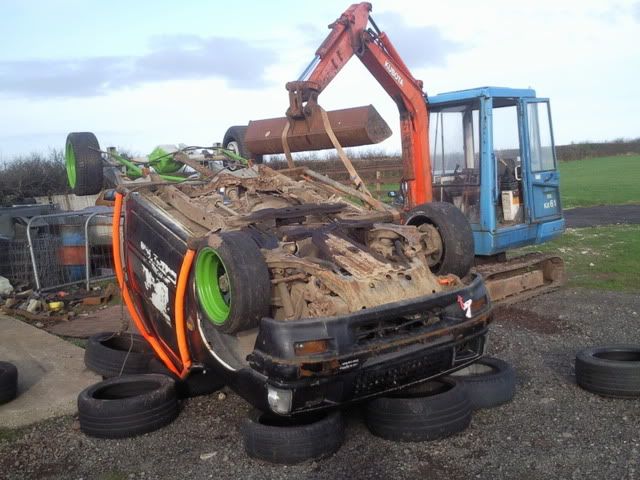
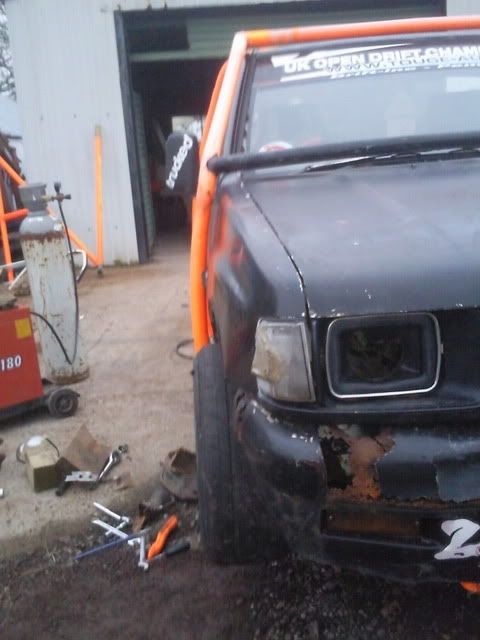
So I have sorced a 3.5 Rover V8 with a 5 speed SD1 gearbox (the last of the SD manual boxes so aparently the best one) engine is sporting a crane 286 cam but it needs a strip down, bores honeing, check over and rebuild!! Anyway, here is the death trap the engine is going into:
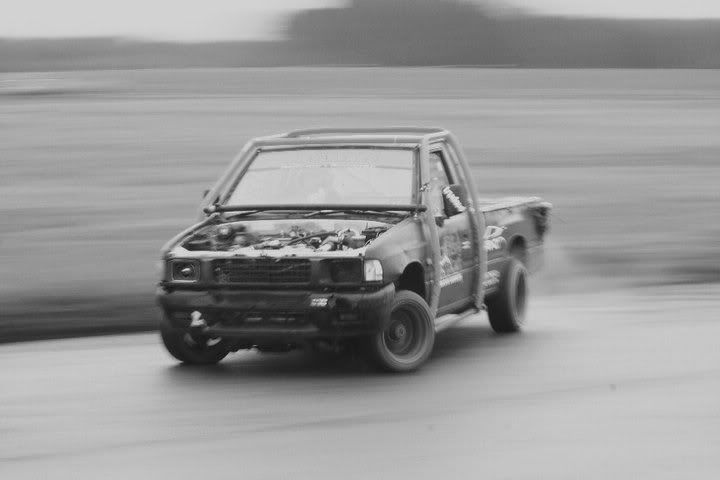
and here it is in action:
Jono
Posted: Sat Oct 08, 2011 3:27 am
by Jono FD3
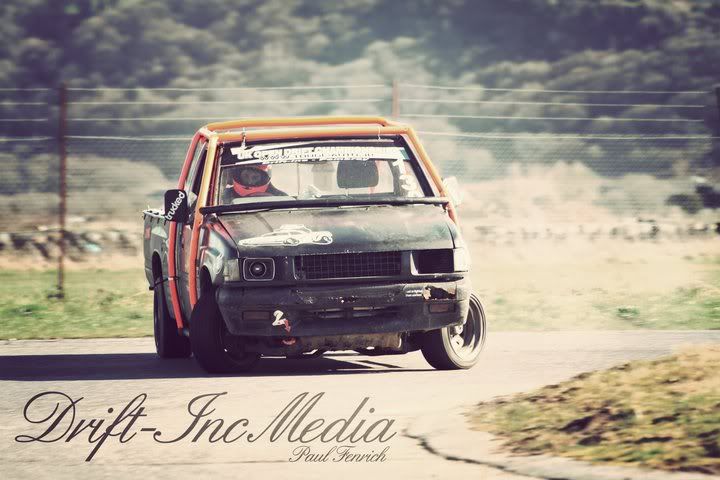
A few pics of it in action:
(Turbo 8v shake down day!)
Open Drift Championship qualifying run (round 1 but missed out due to reliability)
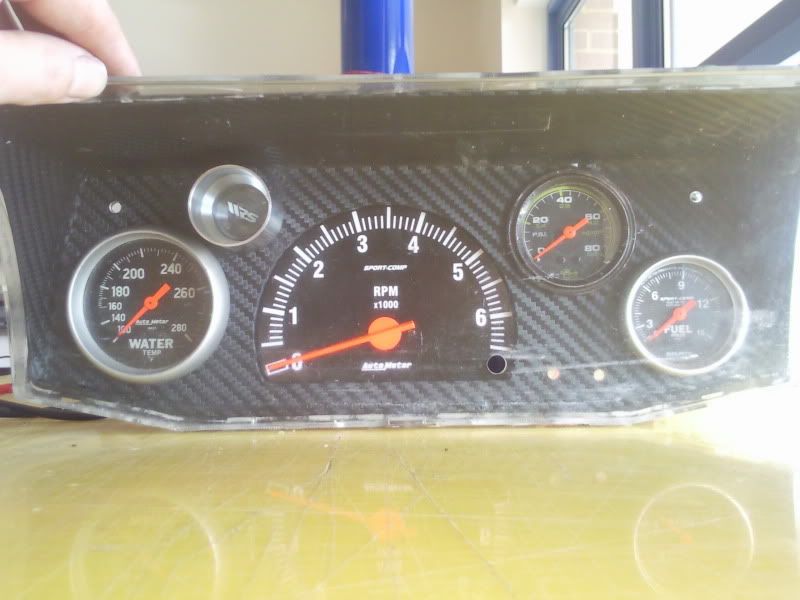
New dash all ready to be stuck back together
Hopefuly it won't be too much longer and I'll be able to turn the key and start to bed in the new V8 lump Just got to get my head around setting up the valve train then I can drop it in
Jono
Posted: Sat Oct 08, 2011 5:09 pm
by Nollywood
That's a swell truck you've got there bud, will be awesome once you've got the V8 in there. Don't forget to throw on a couple of tubular headers whilst you're there.
Posted: Sat Oct 08, 2011 9:11 pm
by Jono FD3
Tubular manifolds, Holly 390, Offenhauser manifold, and a mild Cam all set to go on..... and it's going to be running through a 3" exhaust with a single silencer at the tail so should sound the dogs
Posted: Sun Nov 06, 2011 4:26 pm
by Jono FD3
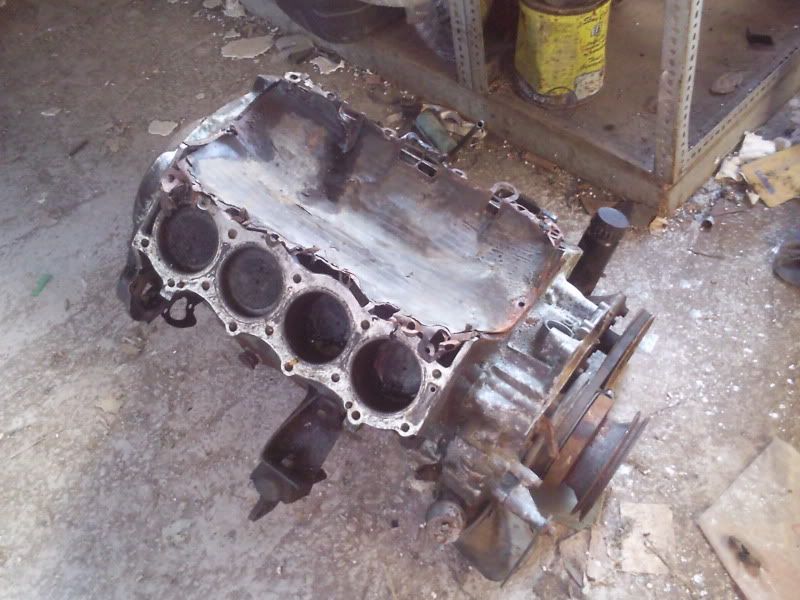
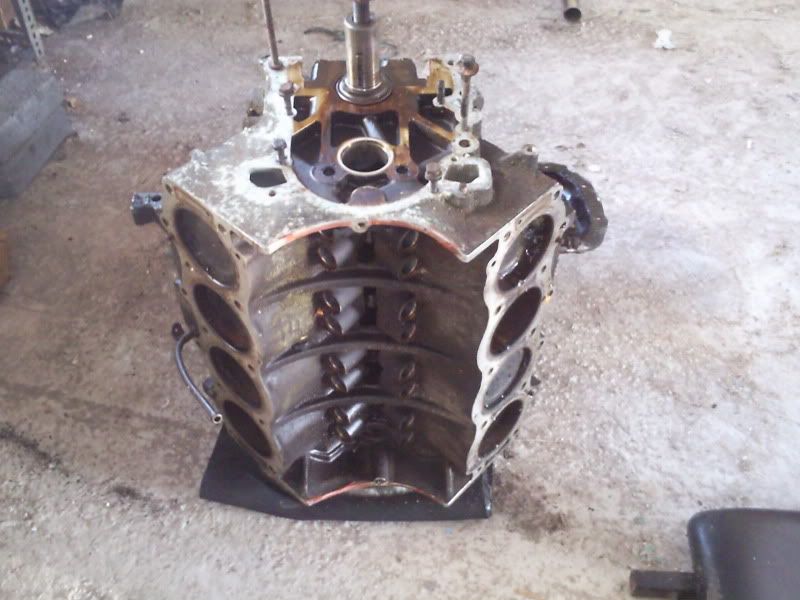
Engine strip down and clean up has taken alot longer than I thought it would basicaly due to trying to sorce Group A bits..... but now going back standard!!
Block as I picked it up:
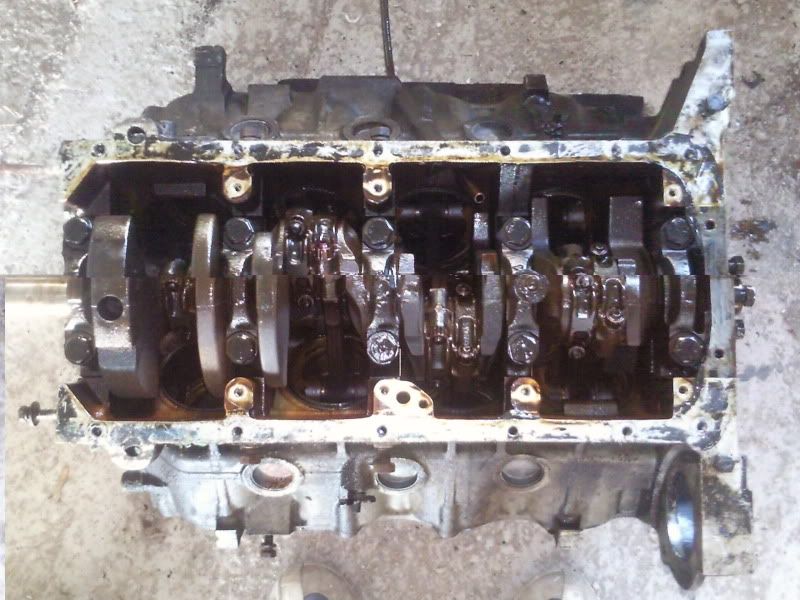
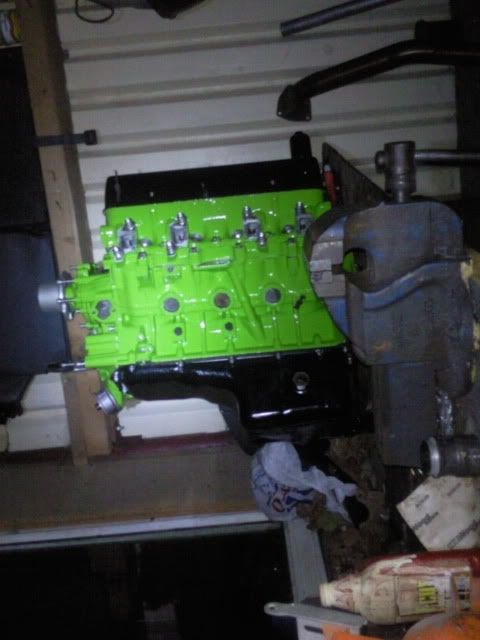
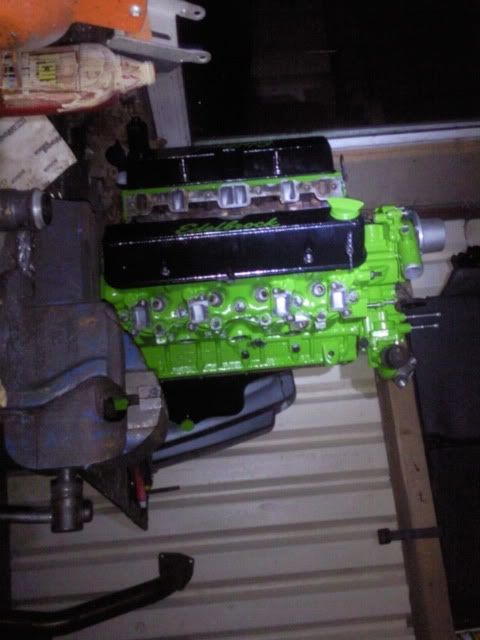
Short block has been rebuilt now with new rings, big ends and mains, Cam and followers show no sign of any ware so that's a bonus
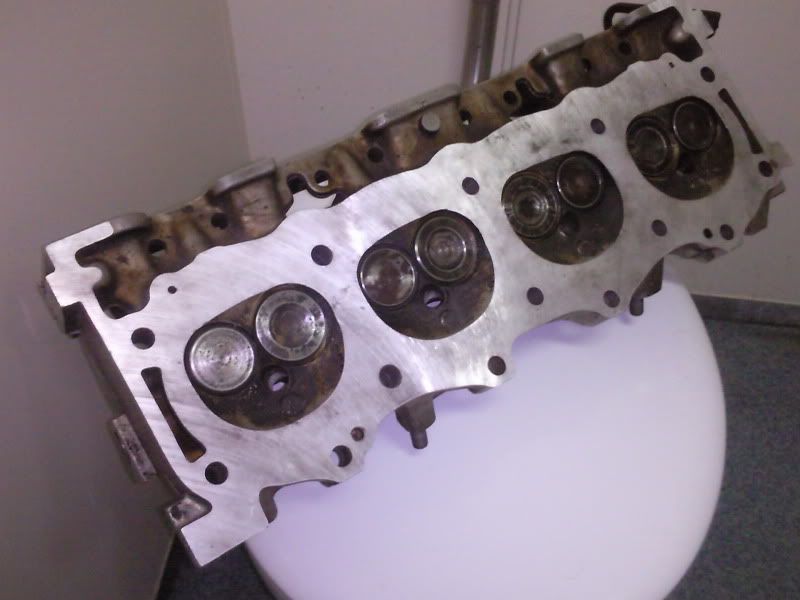
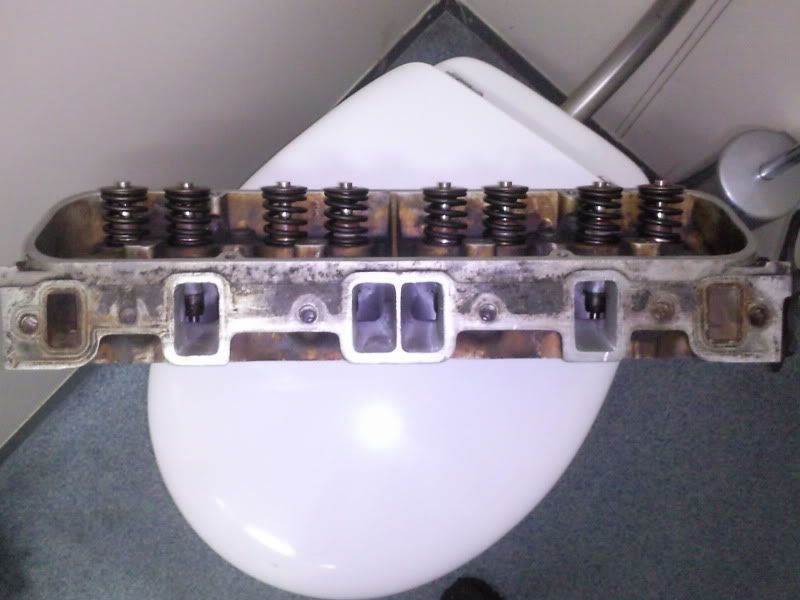
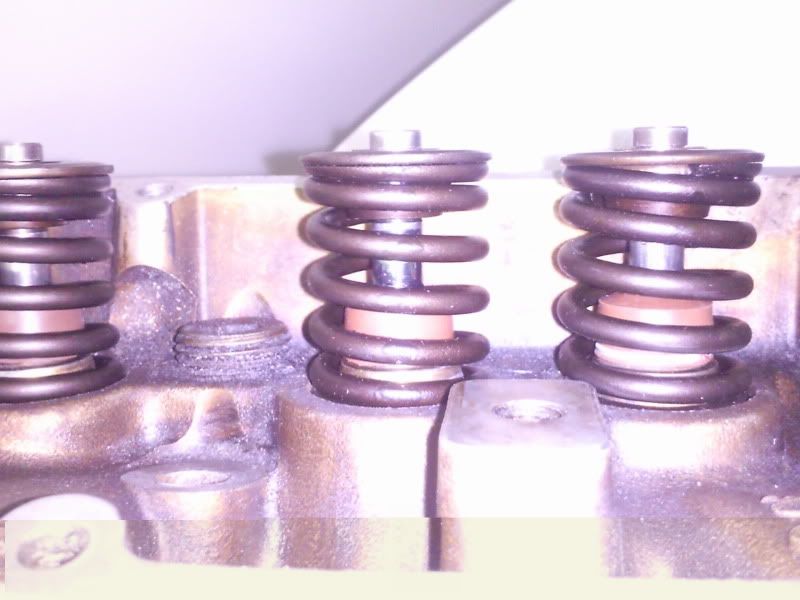
And while I've been away at work I've been porting, cleaning and rebuilding (using top hat valve stem seals) now the heads ready for refit when I get to dry land, and also orderd a full stainless bolt kit for the engine to make sure I have the right bolts to do the job properly and not have to search for ones that will do!
So I'm hopeing it shouldn't be long now before I'm droping the engine in and driving the truck again!
Jono
bit of chassis work!!
Posted: Sun Nov 20, 2011 10:03 pm
by Jono FD3
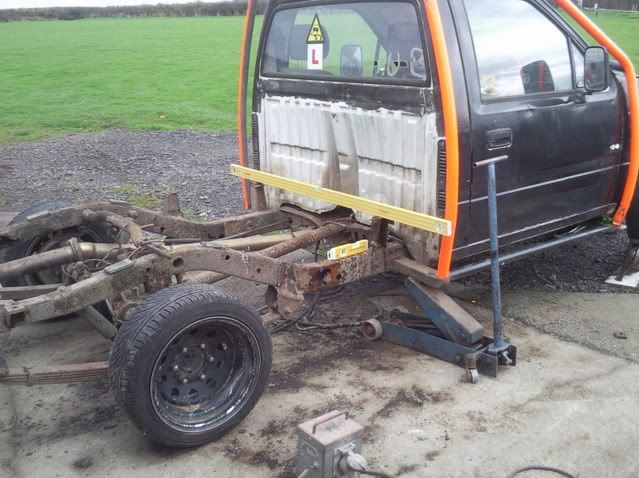
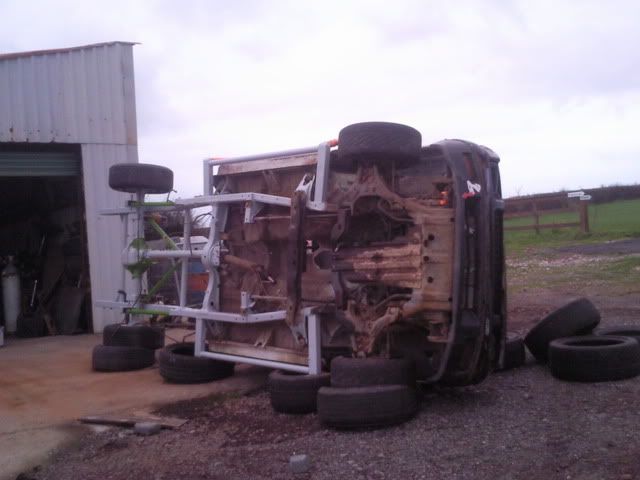
Decided the other day, I'd get the truck all sorted and then sort the motor out!! Weather was good and ment I could work outside on the shell, so got cracking!!
When I started... doesn't look too bad does it??
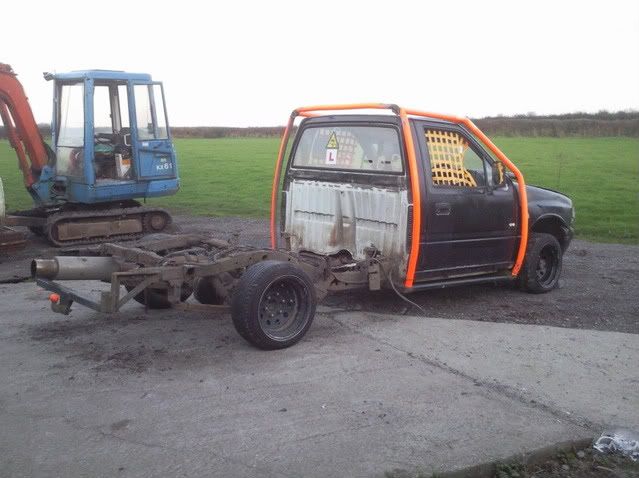
Cage off.... what a ball ache to get that off!! propper stuck on!
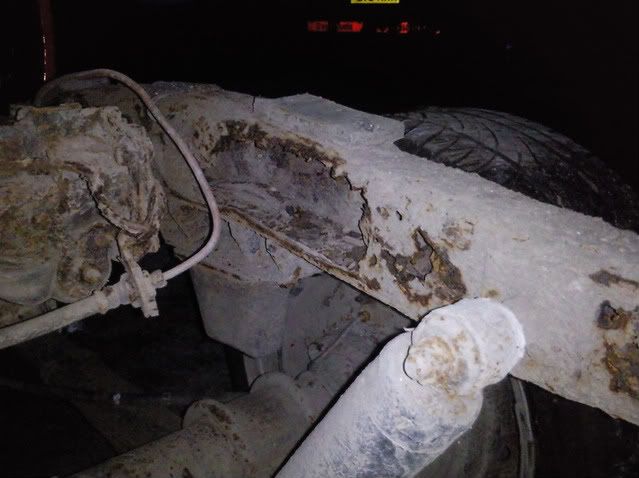
Then the bed came off and revieled lots of crap!!
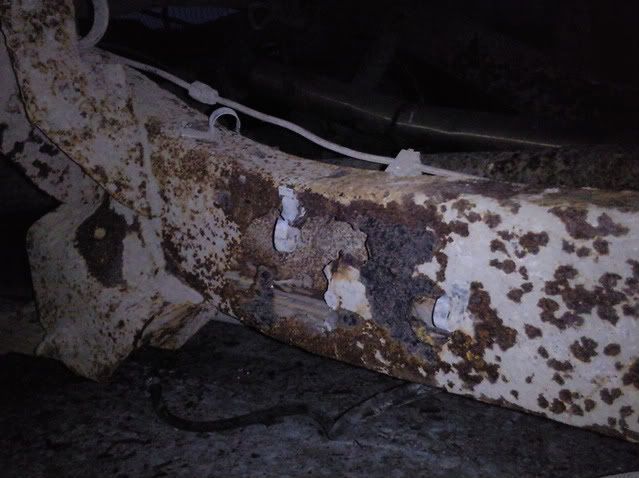
couple of holes:
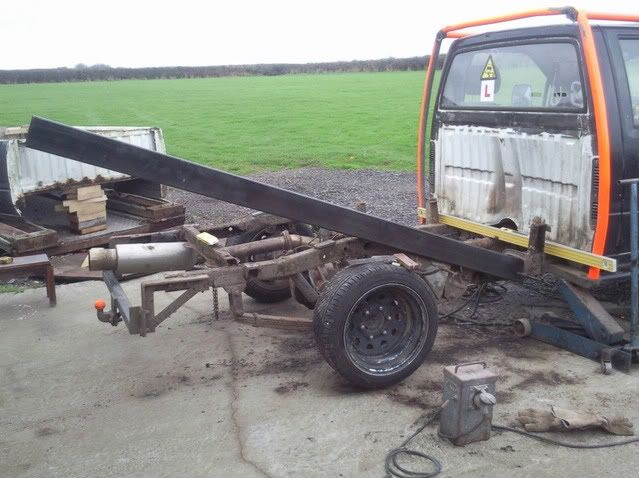
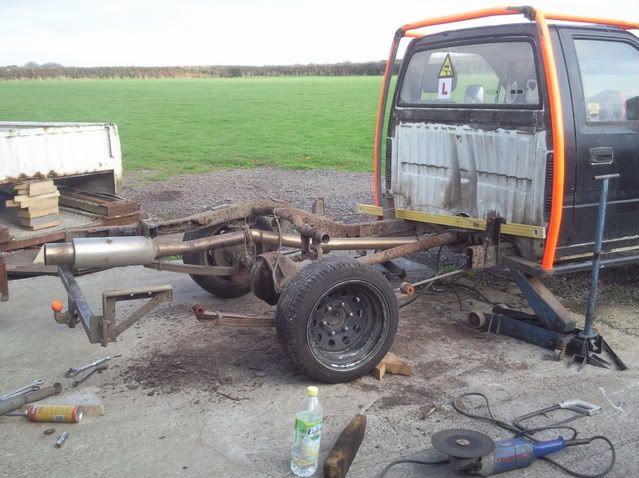
Then the fun started..... getting everything level
shapeing the fresh steel:
then the big chop! lol
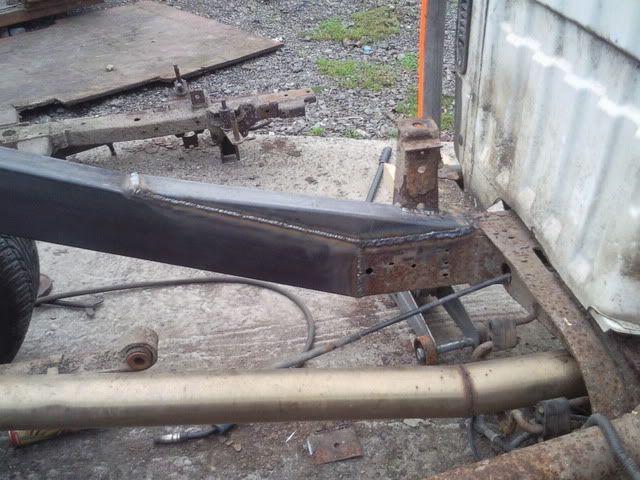
chassis leg ready to weld
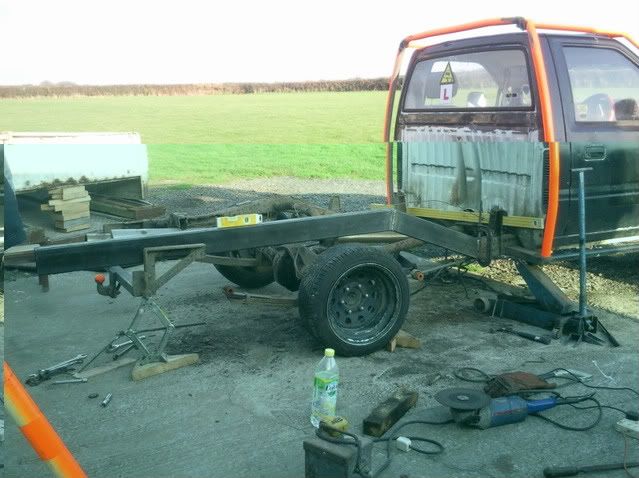
welded and cross brace fitted
All repeated the other side, and shockingly it's all level front to back and side to side
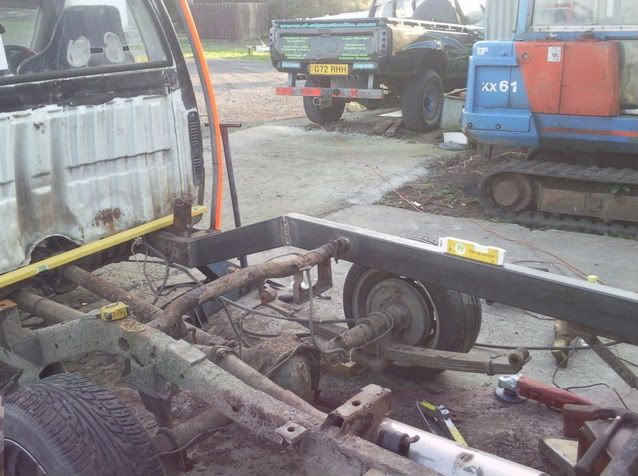
cut the chassis to the correct lenght, then made the gussets for the joint to the old chassis, and some strengtheners for the braces joining the two sides:
all welded up nicely
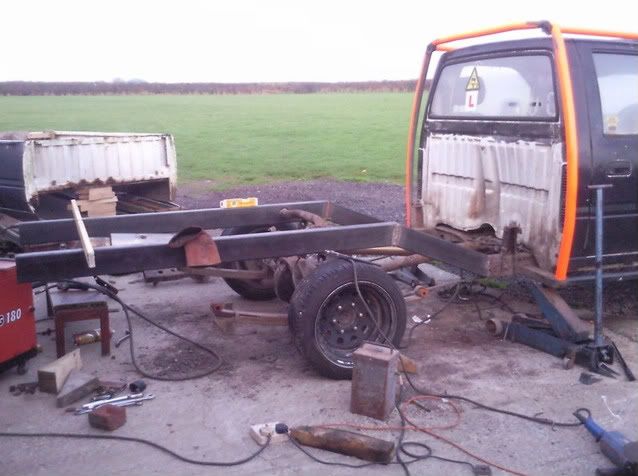
A few mods to the tub underneath so it will fit on the new chassis, and it fited like a glove just got to make a few brackets so I can bolt it back on!
and then lowerd the chassis to the desired ride hight ......
Now I have the rough ride hight, I can now get on with designing the 4 link suspention, and the design has changed again due to lack of space! LOL Now going to be running triangulated 4 link as I haven't got enough space for parallel with a watts link!!
Jono
Posted: Tue Nov 22, 2011 1:33 pm
by ChrisJC
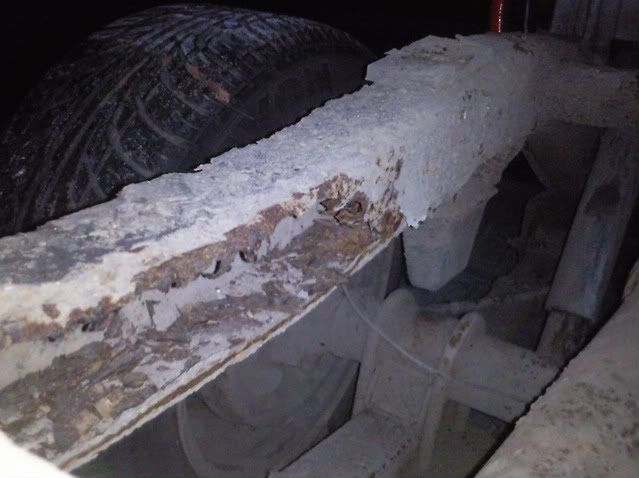
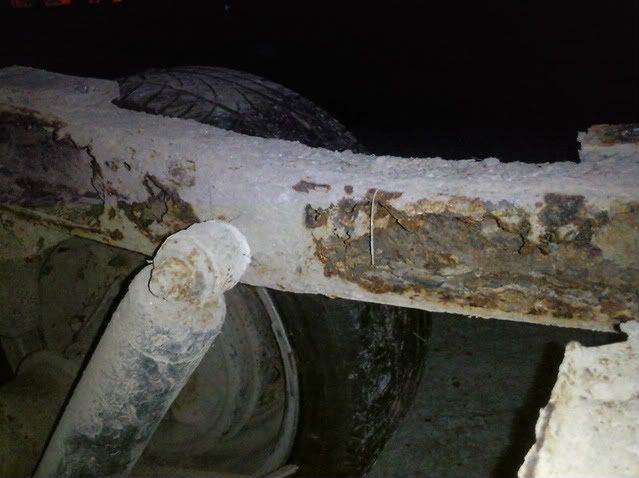
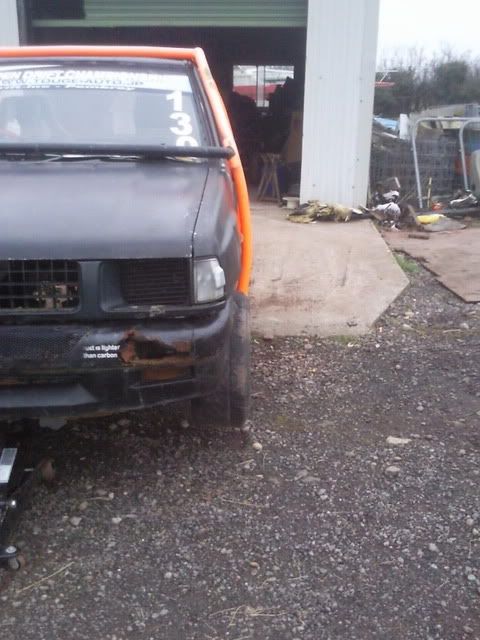
Chr*st, that's some tin-worm in that. Is the front any better?
Chris.
Posted: Tue Nov 22, 2011 10:00 pm
by Jono FD3
Front end is solid matey.... looks like she was used to launch boats by the previous owners. From where I cut forward, the chassis is solid..... orsertainly no holes!! at the end of the day, if it goes, I can replace it! was prety suprised at how easy the job was, all be it time consuming!!
Posted: Mon Dec 05, 2011 12:53 am
by Jono FD3
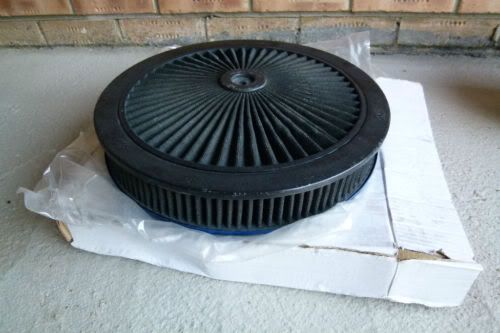
Well, just scored my self bit of a steal just got this filter for £20 pluss postage
Just needs a clean and re-oil!!
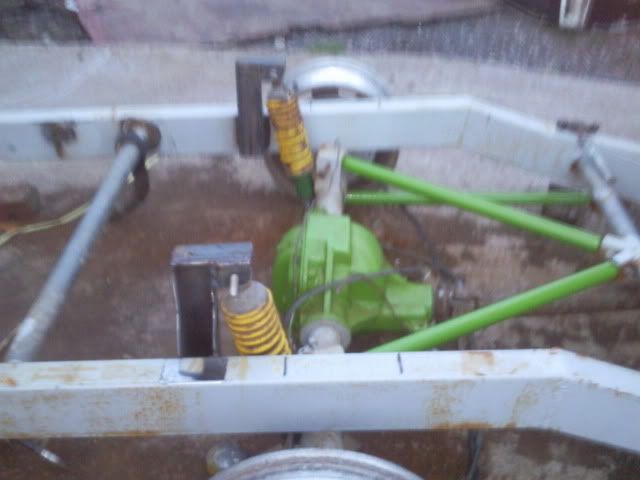
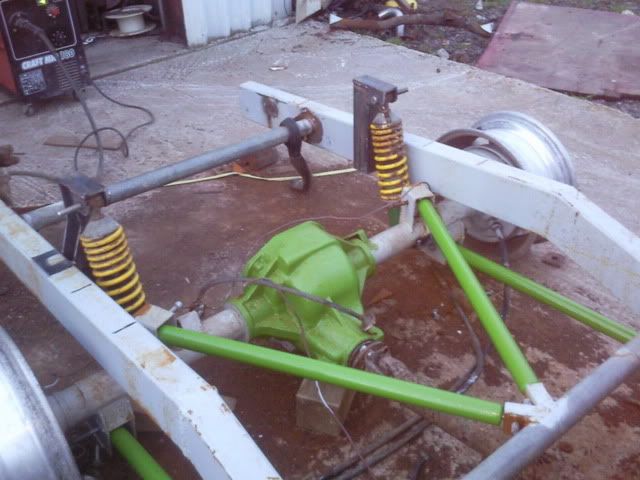
4 link suspention almost finished :)
Posted: Mon Dec 19, 2011 11:30 am
by Jono FD3
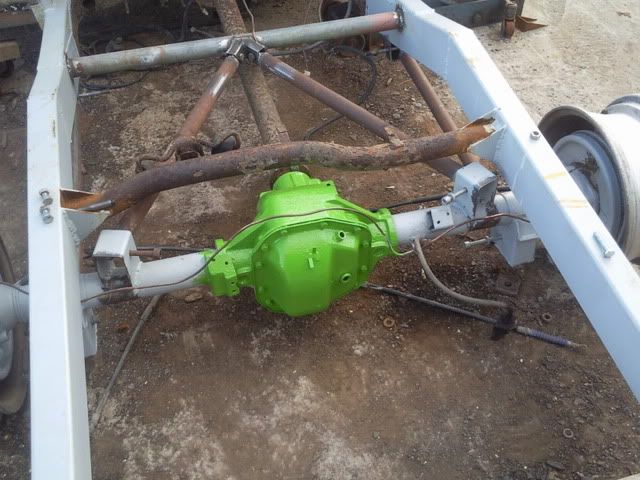
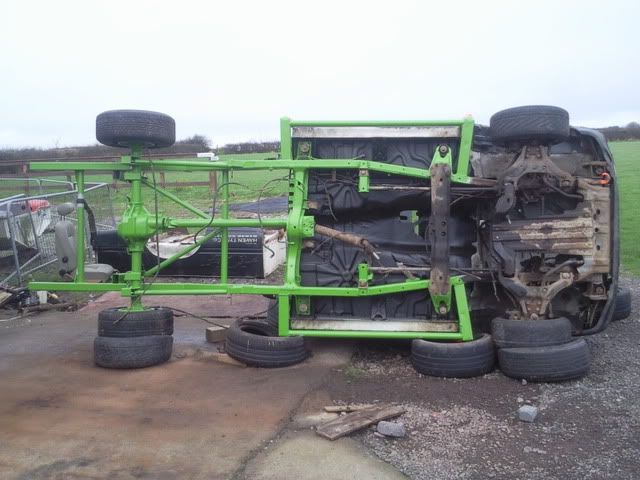
Finaly got a bit of work done on this thing!! Axle is now swinging on a 4 link setup, although I have to make some taper spacers to lock the rosejoints in position and mount the suspension units!
Also test fited some of the green paint the underside is going
Jono
done well on that fellar
Posted: Thu Dec 22, 2011 10:46 pm
by sidewaysbo
most people would have been wining and scrapping it after taking that bed off fair play you got it sorted on a budget comeing out well so far great to see some one building budget motor and gonna have same fun as a 20,000 jobby going sideways keep on welding !!! look foward to watching it coming on .
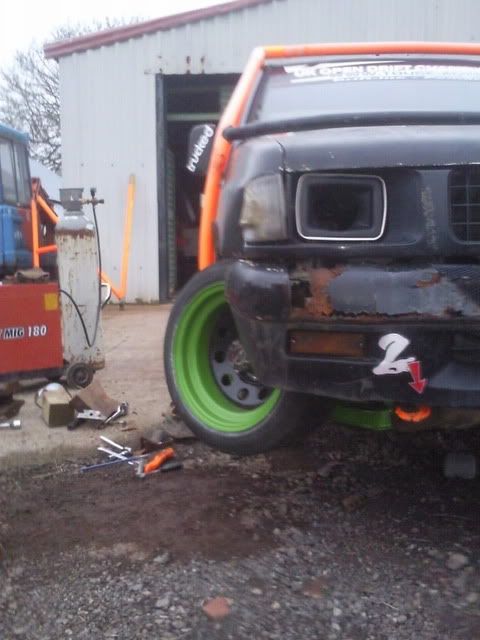
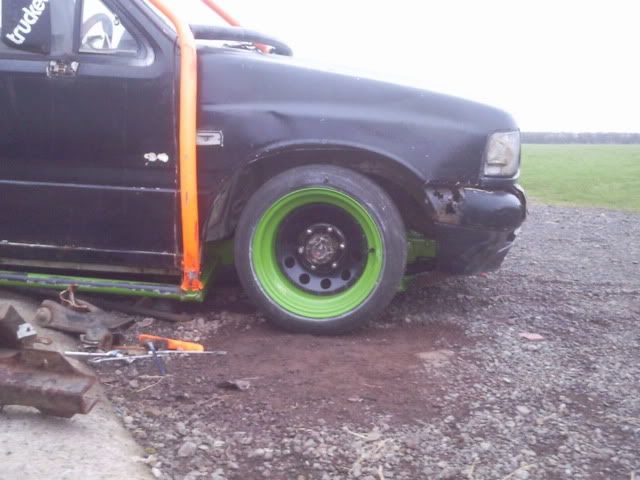
new colours for 2012 :)
Posted: Fri Dec 30, 2011 8:16 pm
by Jono FD3
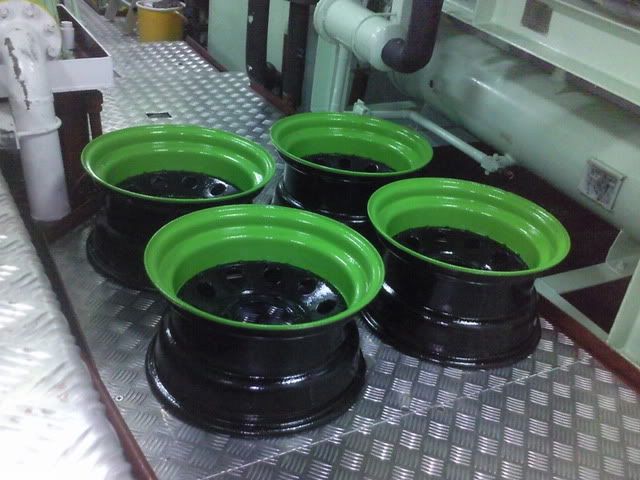
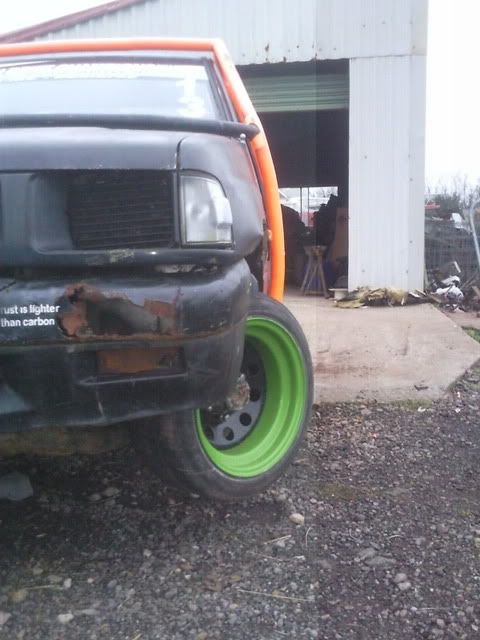
well, since I couldn't do any work on the truck the last week or so due to eing away at sea, I took bits with me to sort out so got a bit of scrubbing and painting done to get some of the exterior sorted!!
Here is the new look of the wheels:
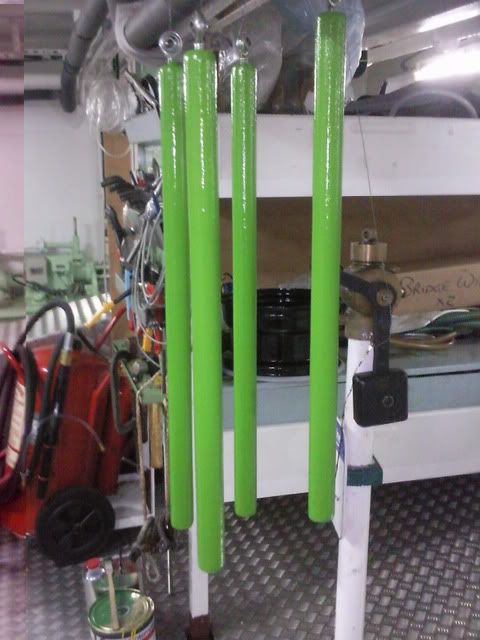
Also did the suspension arms:
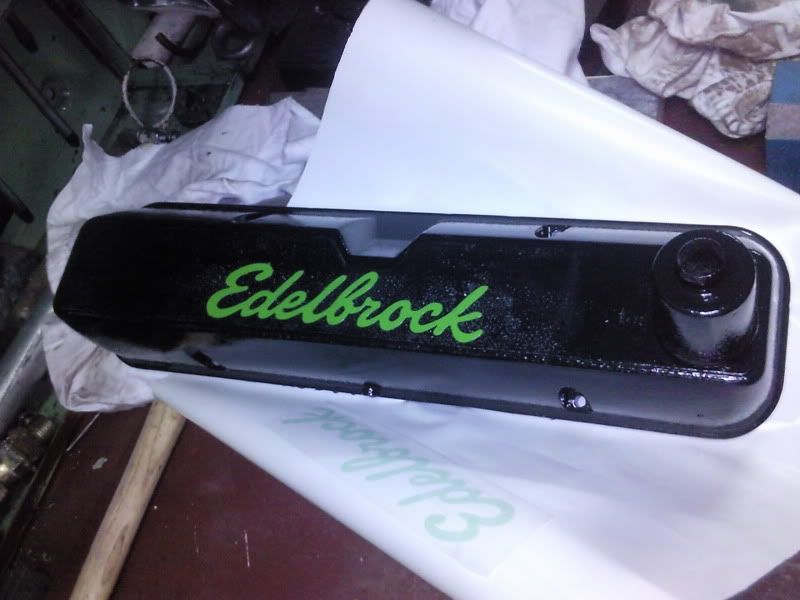
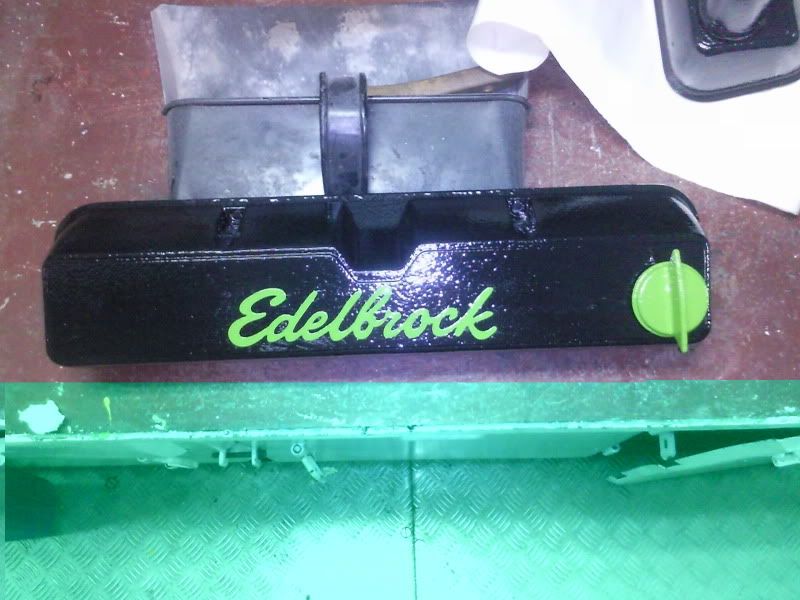
and doctored the std rover rockers..... then added a bit of colour
Jono
Posted: Thu Jan 05, 2012 7:06 pm
by Jono FD3
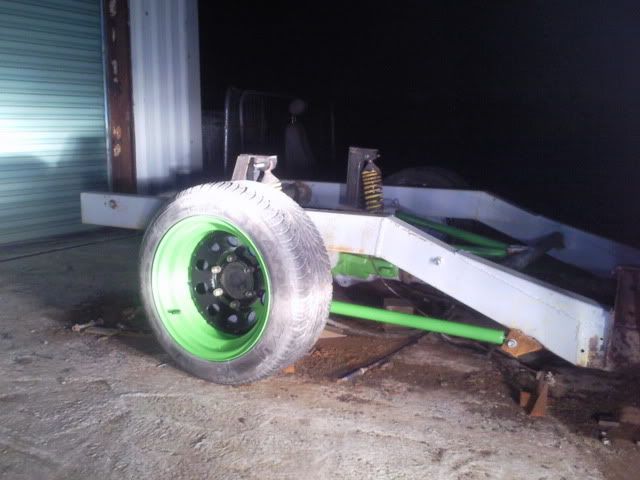
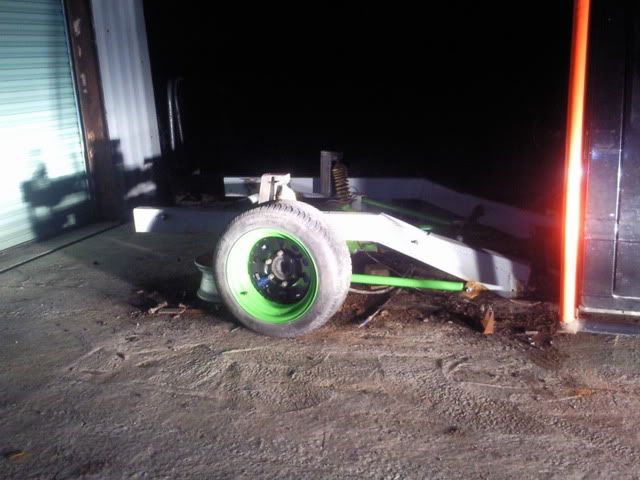
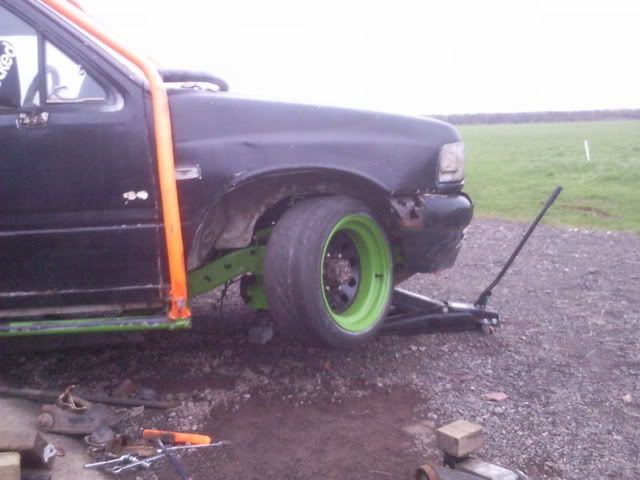
Well, got a slight update at last
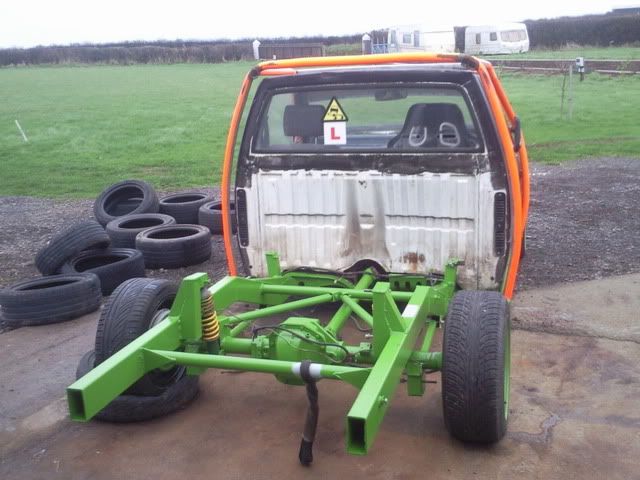
Managed to finish constructing the rear end today and put her back on 4 wheels
Got 2 gussets to make up to brace the shock turrets to the chassis then all that's left is to make up some spacer shims to sit eather side of the rose joints, then roll her over and finish seaming up the joints that I can't get towhen it's the right way up!!
Then the wheels went on and it was put on the floor:
Jono
Posted: Sun Jan 08, 2012 7:33 pm
by Jono FD3
slight update.... managed to weld the underside of the chassis
also got everything painted nicely, so it's starting to take shape now!
undersealed the cab and painted the chassis!
and back on it's wheels ready for the next step
Jono
Posted: Thu Feb 09, 2012 9:50 pm
by Jono FD3
Update time Woop woop!!
Spent most of the week working on the engine due to the weather down here only to find the inlet manifold has a crack and I need to sort out the lash on the followers!!
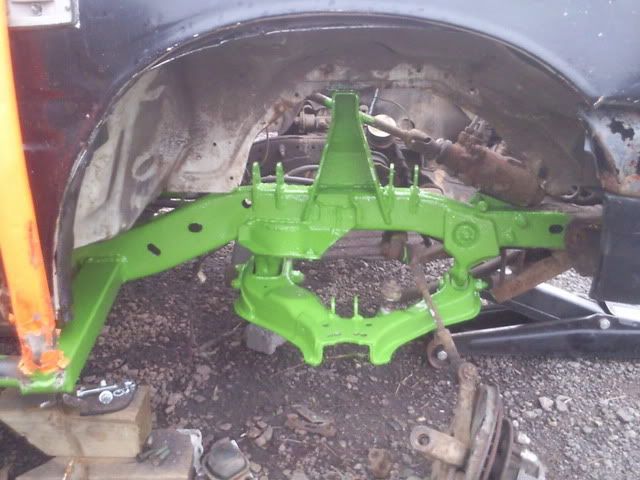
But anyway, the sun was out yesterday so I got back on to the suspension!! and finaly finished it off today with a flash of paint and bolting everything back on!!
All the suspension brackets and shock fittings welded on:
then painted...... green obviously! LOL
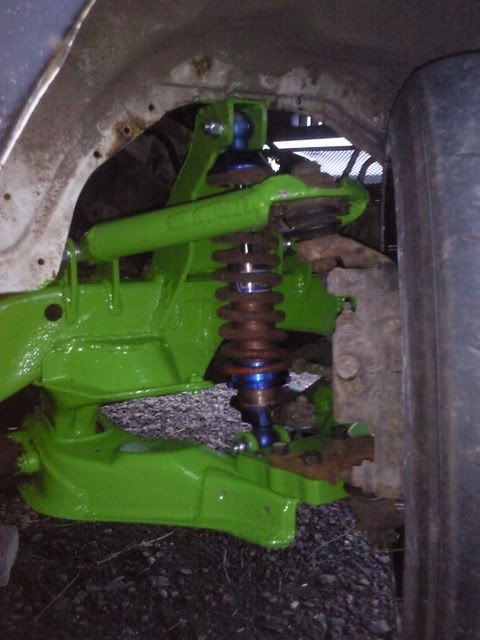
Top arm and shock all fitted:
Old lock before suspension work:
Then the revamped side:
Old wheel base:
New
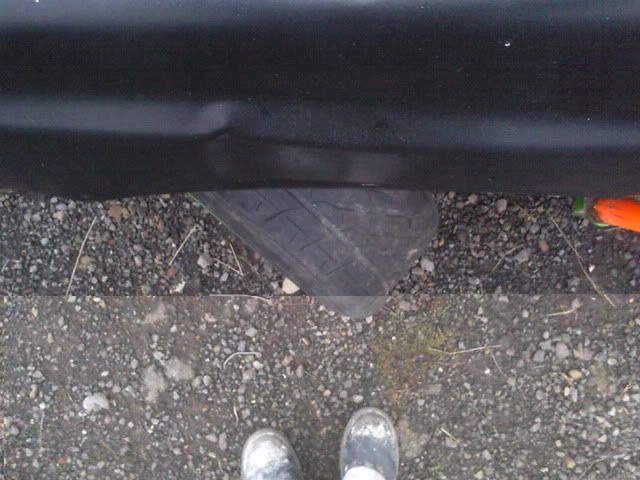
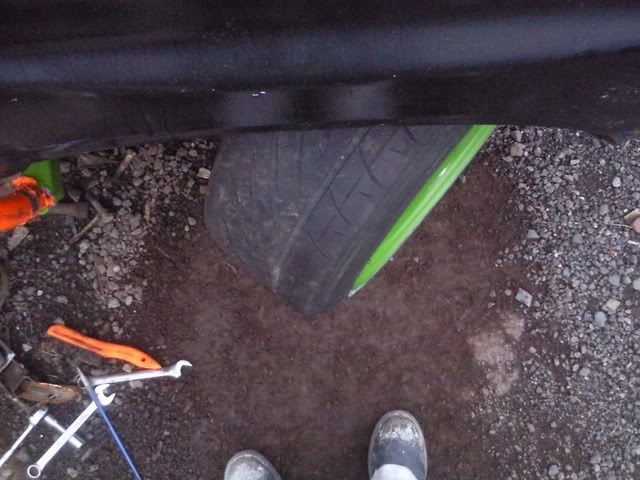
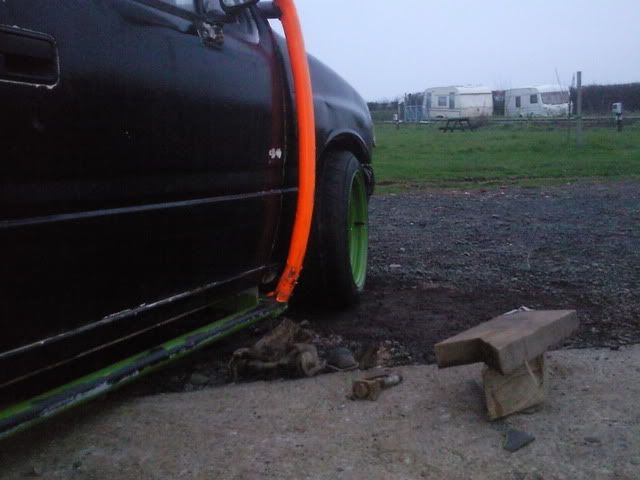
Then the new ride hight..... or lack of it! LOL
Notice the clearance between the cage and the ground!!
On to the other side tomorrow weather permiting!!
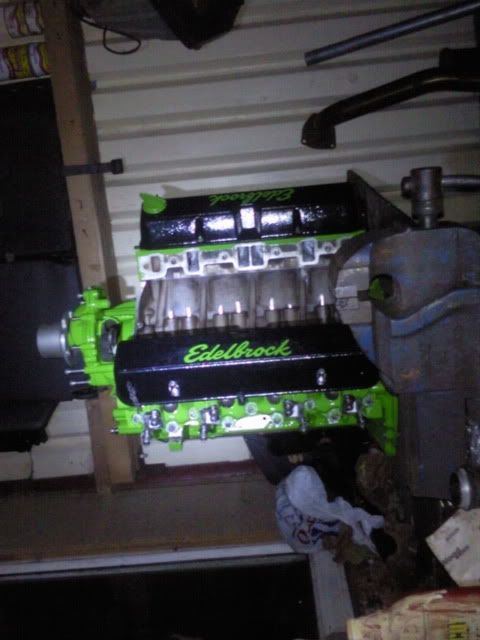
But before I close off this post...... a sneaky peaky at the engine, I've gone for a subtle choice in colour